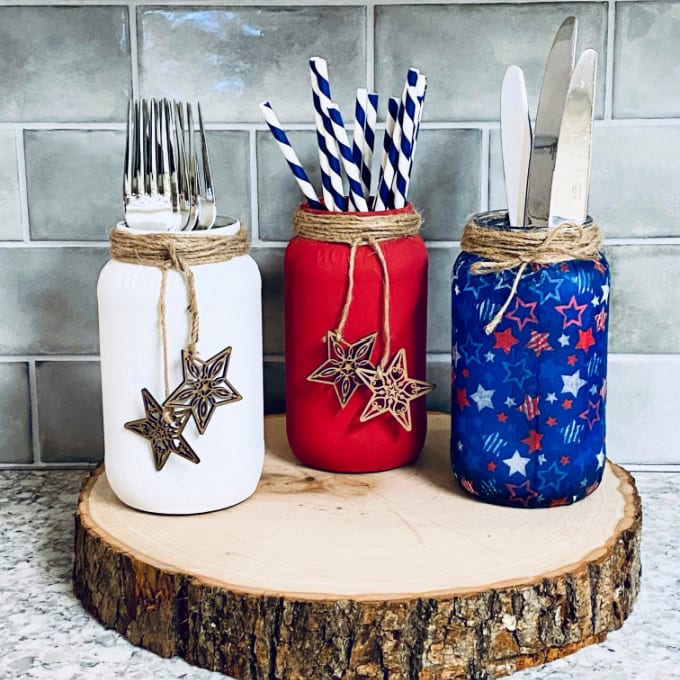
How to Paint Mason Jars

In this tutorial, we’ll show you How to Paint Mason Jars and how to decoupage them, too!

FYI, this contains affiliate links. We may earn a small commission when you buy through links on our site, which help support the free content you love here at Juggling Act Mama. Learn more.
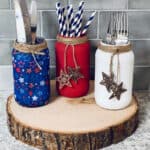
These patriotic jars are perfect for Memorial Day and the 4th of July but you can use these painting and decoupaging techniques to customize your own jars any way you like. From gender reveal or baby showers to birthday parties and weddings, the possibilities are really endless!
This tutorial will show you how to paint mason jars using Chalk paint. It is perfect for giving projects a distressed look that goes so well with Farmhouse or Cottage style.
To be honest, I might be a little obsessed with mason jars… and all things Farmhouse right now! However, you can use this same method with acrylic paint as well.
More Mason Jar Ideas
- DIY Natural Insect Repellent Jars
- Cricut DIY Dried Herb Mason Jars (with SVG)
- Mason Jar Lid Coasters
- DIY Dinosaur Mason Jars
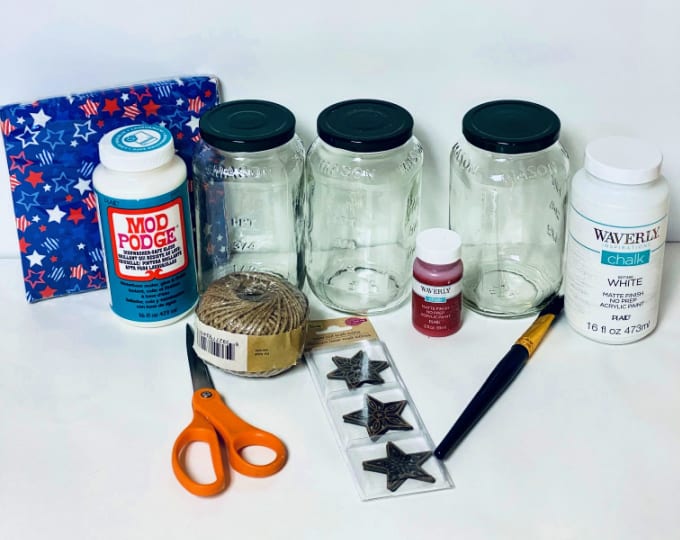
Materials
- 3 Jars
- Waverly White and Red Chalk Paint
- Scissors
- Jute Twine from Dollar Tree
- Paint Brush (small)
- Wooden Stars from Dollar Tree
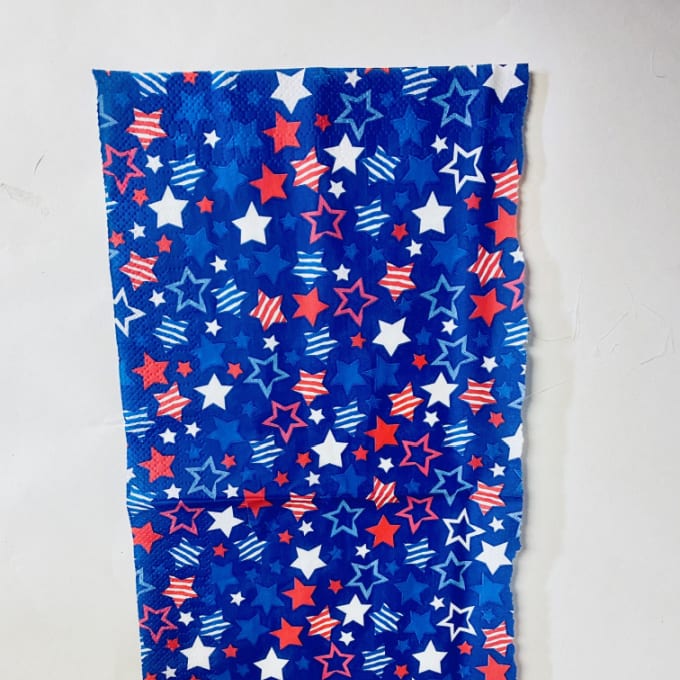
- Napkins from Dollar Tree
- Mod Podge – you could also use a thin coat of glittery Mod Podge at the end to add some sparkle.
How to Paint Mason Jars
- Apply 2 coats of Waverly White Chalk Paint to the outside of one jar using the paintbrush.
- Next, apply 2 coats of the Red Chalk Paint to another jar.
- Allow for about 30 minutes in between coats to make sure they are fully dry.

How to Decoupage Mason Jars
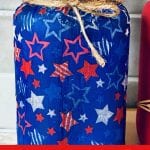
- Tear one of the napkins in half. Discard any plain second layer, you only need the top colorful part.
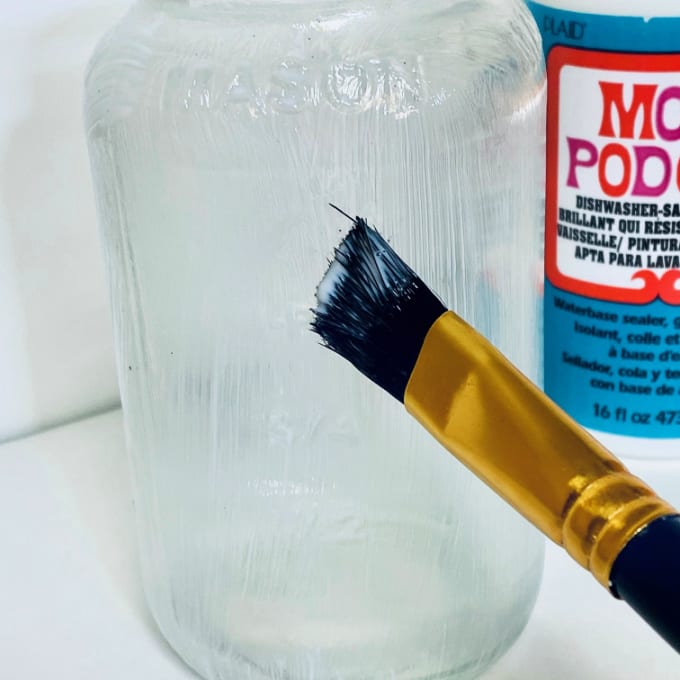
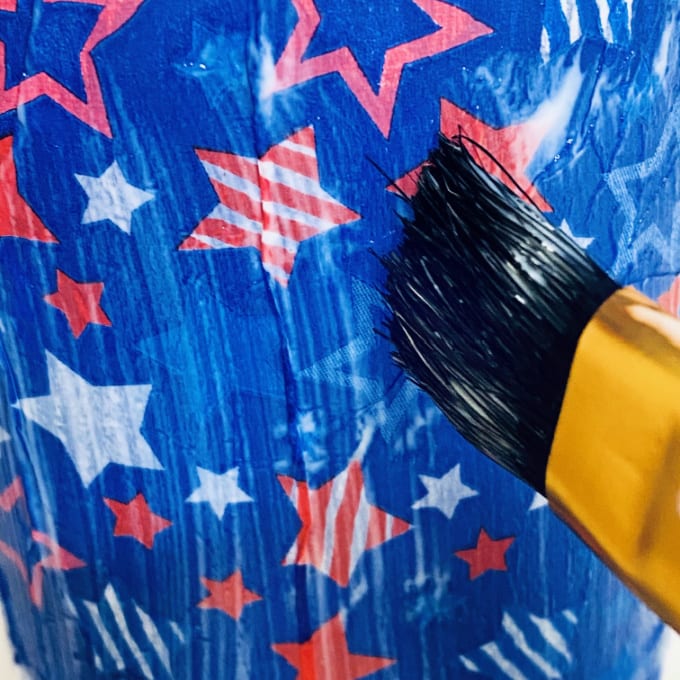
- Apply a thin coat of the Mod Podge to the remaining jar and slowly put the piece of napkin on top. Where it will overlap in the back apply a little bit of the Mod Podge to seal it down.
- Once the napkin is on the jar, apply a thin coat of Mod Podge on top to seal it.
Decorating Mason Jars
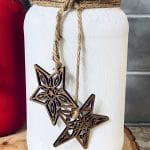
When all of the jars are completely dry, you can decorate them. I love using odds and ends that I find at Dollar Tree like jute twine. I totally fell in love with the little wooden stars, too!
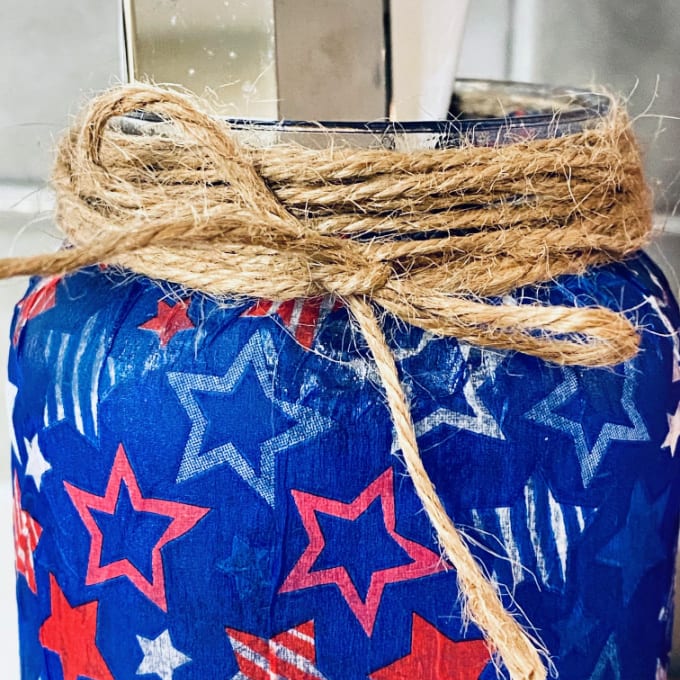
If you want to add a little sparkle, you could also use a thin coat of glittery Mod Podge at the end. Just be sure it is totally dry before adding any other decorations.
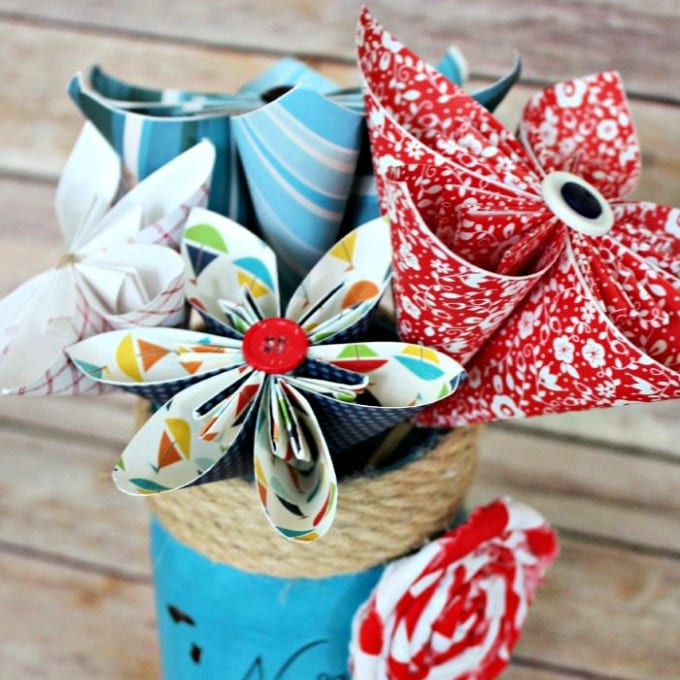
DIY Paper Flowers
These gorgeous and easy DIY Paper Flowers add a pop of color and whimsy anywhere you like!
They are perfect for centerpieces of course or add one to the top of a wrapped gift. You can even create a wreath from them.
More Patriotic Ideas
- Patriotic Wind Chime Craft
- Easy DIY USA Canvas
- Patriotic Berries and Cream
- Patriotic Straw and Stars Wreath