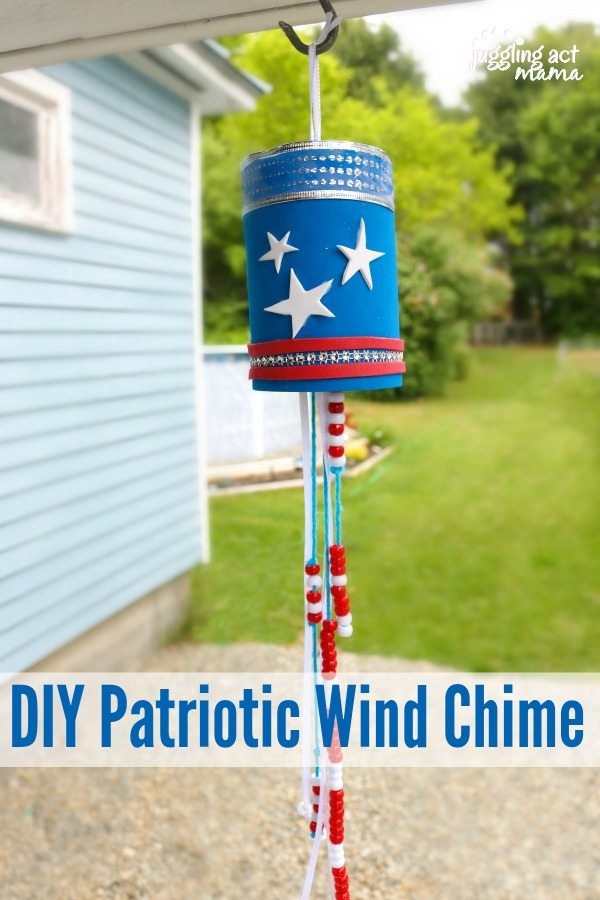
Patriotic Wind Chime Craft

This fun Patriotic Wind Chime craft is the perfect project to do with kids this 4th of July. It’s perfect all summer long! Get the tutorial below.
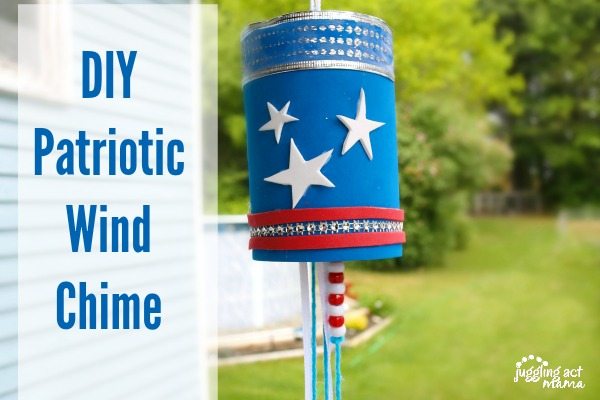
I love fun projects I can make with my kids in the summertime. With the 4th of July just around the corner, this Patriotic Wind Chime craft fits the bill nicely.
Threading the pony beads is great hand-eye coordination practice for my soon-to-be kindergarten girl. And she loved jazzing this up with some sparkly embellishments. That girl is all about the bling, let me tell you.
This is a quick and easy craft that you can do with just a few simple materials. This isn’t 100% waterproof, so take care with heavy rains. We have ours hung under a covered porch. I hope you enjoy this fun project!
Patriotic Wind Chime Craft
Here’s how to make this fun Patriotic Wind Chime craft with your kids:

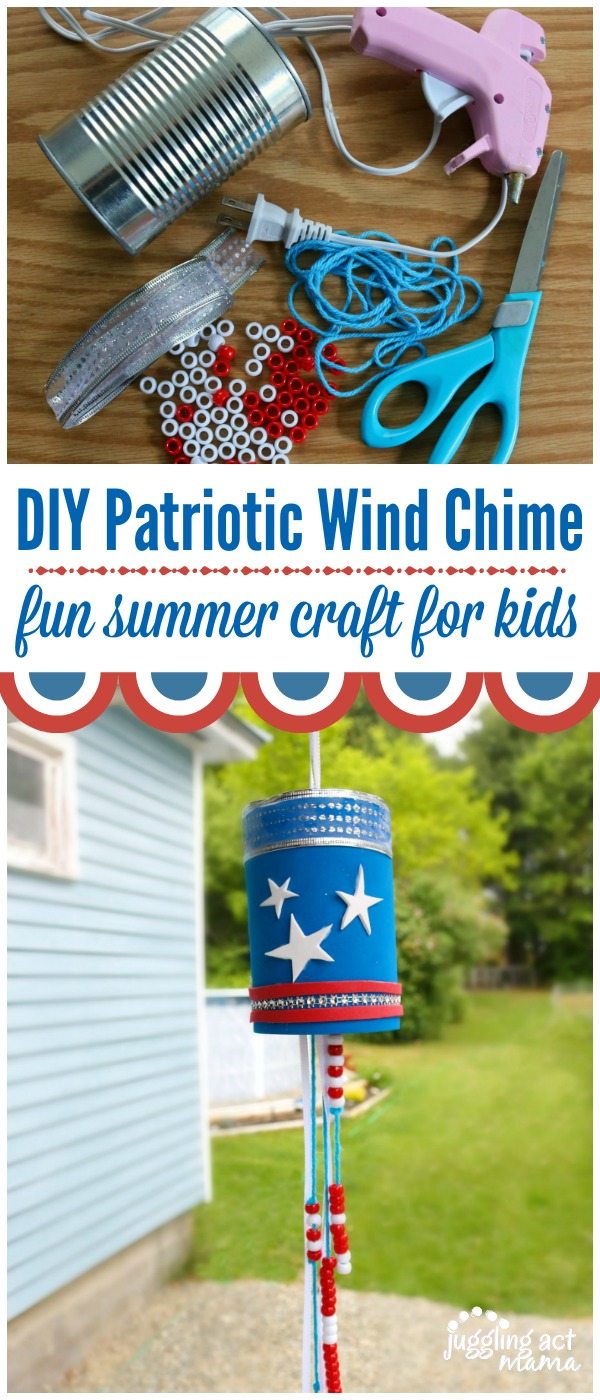
Materials
The following are affiliate links. We are a participant in the Amazon Services LLC Associates Program, an affiliate advertising program designed to provide a means for us to earn fees by linking to Amazon.com and affiliated sites.
- 1 tin can
- Blue craft foam
- Tacky Glue (or hot glue gun)
- Yarn
- Pony beads
- Ribbon
- Scissors
- other decorations and embellishments like foam stars, sticky gems, etc. if desired
Be sure to check out my Juggling Act Mama Storefront on Amazon where you’ll find all kinds of great products that will make your life easier! Thanks so much for being a part of Juggling Act Mama ❤
Instructions
- The tin can should be open on one end and closed on the other. We lined the rim with hot glue and let it dry to ensure there were no sharp edges.
- Glue blue craft foam around the can (or you can paint it!) Allow to dry.
- Decorate as desired with stars, stripes, and sparkles. Set the can aside and let it dry while you work on the wind chime strands.
- Cut yarn and ribbon in various lengths of at least 12″ long. Thread pony beads in various patterns along the strands. Tie pony beads and knots at the end and along the strands to hold the other beads in place.
- Use a can opener or knife (adults only) to make a hole in the top of the can.
- Pull the strands through the hole and tie them together in a knot. Place a bead of glue around the knot to cover sharp edges and hold the knot in place.
Hang your wind chime and listen to the sounds it makes!
More Easy DIY Tutorials
Now that you mastered this, want to make some more outdoor DIY projects? Try your hands at these!

from left to right:
- Simple DIY Pallet Planter
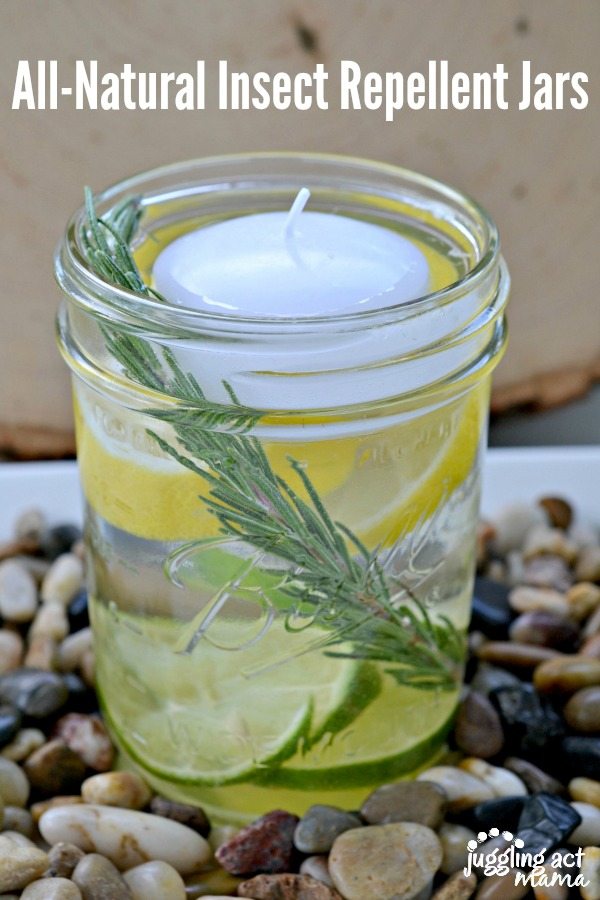
- All Natural Insect Repellent Jars
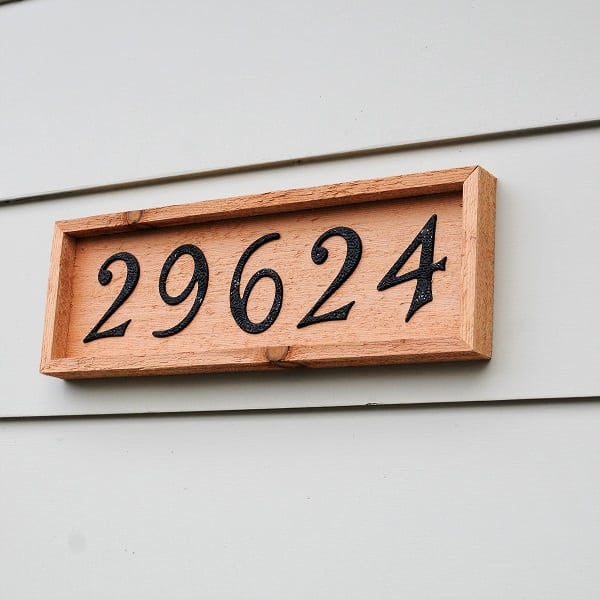
- House Number Plaque
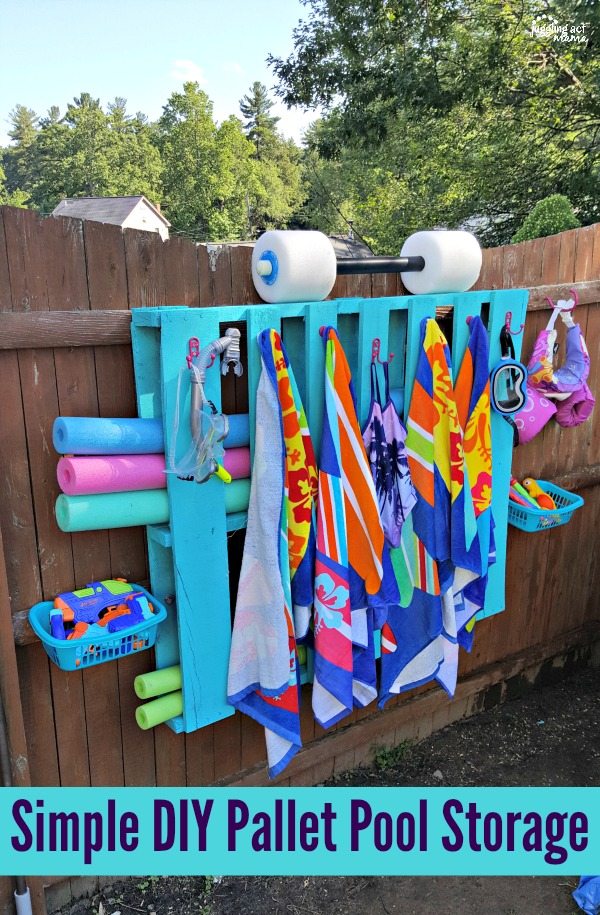
- DIY Pallet Pool Storage Solution
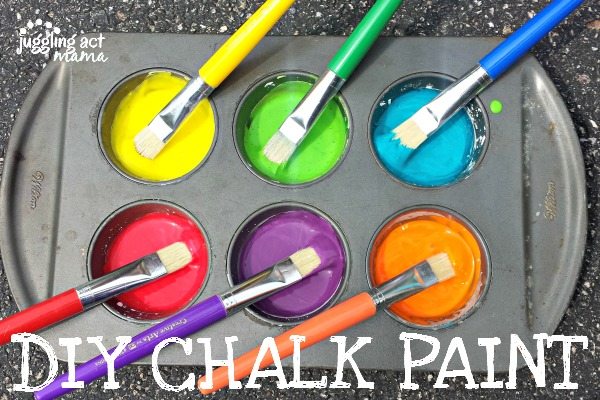
Keep the kids entertained with this easy DIY Chalk Paint!
More Projects and Recipes to do with Your Kids:
- Coloring Page Printable Bookmarks
- DIY Notebook Cover Project
- Chocolate Peanut Butter Cup Bark
- Shrinky Dink Initial Key Chain Project
- Ice Cream Cone Cupcakes
More Patriotic Ideas
- Patriotic Banner {Free Printable}
- Easy DIY USA Canvas
- Patriotic Pinwheel Cookies
- Free Printable Patriotic Cupcake Toppers