DIY Notebook Cover
This DIY Notebook Cover is such a fun idea for teens and tweens. Scroll down for a list of supplies and tips!

This post contains various affiliate links.
It seems like the supplies lists get longer and longer each year, am I right? And just about every list I saw this year required a composition notebook.
Now, don’t get me wrong, there are a lot of cute ones out there, but the least expensive versions are always dull and kind of boring. You know the kind – the one we had as kids. 😉
I hate to pay a premium for pretty, so I was so excited when I saw this idea Melissa wanted to share. She is so creative! And I especially love how customizable this is because we all know how kid’s tastes change from year to year.
Materials
Here’s what you’ll need:
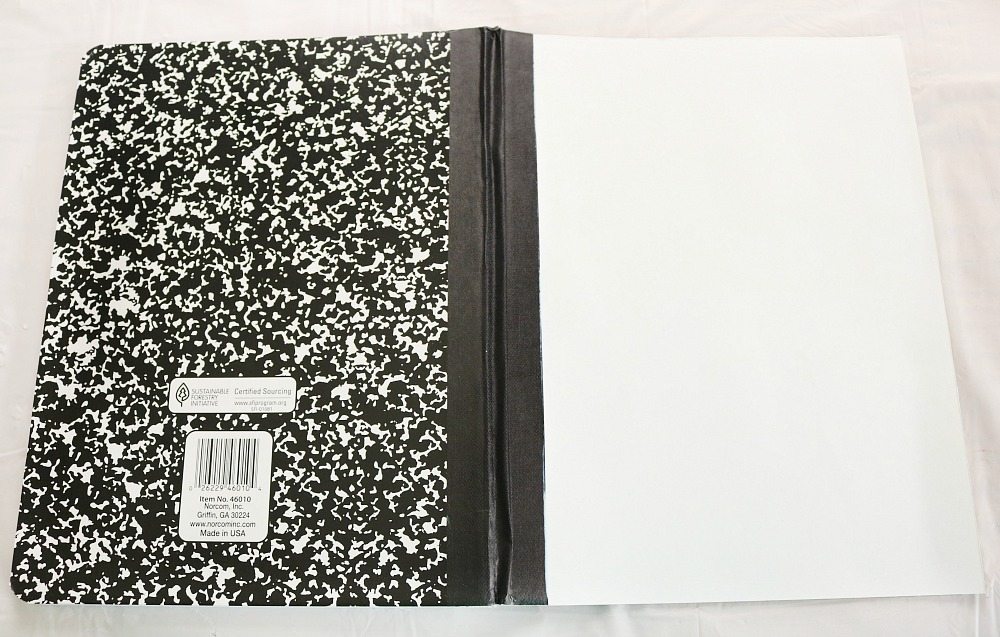
- 1 Composition Notebook
- White Paper Card Stock
- Colored Chalk
- Baby Wipe
- Mod Podge- Gloss Luster (dries clear)
- Paint brush
- Washi Tape
- Glitter (optional)
- Scissors

Instructions
STEP 1
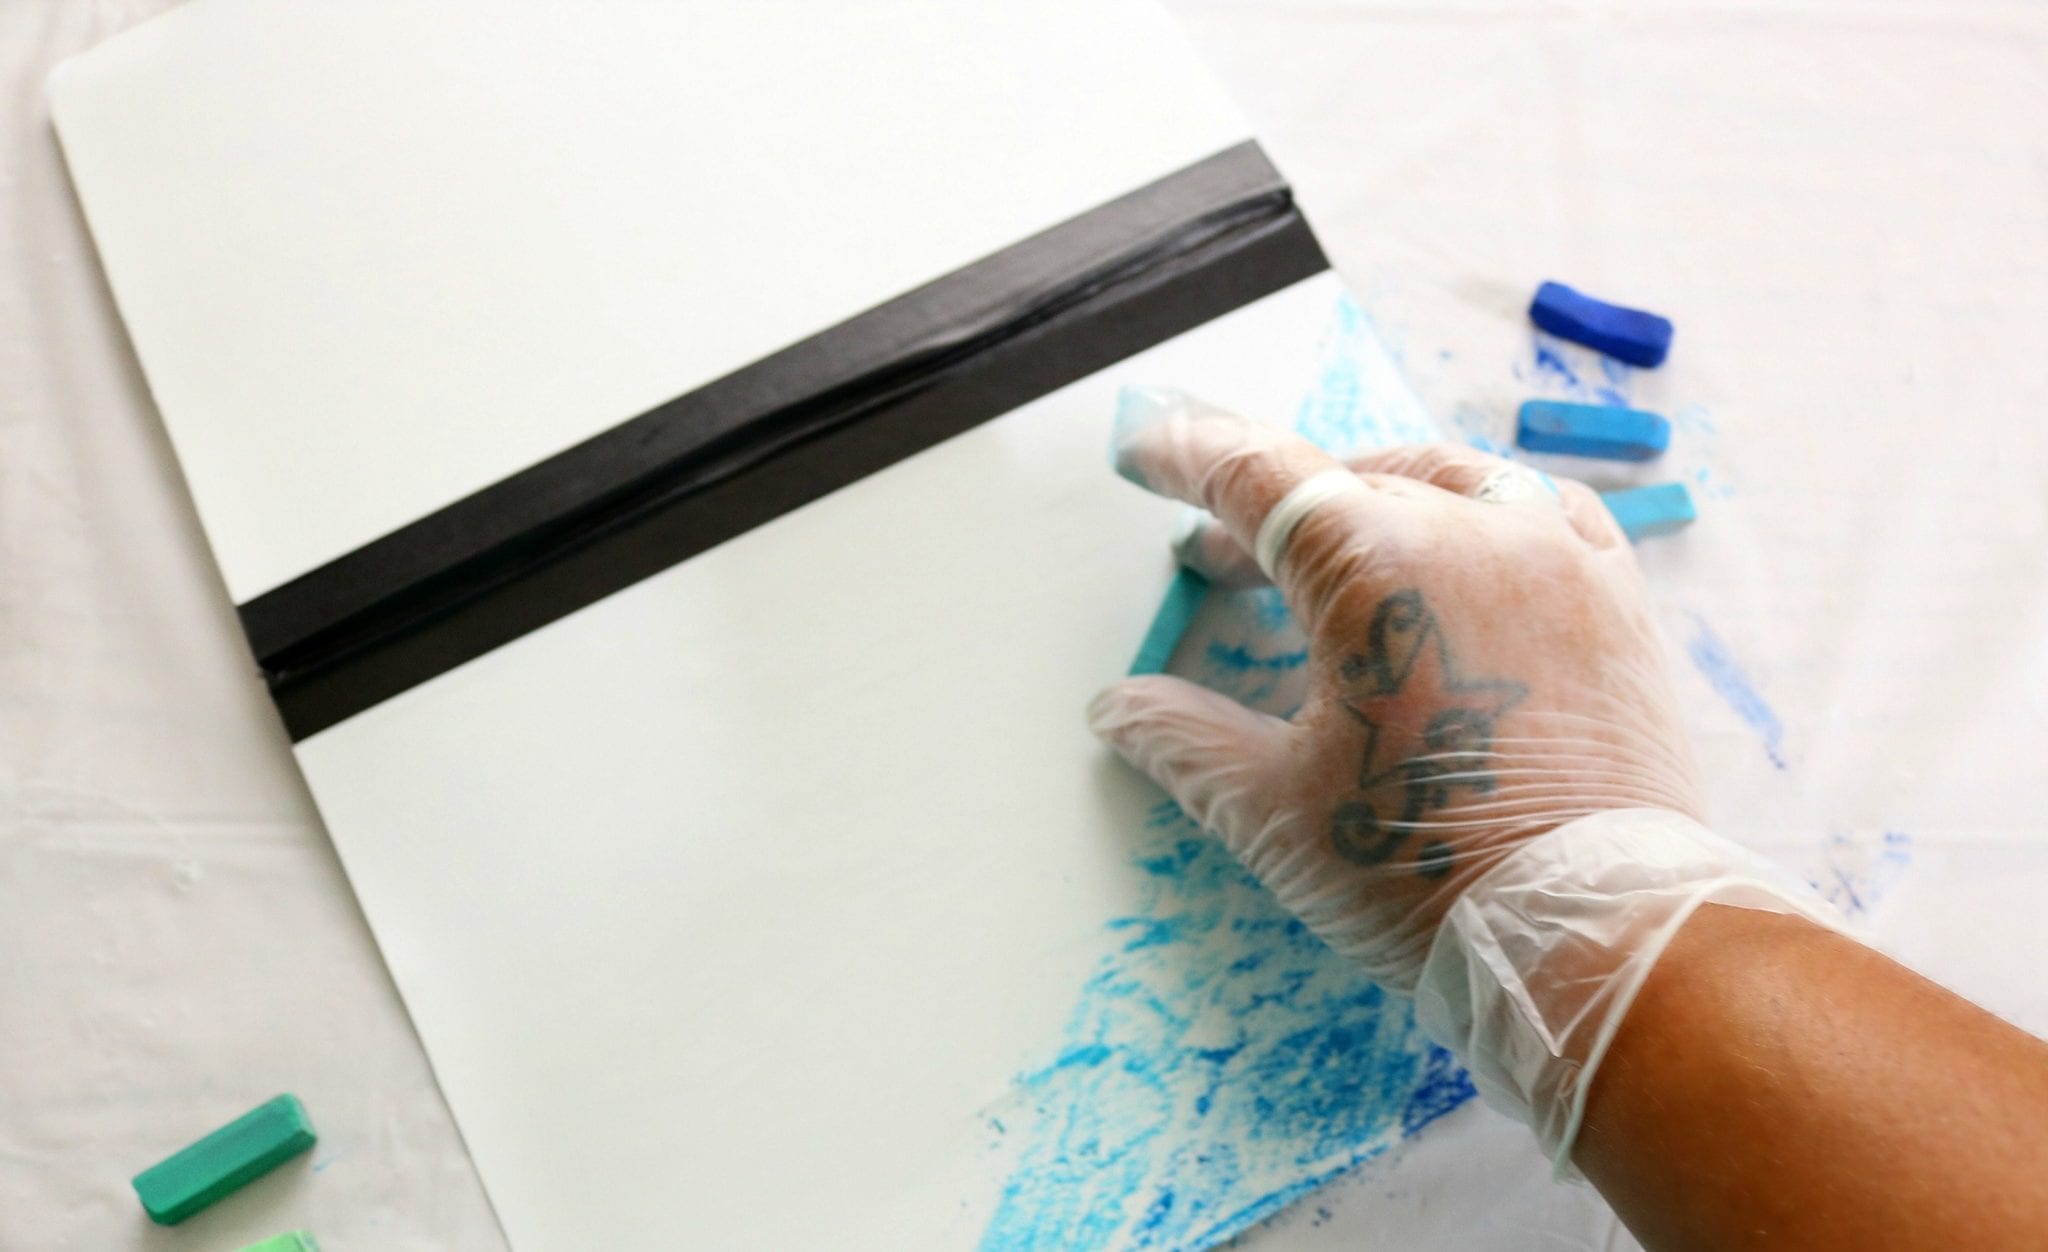
Cut the card stock to fit the size of the notebook cover (and back if you decide to do both sides).

STEP 2
Brush Mod Podge onto the notebook cover and carefully place the card stock on top, use your hand to smooth it out.
STEP 3
Use various colors of chalk in gradient tones to color in the card stock.
STEP 4
Lightly wipe with the baby wipe to blend the colors.

STEP 5
Color again if needed, touch up areas, blend again.
STEP 6
Paint mod podge over the colored area taking care to keep brush strokes as smooth as possible.
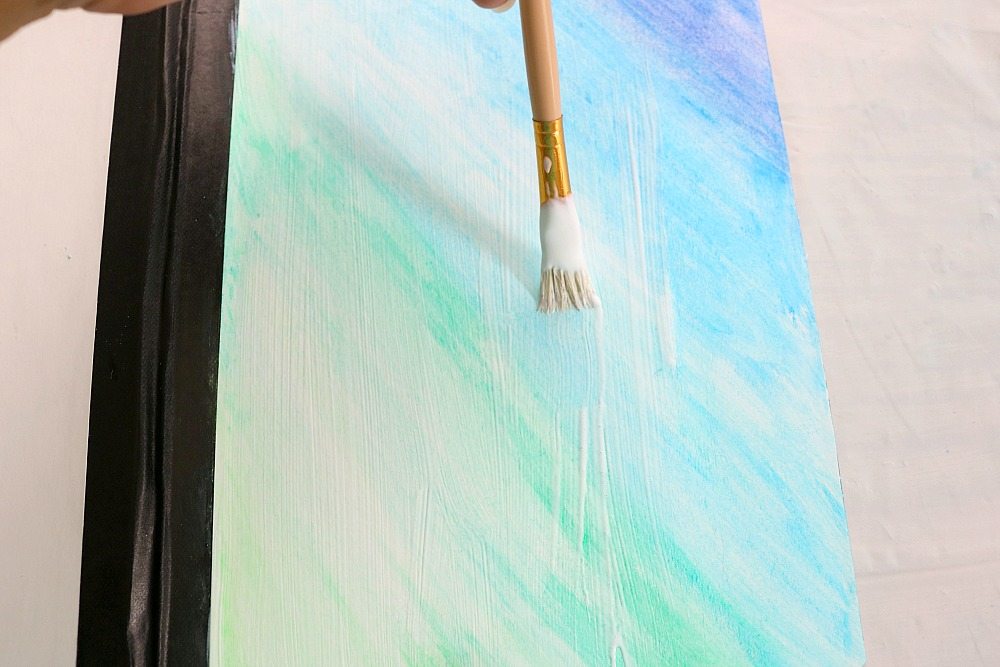
Note* Do not worry about how it looks at this point, it will dry clear!
STEP 7
Sprinkle glitter on areas of your choice.
Allow to dry.
STEP 8
Decorate the spine with washi tape, this will look cute and protect the edge of the card stock/notebook cover.
More Projects and Recipes to do with Your Kids:
About the Author: Melissa is the amazing blogger behind How to… This and That. She has been providing delicious recipes and easy crafts online since 2010.