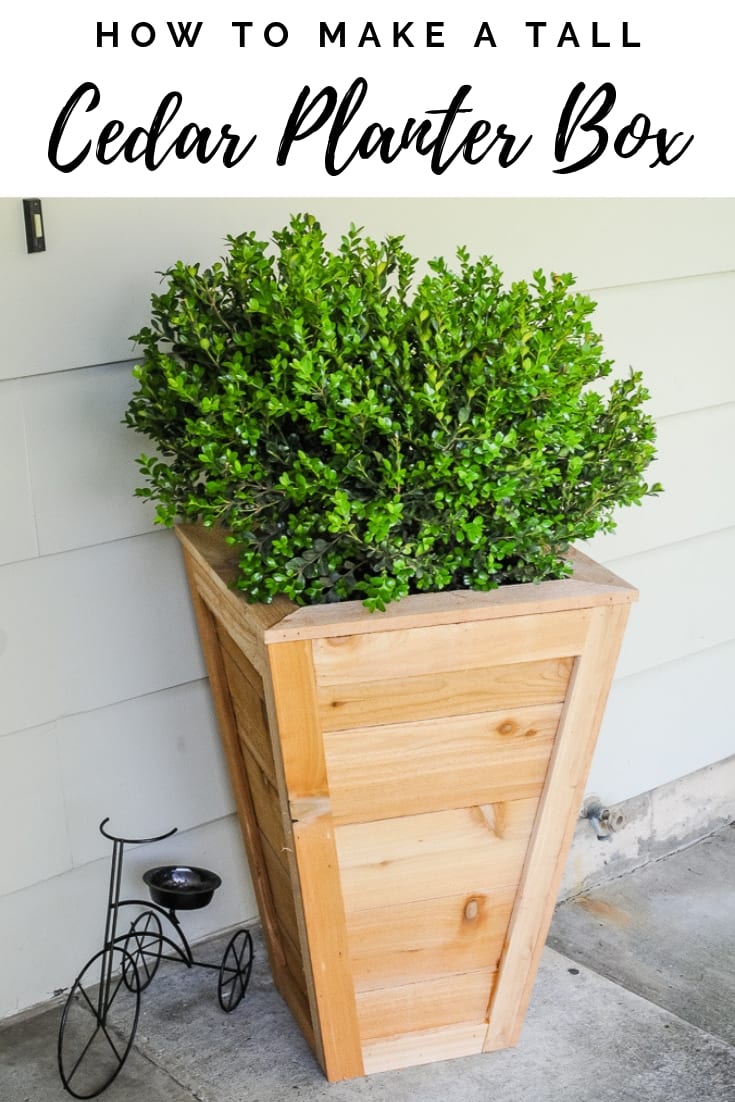
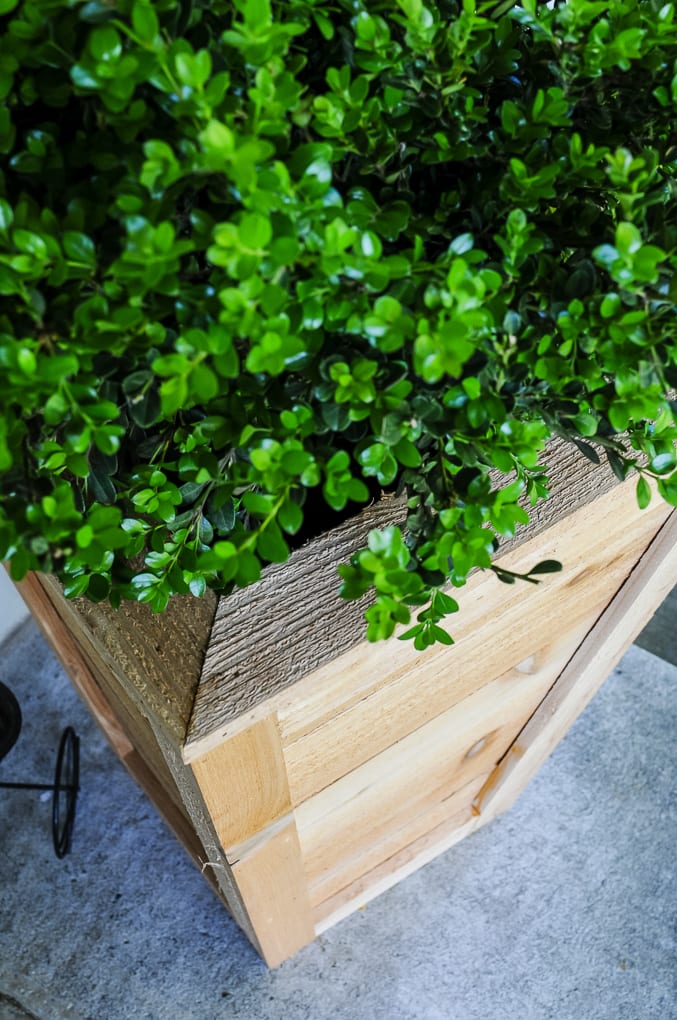
DIY Cedar Planter Box Tutorial
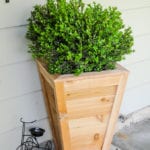
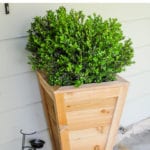

This simple DIY Cedar Box Tutorial will teach you how to make a beautiful tall planter box that adds instant curb appeal to your home! You can customize it to suit your needs, but these instructions will turn out a planter that will fit an 18″ wide container and be about 24″ tall.
Hi there, friends! This is Rachel Joy, from Joyful Derivatives, and I’m so excited to be here on Juggling Act Mama with you today! For today’s woodworking project, I’m going to teach you how to use basic cedar planks to build DIY cedar planter box for your outdoor spaces.
Cedar is one of my favorite woods to use for outdoor items because it’s got a natural rough texture (which I like the look of) and it’s a durable wood that doesn’t need staining or sealing to weather well.
You may remember the last time I was here I was teaching you how to make a house number plaque out of cedar! 🙂
These cedar planter boxes are typically around $100 from the stores, and we’re going to make them for under $30! I just love saving money with DIY projects.
Other projects of mine you might enjoy include my DIY farmhouse sign and this simple DIY folding lap desk.
I hope this tutorial for how to build a tall planter box helps you add some fun style to your front porch or patio this spring!
DIY Cedar Planter Box Materials & Tools List
You only need a few basic tools and a few things you can get from Home Depot or your local hardware store. Here is what you will need to make your own cedar planters.
- Seven (7) 5-1/2″ x 6′ cedar fence post boards
- One (1) 2”x2”x8’ common board
- Plastic, Square Flower Pot
- Exterior Wood Glue – I like Gorilla Glue brand for this
- Chop Saw
- Table Saw
- Nail Gun & Nails
Note, it’s a good idea to make sure your square pot has drainage holes before you insert it into the wooden planter box.
How To Make a DIY Cedar Planter Box
For a printable copy of the materials and instructions, scroll down.
- Start by measuring your plastic planter box. Then, use that dimension (ours was 14”) and add 4” to it. This is the dimension you’ll use for the long side of your top round of boards.
- Set your chop saw to cut at 8.5 degrees. Use the chop saw (with the angle) to trim off the end of one of your cedar boards then flip it over and cut it at your dimension from above (ours was 18”.)
- Use your first board as a template to cut three more boards at that length.
- You will need four boards at the same length with angled ends for each of the five rows of boards in the DIY tall planter box.
- For the next row of boards, use the short edge from the last row to measure and mark the long edge. Then use your saw to cut three more boards that length.
- Continue this process until you have five rows of 4 boards each.
- Next, build each of the “boxes” that will end up being stacked on top of each other to form your DIY cedar planter box.
- To do this, apply glue to the end of one board.
- Then press that up against the end of another board the same length and nail them together.
- Rotate it clockwise and nail the next board in. Once all four boards are nailed together, you end up with a tapered box!
- Do this same process for all five sets of boards.
- After that, use your table saw to rip down three of your cedar fence boards into three strips each: two at 1.5″ wide and one at 2″ wide and two of your cedar fence boards into three strips each: two at 2″ and one at 1″. You should end up with six 1.5″ strips and six 2″ strips.
- Cut the end of one of the 1.5″ strips with your angle on the chop saw. Line it up with the edge of a corner on your stacked boxes, mark the height, and cut it at that length. Be sure you’re lining the 1.5″ strip against the side of the boxes WITHOUT a seam. Put glue on the board, use an extra board to line it up nicely with the edge of the corner, and nail it into the side of your stacked boxes.
- Next, trim the end of a 2″ strip with your angle, line it up on the other side of the corner you just trimmed out, and mark, cut, and nail it in. Do this for all four corners of your box.
- Then, measure and cut 2″ trim pieces to fit between your corner trim on both the bottom and the top of each side and install all eight of those pieces.
- Once you have the entire outside structure of the cedar planter box built, measure the width of the inside about 3″ down from the top and cut two boards out of your 2×2 for the pot supports.
- Install your 2×2 supports on two opposing sides and place your plastic pot down into the box.
- Lastly, rip your final cedar plank in half and build a mitered “frame” for the top of your box.
- Measure the width of the top of your box and add 1/2″ to it (1/4″ overhang for each side) and make that the outside dimension of the frame. We used glue and clamps to hold it together so we could nail it from each side into each corner. Line it up on top with 1/4″ overhang on all sides and then nail it down into the top of your large planter box.
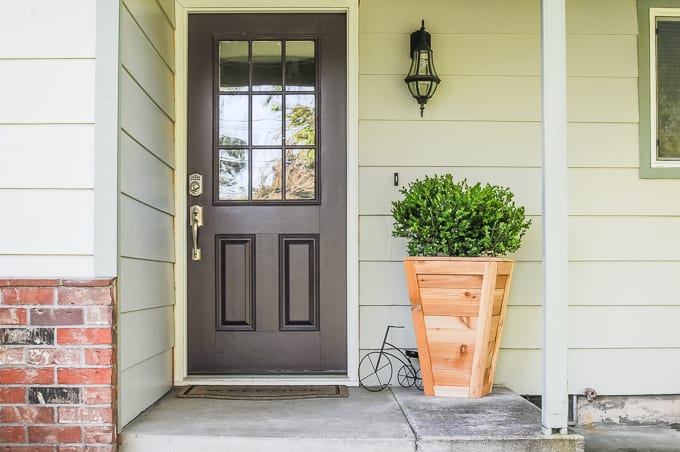
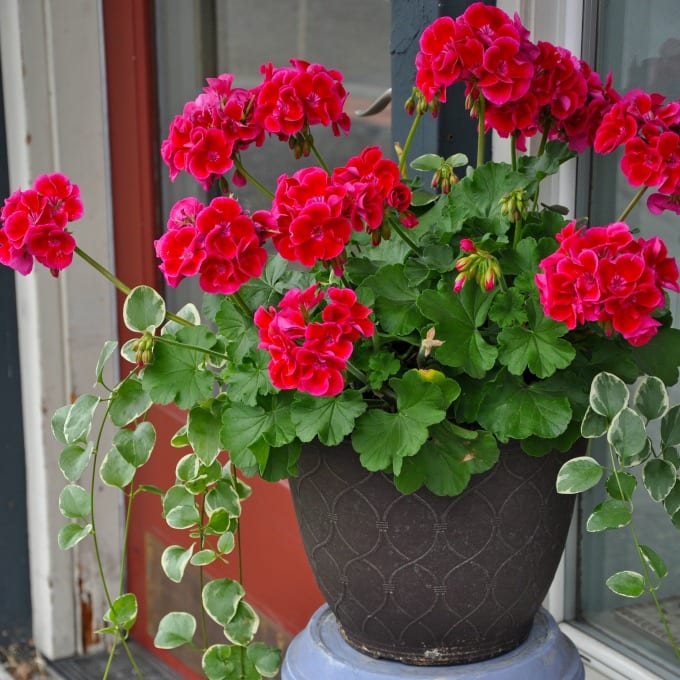
That’s it! You’re done! My favorite part of this entire project was picking out the plants to go in my DIY tall outdoor planters! For the front porch, we ended up with a boxwood. 🙂
Be sure to scroll down for a printable copy of this tutorial.

So, what do you think? I just love the way this looks outside my front door. Makes you want to bust out your tools and start making cheap DIY planter boxes, doesn’t it? 😉
Building cedar planter boxes can be really fun too – my husband and I worked together on this project and were able to complete it in about 3 hours and enjoyed working together and hanging out for the evening!
If you wanted to, you could stain this, or add a couple of coats of paint if you’re not a fan of the natural wood look.
I hope you give this tall planter box DIY project a try! Adding pots of flowers and greenery really adds style to your outdoor living space.
A big thank you, again, to Ang for letting me share this tutorial with you! I’d love it if you’d swing by Joyful Derivatives and say hello too. 🙂 We’re passionate about teaching non-designers simple and affordable ways to create a home they love to spend time in and are proud to share with others.
A few of my most popular posts are The Best Home Decor to Shop for at Thrift Stores and 40 Indoor Plants that Don’t Need Sunlight. See you over there, friends!
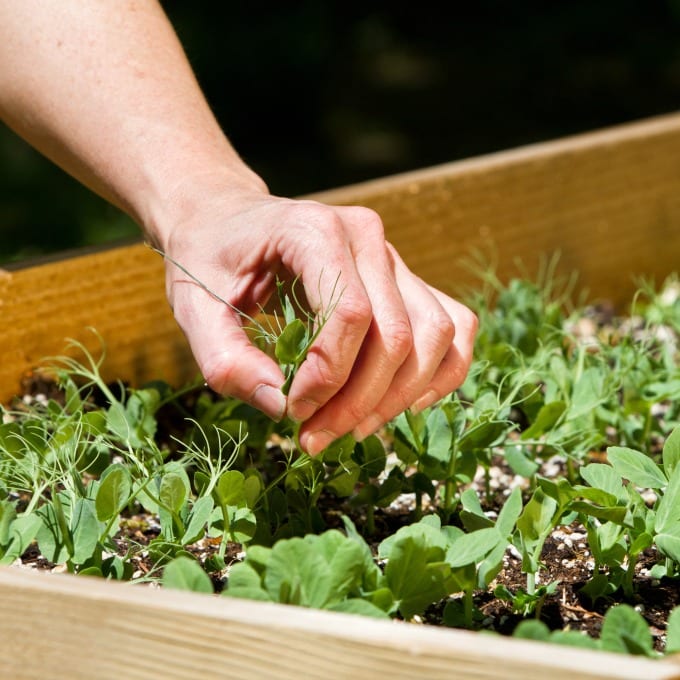
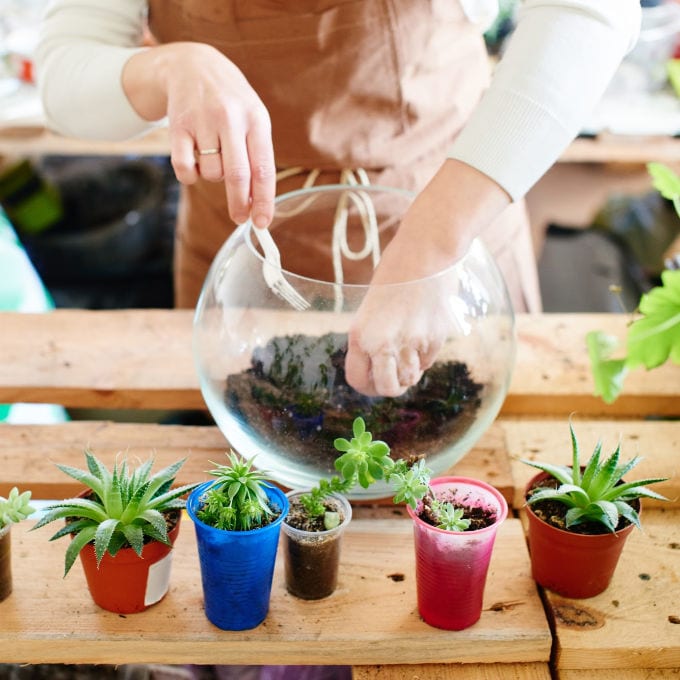
More Gardening DIY Ideas
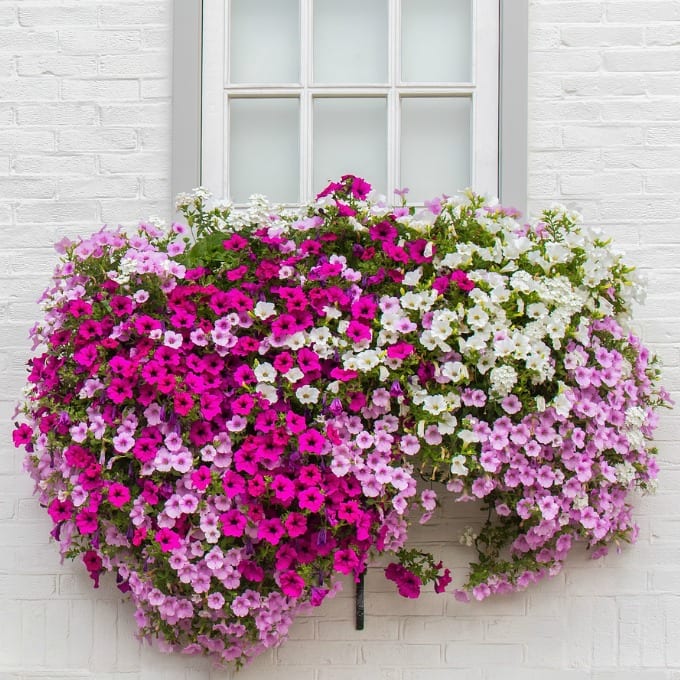
- Best Plants for Window Boxes
- What to Plant in a Raised Garden Bed
- How to Make a Succulent Terrarium
- Container Flower Garden Ideas
- Rustic Herb Garden Planter
- Outdoor Planter Bench

DIY Cedar Planter Box
As an Amazon Associate, I earn from qualifying purchases.
Equipment
- Chop Saw
- Table Saw
- Nail Gun & Nails
Materials
- Seven 7 5-1/2″ x 6′ cedar fence post boards
- One 1 2”x2”x8’ common board
- Plastic Square Flower Pot
- Wood Glue
Instructions
- 1. Start by measuring your plastic planter box. Then, use that dimension (ours was 14”) and add 4” to it. This is the dimension you’ll use for the long side of your top round of boards.

- 2. Set your chop saw to cut at 8.5 degrees. Use the chop saw (with the angle) to trim off the end of one of your cedar boards then flip it over and cut it at your dimension from above (ours was 18”.)
- 3. Use your first board as a template to cut three more boards at that length. You will need four boards at the same length with angled ends for each of the five rows of boards in the DIY tall planter box.
- 4. For the next row of boards, use the short edge from the last row to measure and mark the long edge. Then use your saw to cut three more boards that length.

- 5. Continue this process until you have five rows of 4 boards each.
- 6. Next, build each of the “boxes” that will end up being stacked on top of each other to form your DIY cedar planter box. To do this, apply glue to the end of one board.
- 7. Then press that up against the end of another board the same length and nail them together.
- 8. Rotate it clockwise and nail the next board in. Once all four boards are nailed together, you end up with a tapered box!
- 9. Do this same process for all five sets of boards. Then, use your table saw to rip down three of your cedar fence boards into three strips each: two at 1.5" wide and one at 2" wide and two of your cedar fence boards into three strips each : two at 2" and one at 1". You should end up with six 1.5" strips and six 2" strips.
- 10. Cut the end of one of the 1.5" strips with your angle on the chop saw. Line it up with the edge of a corner on your stacked boxes, mark the height and cut it at that length. Be sure you’re lining the 1.5" strip against the side of the boxes WITHOUT a seam.

- 11. Put glue on the board, use an extra board to line it up nicely with the edge of the corner and nail it into the side of your stacked boxes.
- 12. Next, trim the end of a 2" strip with your angle, line it up on the other side of the corner you just trimmed out, mark, cut and nail it in. Do this for all four corners of your box.
- 13. Then, measure and cut 2" trim pieces to fit between your corner trim on both the bottom and the top of each side and install all eight of those pieces.
- 14. Once you have the entire outside structure of the cedar planter box built, measure the width of the inside about 3" down from the top and cut two boards out of your 2×2 for the pot supports.
- 15. Install your 2×2 supports on two opposing sides and place your plastic pot down into the box.
- 16. Lastly, rip your final cedar plank in half and build a mitered "frame" for the top of your box. Measure the width of the top of your box and add 1/2" to it (1/4" overhang for each side) and make that the outside dimension of the frame. We used glue and clamps to hold it together so we could nail it from each side into each corner. Line it up on top with 1/4" overhang on all sides and then nail it down into the top of your large planter box.


This came out so nice!
Thanks so much Marie! I really appreciate your sweet note 🙂
This plant is perfect for outdoor decor. Looks so beautiful, does watering the plant will make the wood go bad?. I am worrying about that, other than that it looks perfect.
Hi Mariah! Thanks for stopping by!
Cedar is a great wood for a project like this because it is naturally resistant to rot, decay and termites. Because of this, it is not necessary to seal or stain the planter box. However, if you’d like to preserve the color, you can apply a clear stain.
First off I want to say I love this post! Wondering on the plastic insert, do I need to drill holes in the bottom for water to drain, if there were heavy rain storms so the plants don’t drown? is that a thing, I have no idea. New home owner and pinning ideas I like 🙂
Hi Amanda! The ones we used had holes, so if yours do not you will want to drill some. 🙂
Hi there,
What length cedar posts did you use? 4 ft, 6ft, or 8ft?
Thanks!
This project uses seven standard 5-1/2″ x 6′ cedar fence post boards.
These are amazing! I can’t wait to make them!
How tall are the boxes? I was hoping to make 24” boxes, give or take alittle…could you please help me adapt to know which size boards to use to make it that size.
These boxes come out to be about 24″ tall so you should be good to go.
Thanks for stopping by Carmen!
Is this box about 24” tall? Th at is the length I’m hoping for.
Hi Carmen! This comes out to be just shy of 24″ tall.
Thanks for visiting!
The how-to make the taper for each of the boards and end up with the correct different length for each was exactly what I was looking for – very helpful. We have to be thankful for sites like this on the net.
Thanks again.
These are so beautiful, I know I want to try this weekend!
Thanks so much!
These planters are so cute! I love how they turned out! Such a perfect home project for summer! This might have to be our next project! Thanks so much for sharing!!!
I’m trying to understand if the plastic planter box side sits ON the 2×2’s or is just wedged in there. I see a lip on the planter box so is that supposed to sit on the 2×2’s? or just squeezes in there? If it’s the former (sitting), then important to get the right plastic box I guess.
Hi Dave, yes it is important to get the right size planter boxes 🙂
Hi Ang
I love the flower boxes. I am definitely making them!!!
Where did you buy the plastic flower pots?
I am having a little bit of problem finding them with a reasonable price. Thanks!
I got mine at the hardware store, but I’ve found that some readers have used large square tupperware containers!
very easy direction to build the planter. I am going to try and build 2 for my front porch