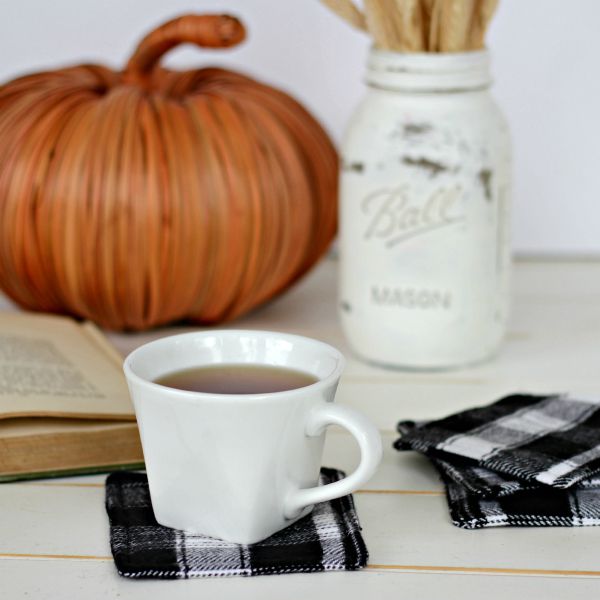
Mason Jar Lid Coasters


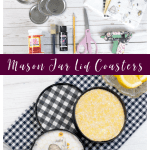


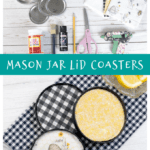
Make your own Mason Jar Lid Coasters using fabric, cork, and the lids and rings from everyone’s favorite storage item! It is a simple inexpensive way to add a little charm to your home. Plus, they also make a great gift!
I love an easy craft project. I love it even more if it means I end up with something beautiful for my home. These tick both of those boxes. They are simple to make and pretty too. And I love that as my decor changes, I can make new ones that will coordinate.
More DIY Coaster Projects
- How to Make Fabric Coasters (pictured below)
- DIY Tile Coasters from Crayons & Cravings
- River Rock Coasters from Julie Measures
- DIY Marble Coasters Using Sharpies
Mason Jar Lid Coasters DIY Project
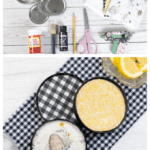
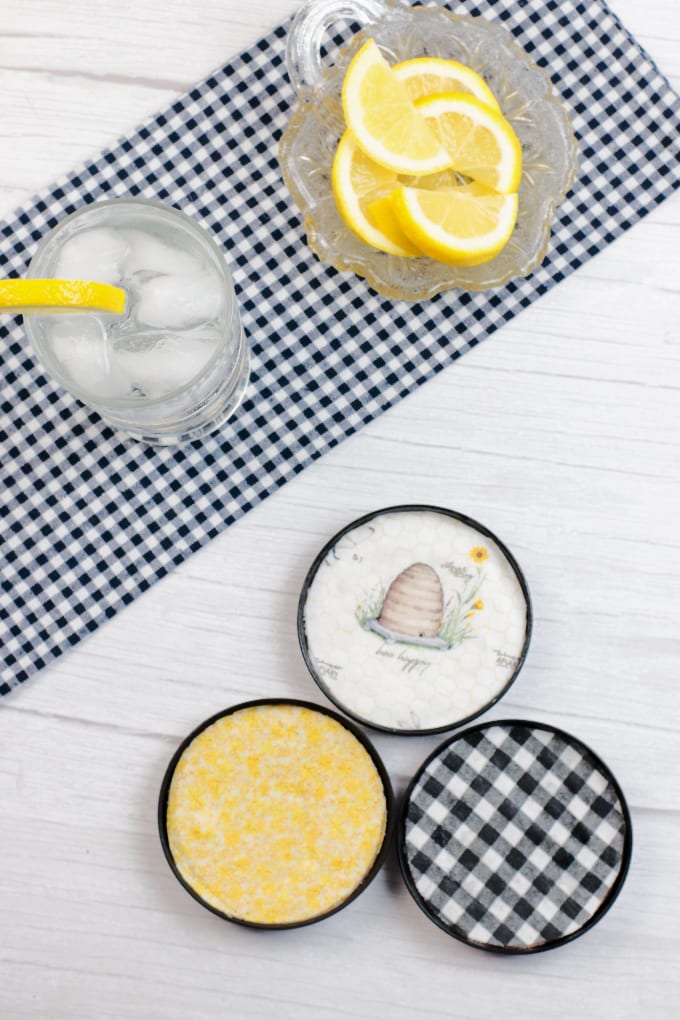
These little coasters are just so sweet and perfect for gift giving, as well as adding a homey little touch to your own space. I think you’ll be pleasantly surprised at how quick, easy and inexpensive these are to make!
- Skill Level: Easy/Beginner
- Time: about 30 minutes, plus drying time
- Cost: approximately $1-2 per coaster
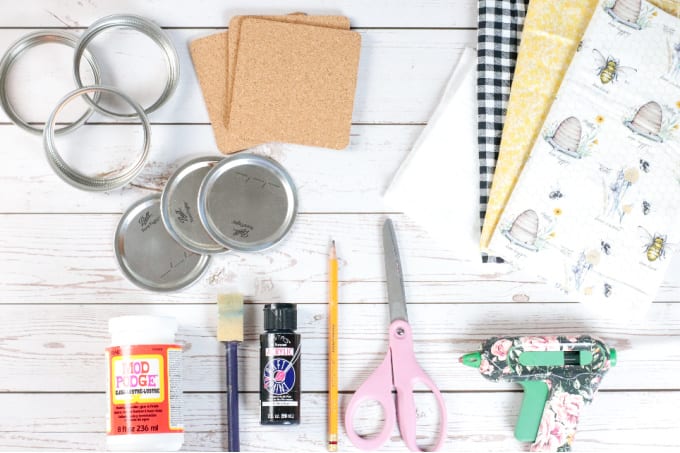
Materials
To make these lids, we recommend the following items:
- 3-wide mouth mason jar rings & lids (You can find it here on Amazon) ($0.40 each)
- Fabric (I chose 3 cute fabrics from JoAnn)
- Non-toxic acrylic paint
- Craft foam brushes (You can find it here on Amazon)
- Mod podge (You can find it here on Amazon) ($0.47 per oz)
- Cork Amazon
- 3-Insul-Brite (optional for double-sided coffee coaster) (You can find it here on Amazon)
- Pencil
- Scissors
- Hot glue gun
- Tacky glue
How to Make Mason Jar Lid Coasters
Here are the step-by-step instructions for crafting your own using fabric and mason jar lids:
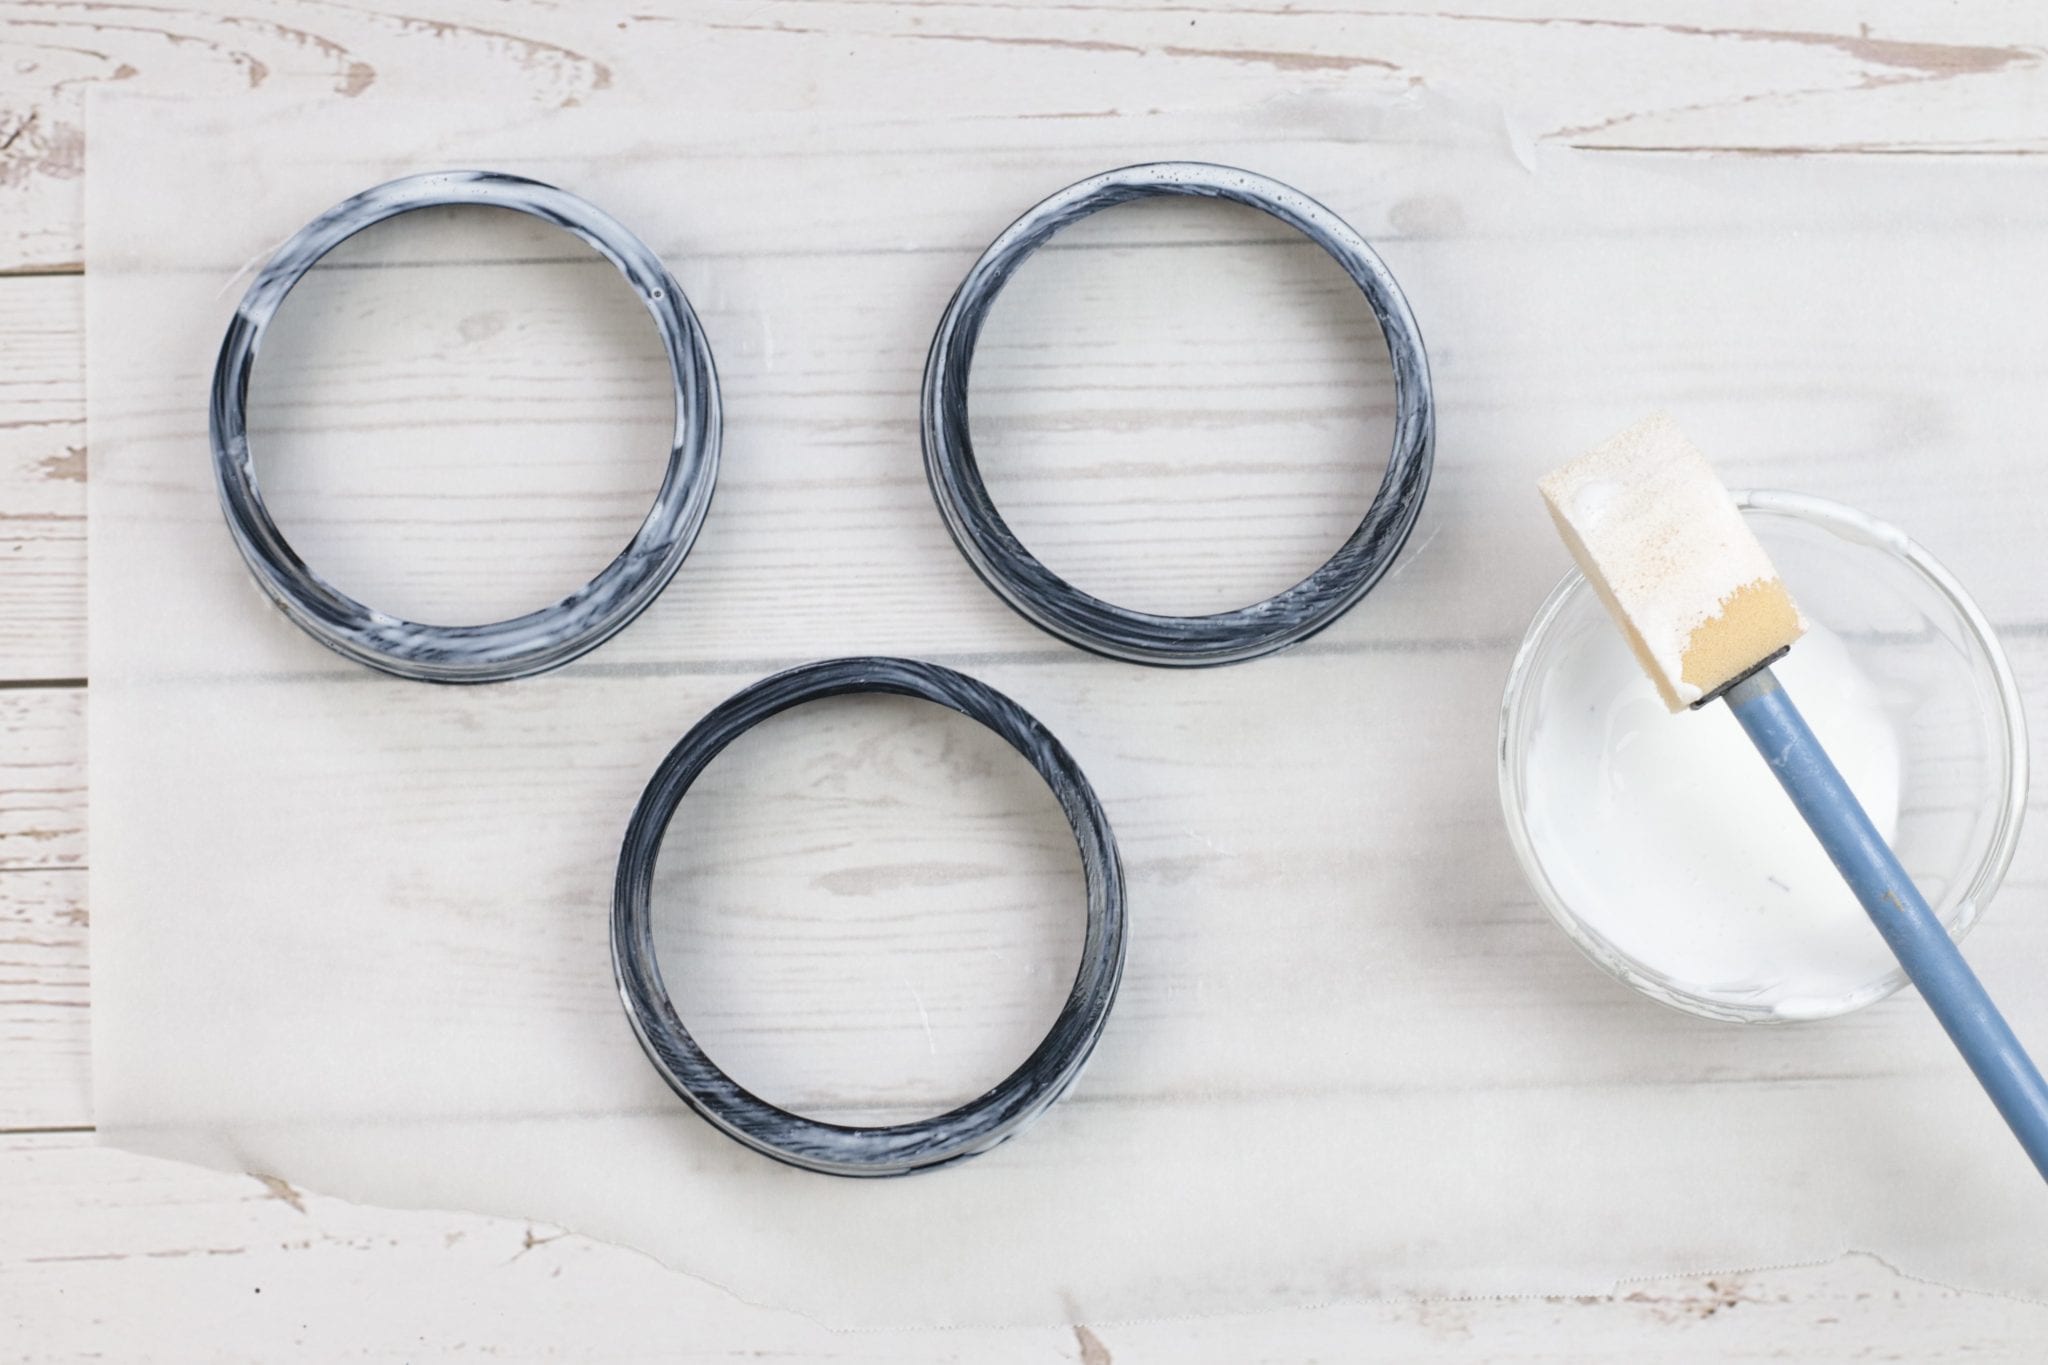
STEP 1: Wipe off your mason jar rings to be sure they are clear of dust, etc. Lay them on some parchment paper and using a brush, paint a thin, even layer of paint and allow to dry to completely (I suggest at least 30 minutes. Be sure to paint them inside and out. I suggest giving each one two coats.

STEP 2: Once your paint is completely dry, using a clean brush, completely cover each mason jar ring with a thin, even layer of the Mod Podge and allow to dry to completely (I suggest at least 30 minutes). Again, be sure to coat them inside and out. Two coats is better than one!
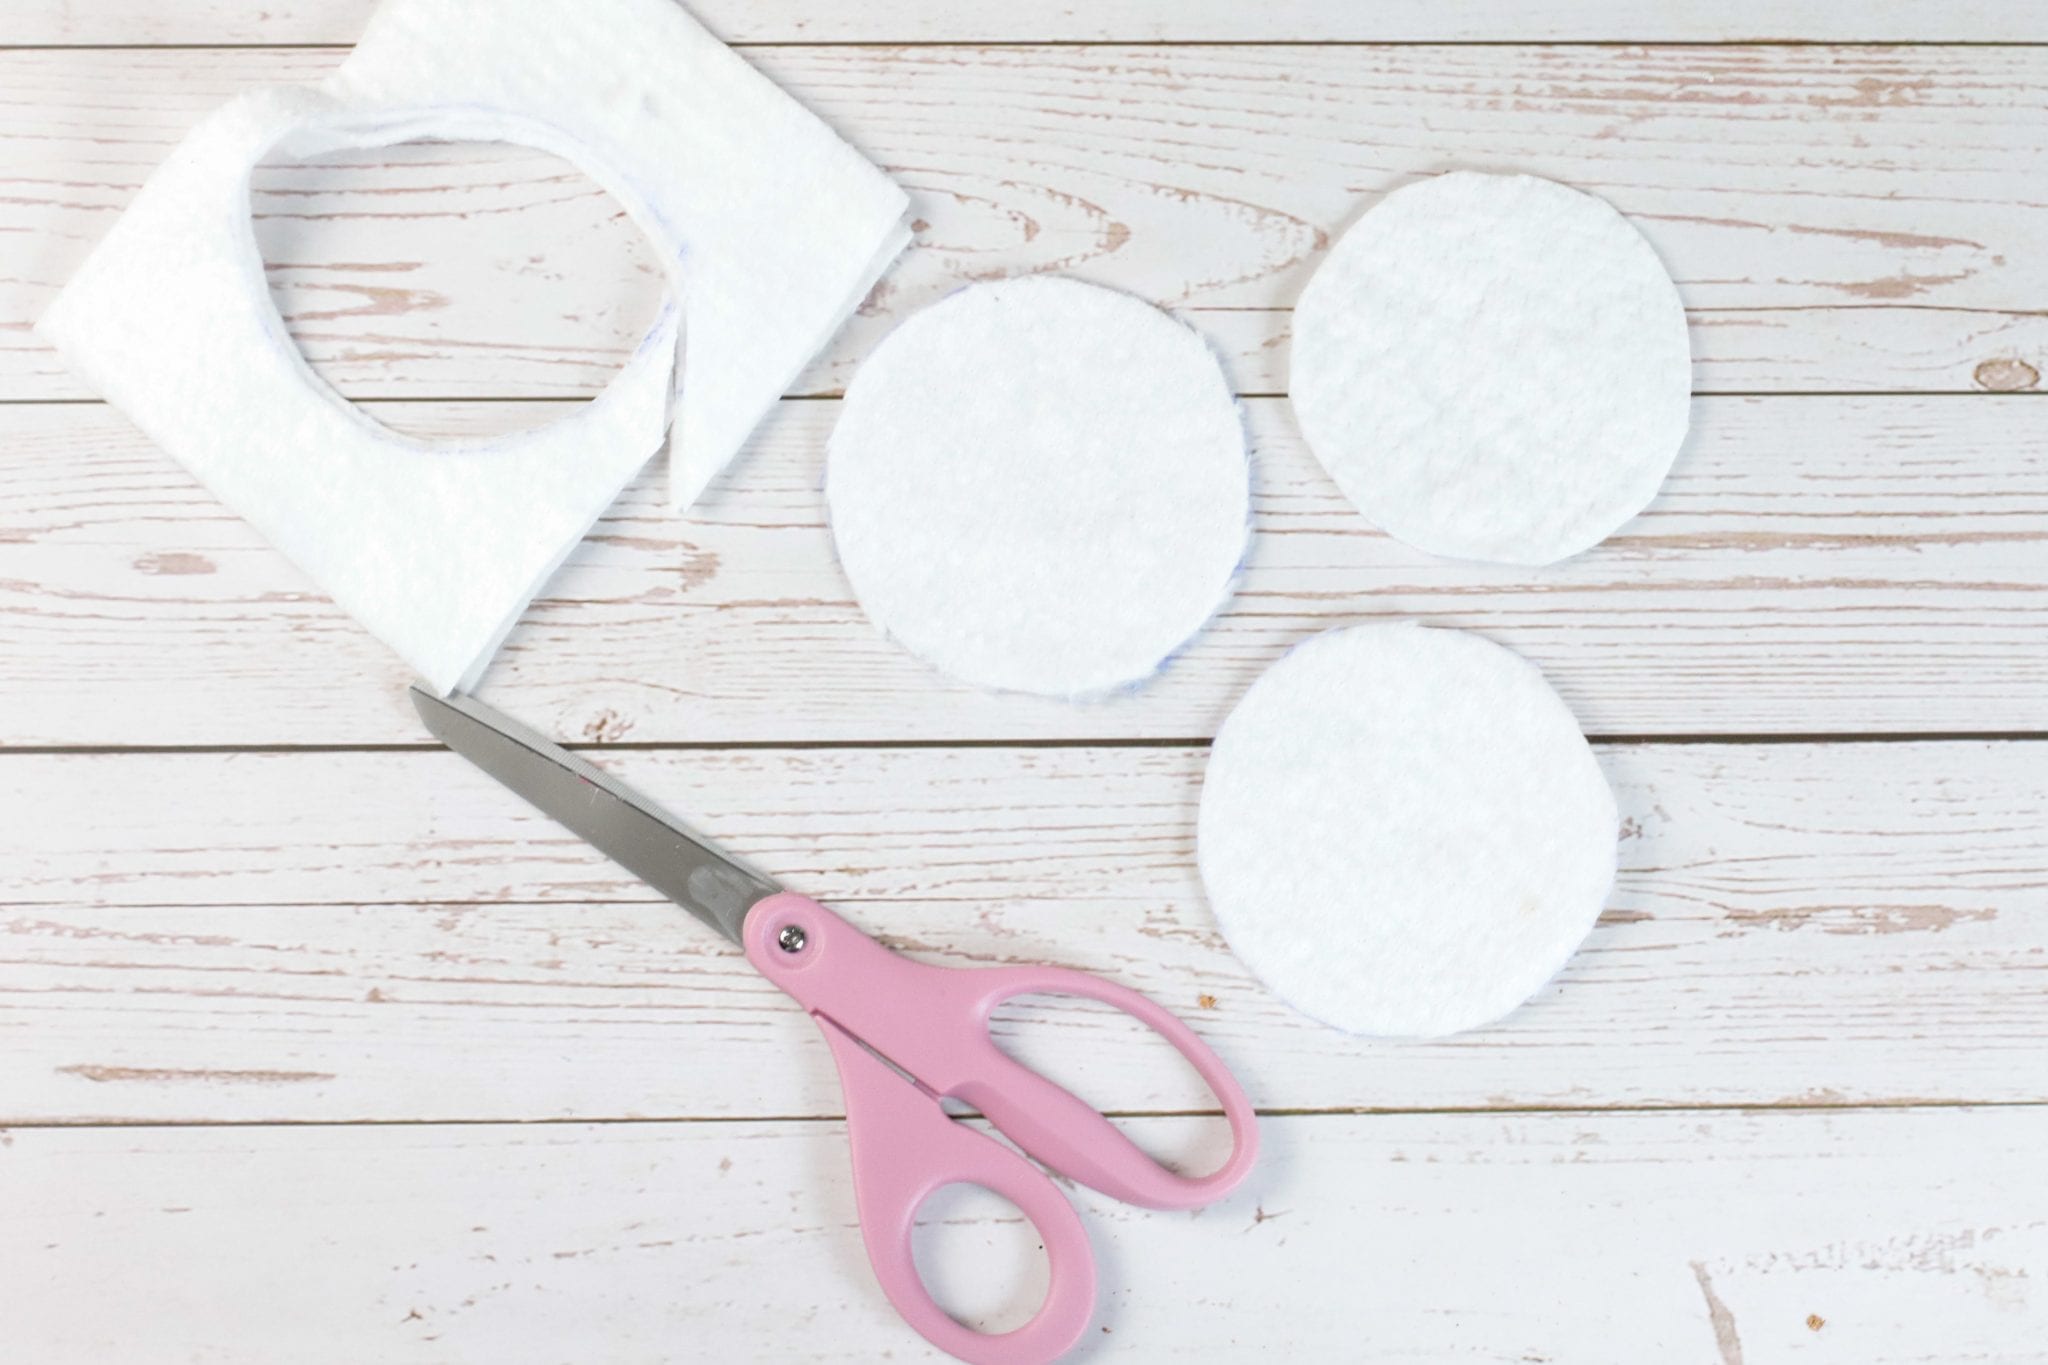
STEP 3: While your paint & Mod Podge is drying on your rings, take one of your mason jar lids and trace it around the cork and cut.
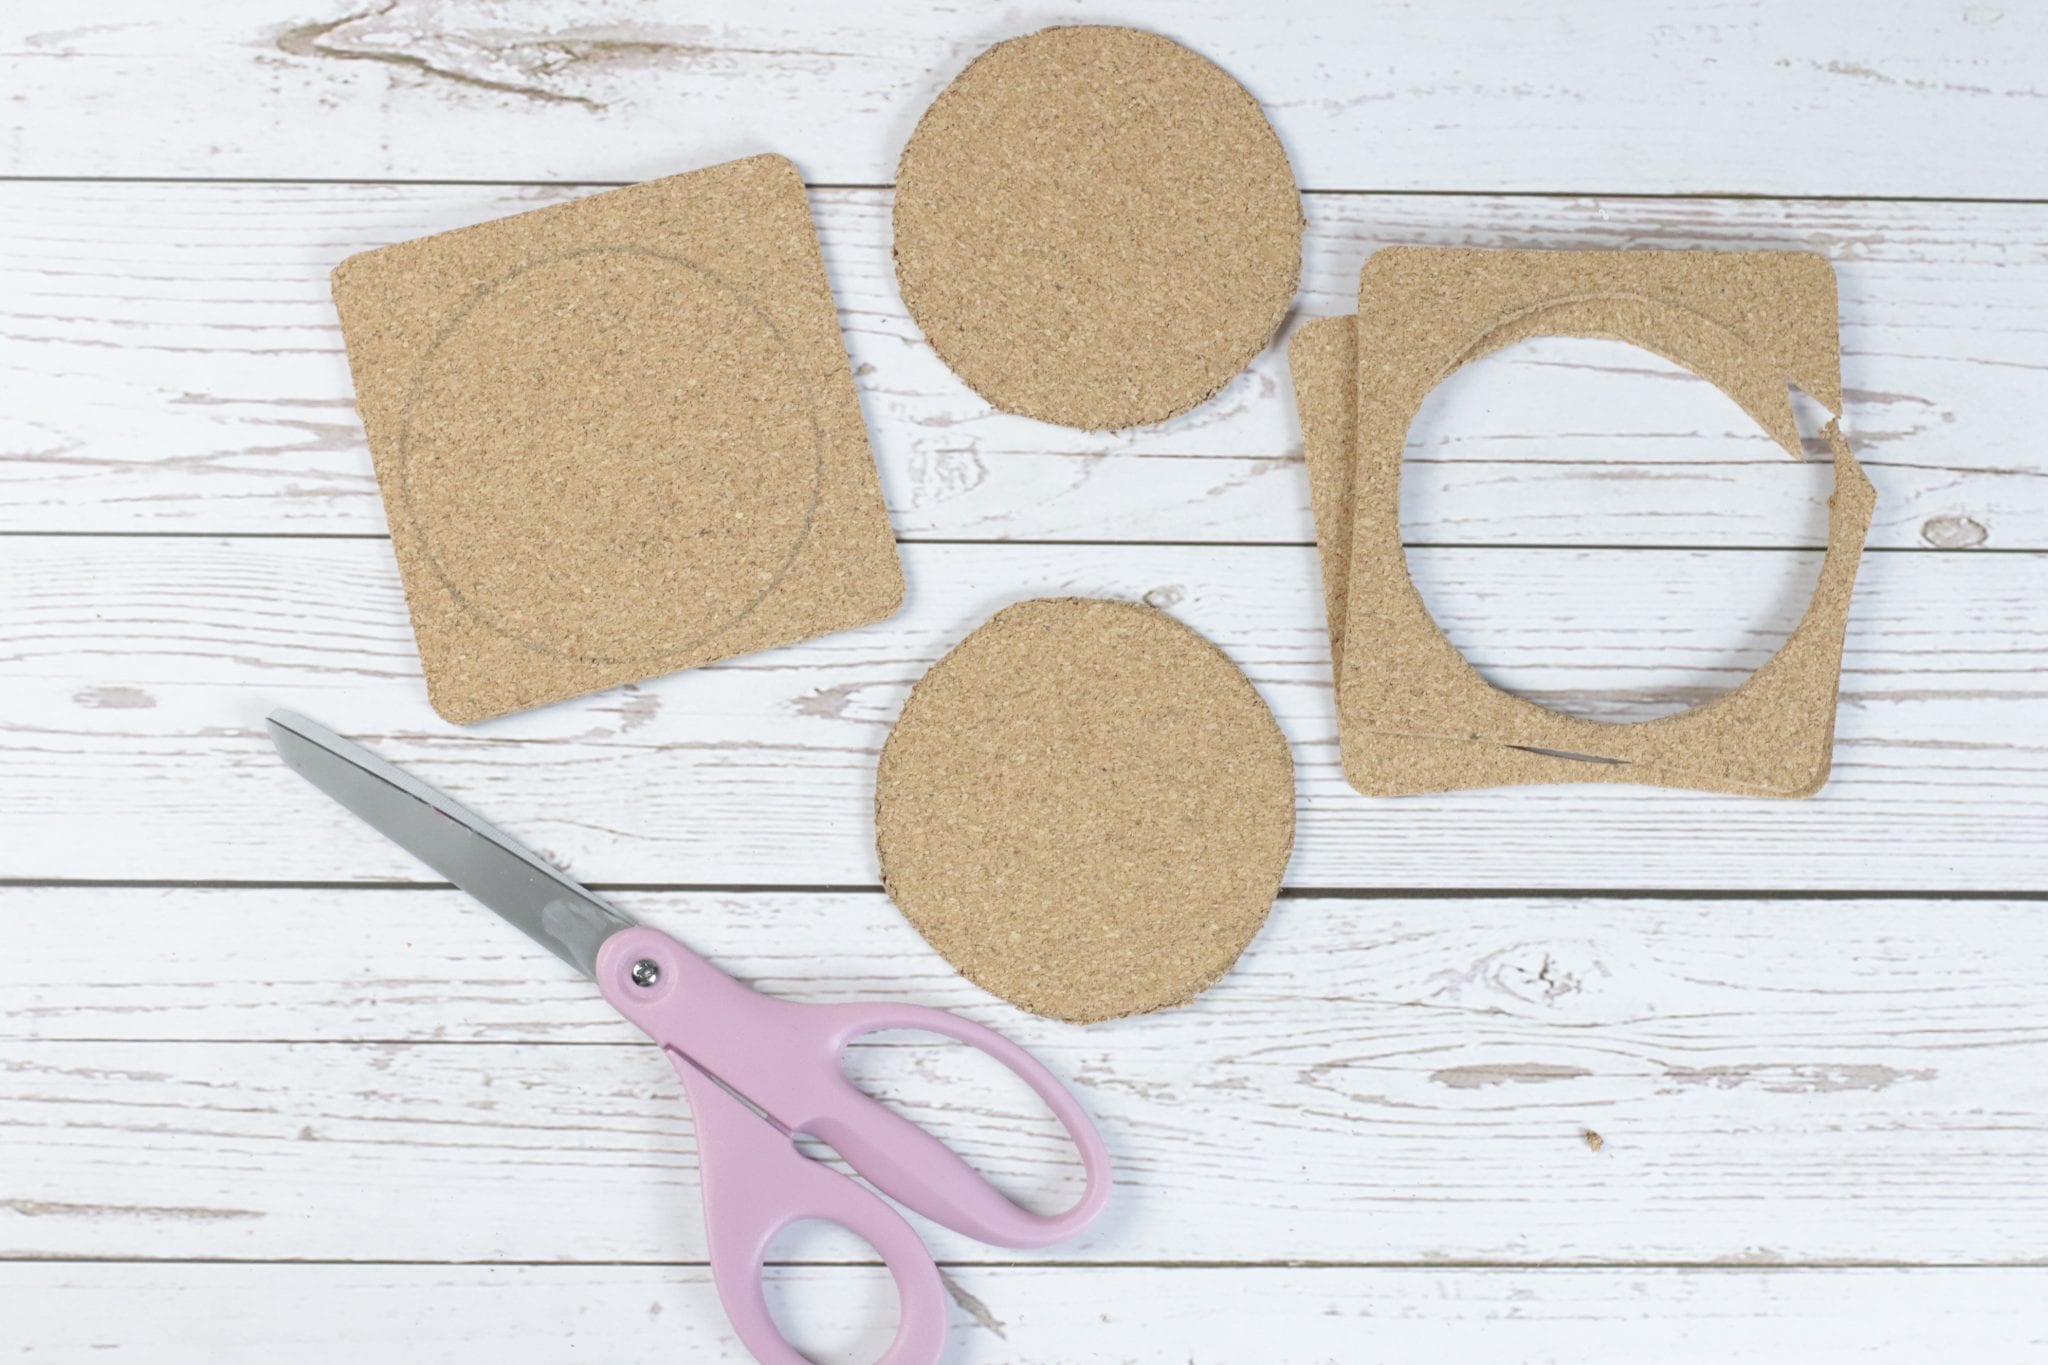
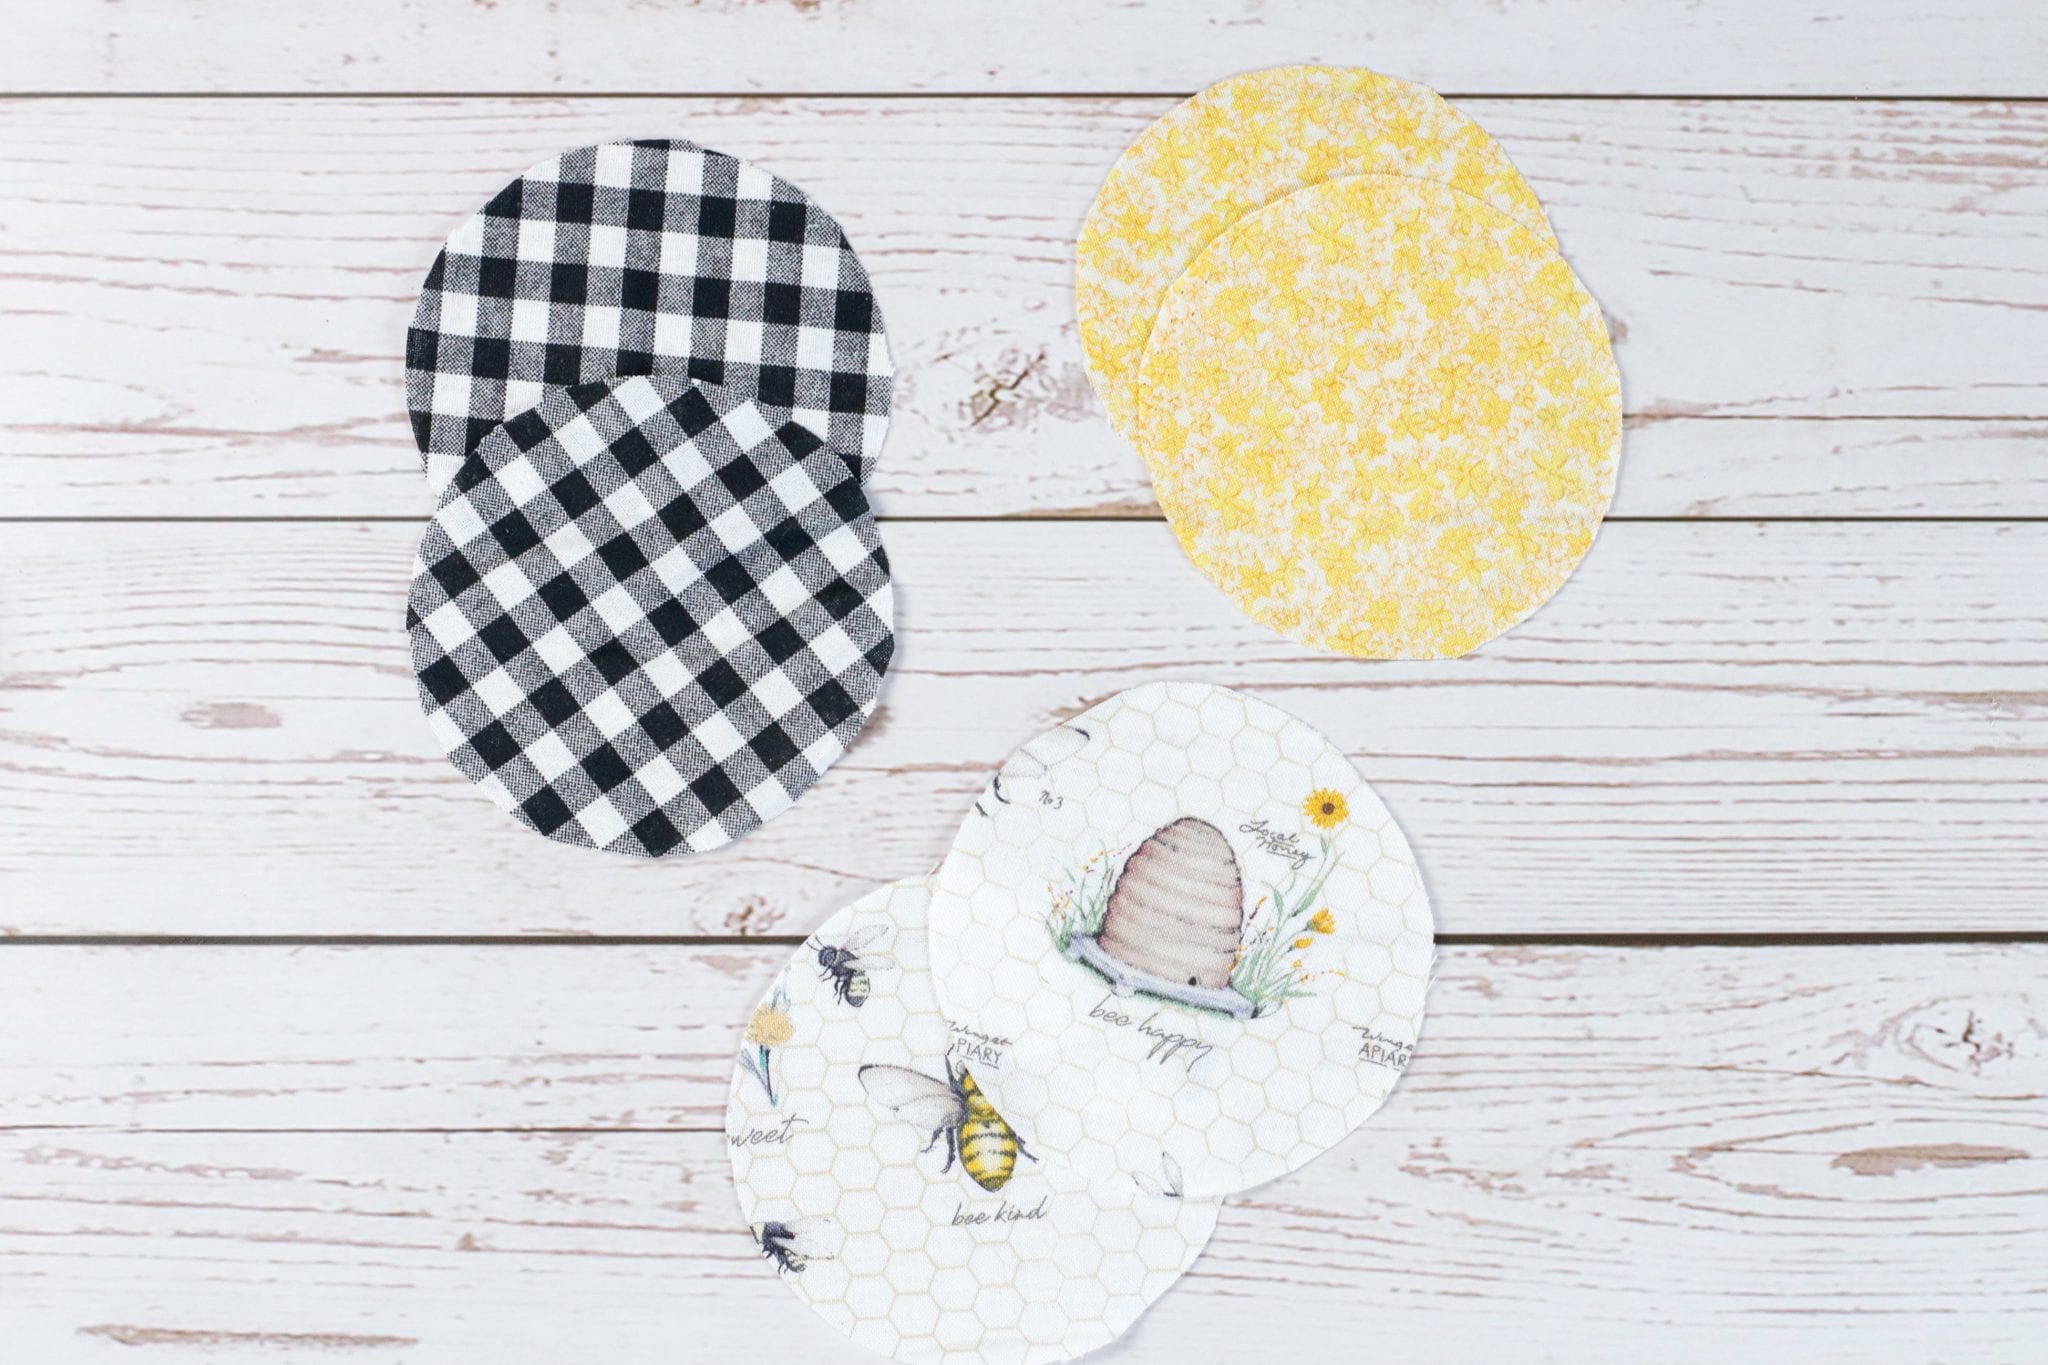
STEP 4: Repeat the step above but with each of your fabrics, you are going to cut 1 circle of each of your fabrics. If you have a print like I do with the bees, make sure you are mindful of where you place the lid when you are tracing it.
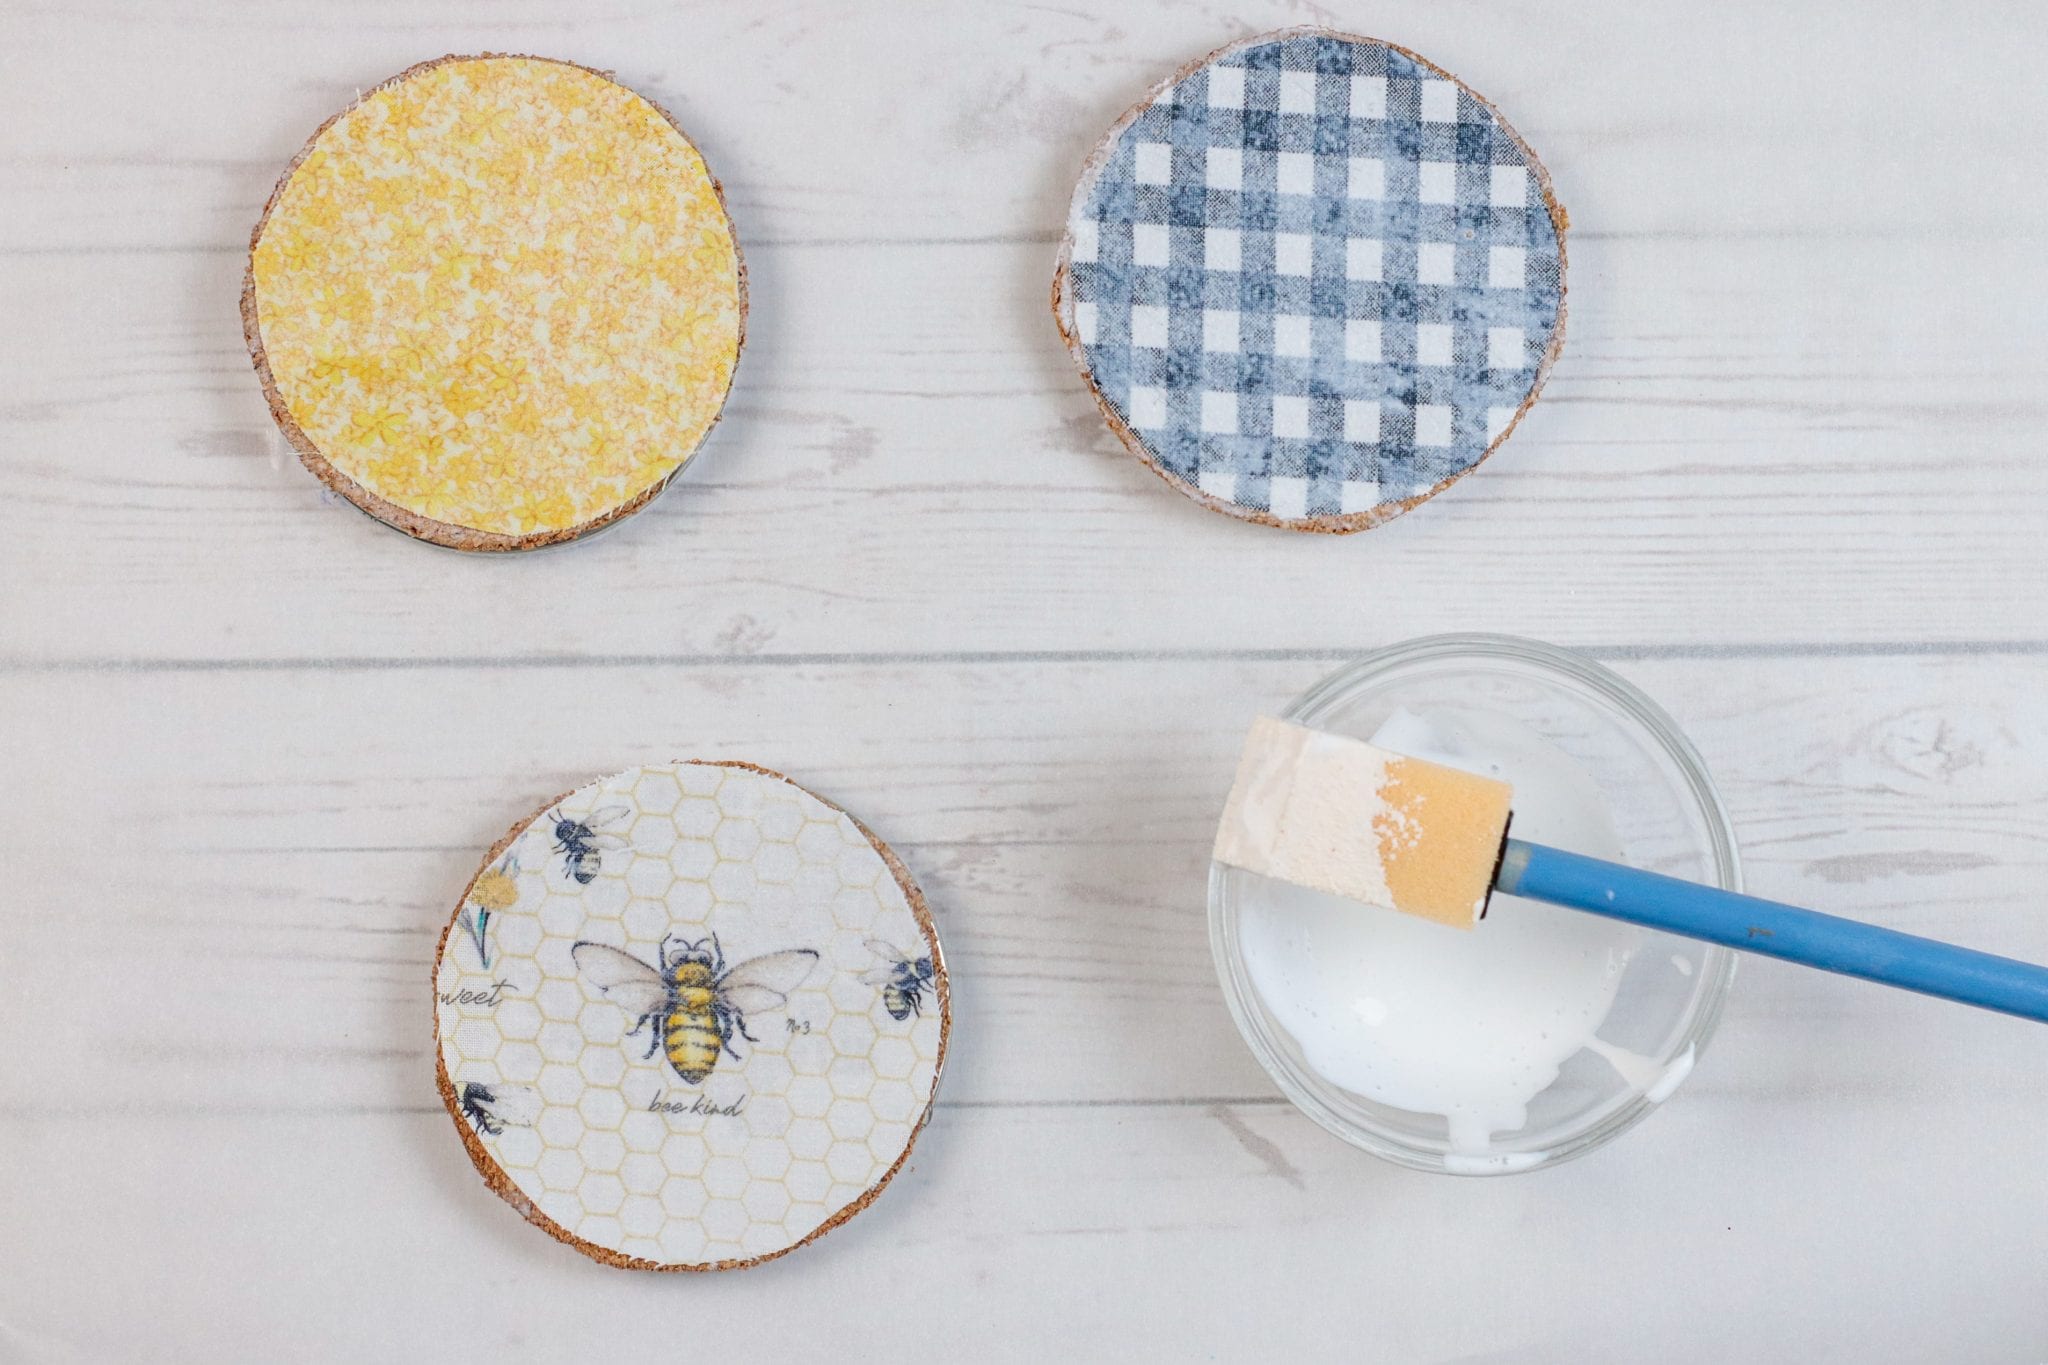
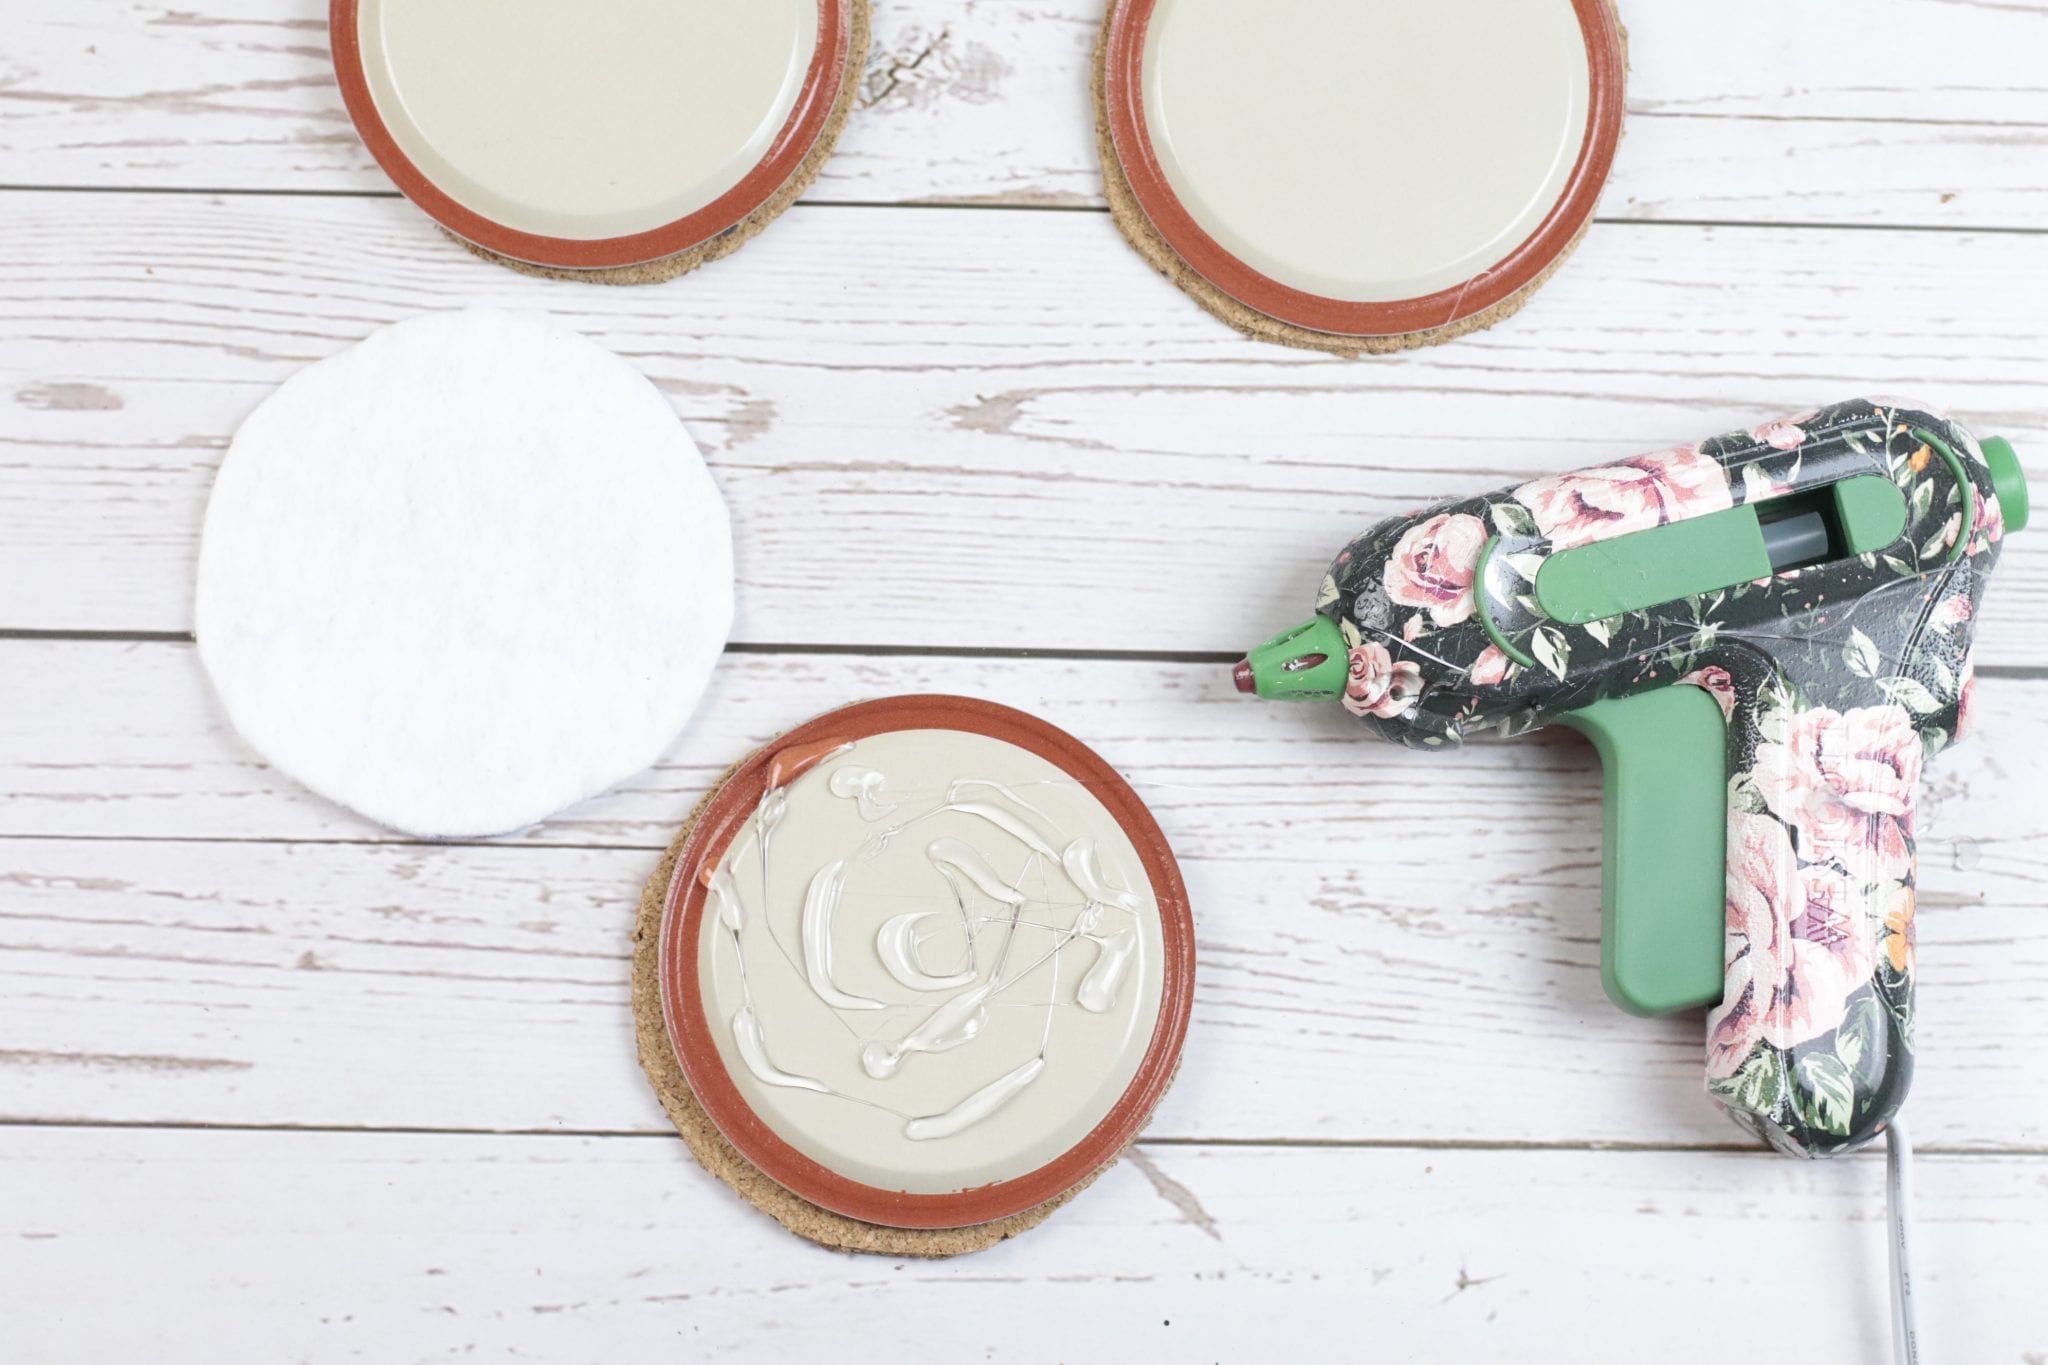
STEP 5: Using your hot glue gun, attach each of the cork circles to the top of each of the mason jar lids.

STEP 6: Place a circle of fabric on top of one of your lids and using a clean brush, completely cover the mason jar lid with the Mod Podge and allow to dry to completely (I suggest at least 15-30 minutes). I suggest giving each one two coats. Repeat with the other lids.
STEP 7: Using your glue gun, attach your fabric covered lid, fabric side up, to the inside of the mason jar ring.

With Insul-Brite for a Double-Sided Coffee Coaster:
If you are making a double-sided coaster, make these adjustments during Step 4 above: trace and cut 2 circles of each of your fabrics and you will trace and cut 3 circles of the Insul-Brite. Then, continue through and complete Step 6.

Next, use your hot glue gun or Tacky glue to attach the Insul-Brite circle to the bottom of the mason jar lid and allow to dry completely.
Now, using the same technique as in Step 6, attach your 2nd piece of fabric on top of the Insul-Brite and using a clean brush, completely cover the mason jar lid with a thin, even layer of the Mod Podge and allow to dry to completely (I suggest at least 15-30 minutes). I suggest giving each one two coats. Repeat with the other lids.
Finish up and now you’re ready to enjoy – or gift – your new DIY Mason Jar Ring Fabric Coasters!

To use the insulated side, turn over, set your coffee cup on your coaster, and enjoy!