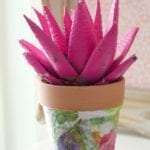
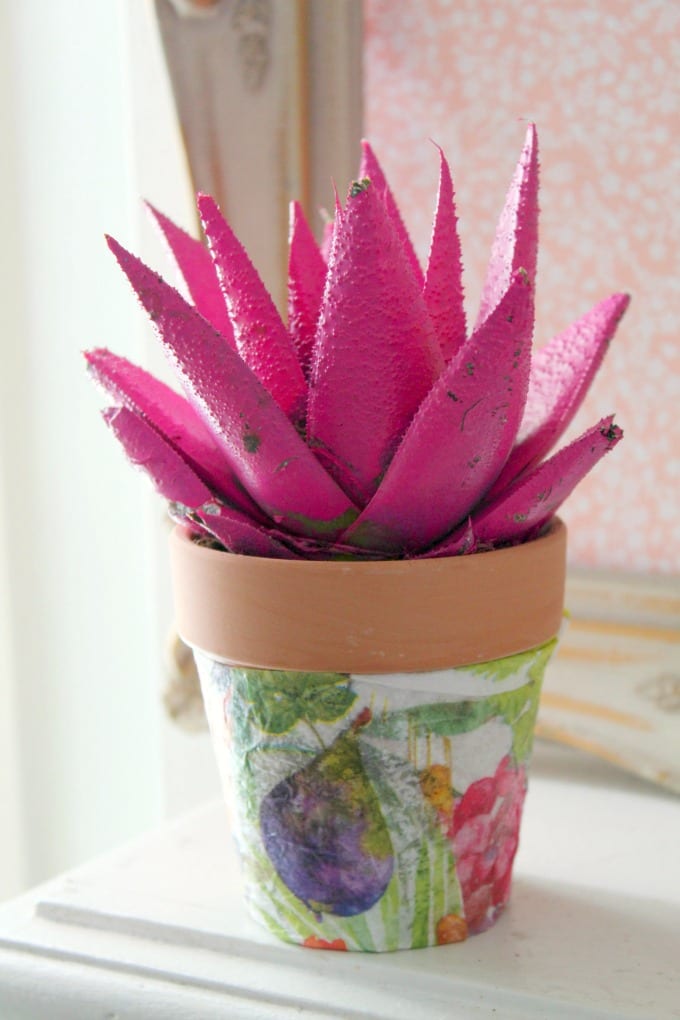
Decoupage Flower Pot Project
This Decoupage Flower Pot makes a lovely addition to your home decor, or a beautiful DIY gift for holidays, housewarmings or birthdays.
Frequently Asked Questions
Absolutely! Grab some inexpensive plastic pots from the dollar store and you can make yourself a decoupage flower pot in no time!
No, the decoupage is not waterproof so these flower pots should not be used outside unless they are on a covered porch.
Decoupage Flower Pot Project
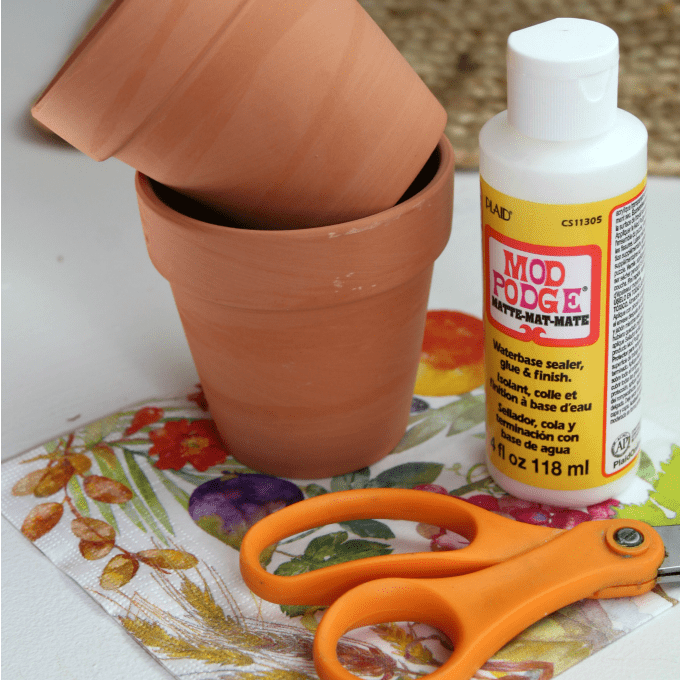
For this craft, we used a heavy paper napkin with a floral design. It worked great for this craft, so if you see a napkin design you like, you can certainly use it for this project. If you prefer, scrapbook paper works also.
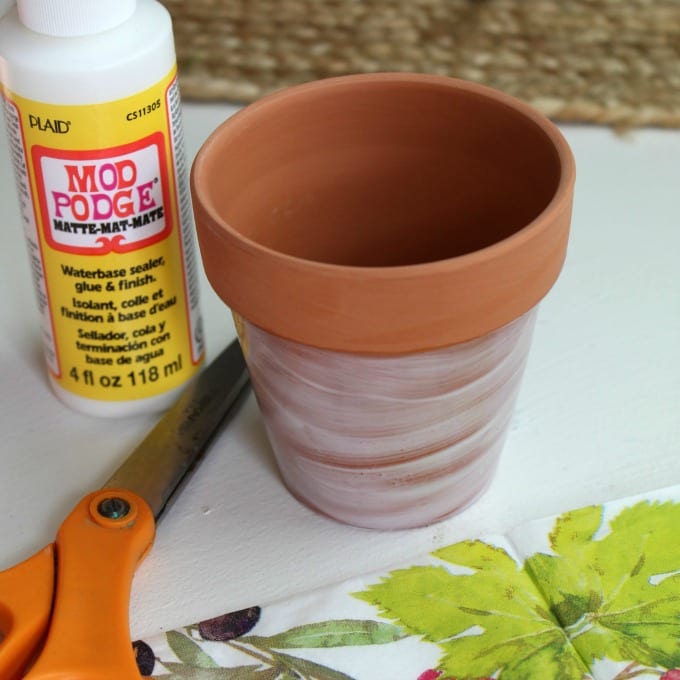
Materials:
- terra cotta flower pot
- Mod Podge in matte finish
- sponge brush or paintbrush
- scissors
- decorative napkin or scrapbook paper of choice
You can find really cool succulents like this one at your local garden store or online.
How to Make a Decoupage Flower Pot
- Begin by wrapping the napkin or paper around the pot to get an idea of how much you will need. Wrap it around and gently cut to fit, leaving about 1/2 an inch extra to be safe.
- Apply a thin layer of Mod Podge to the bottom half of the flower pot. Smooth it out to avoid air bubbles.
- Wrap the cut-to-fit napkin or paper around the flower pot. Smooth it out to prevent air bubbles.
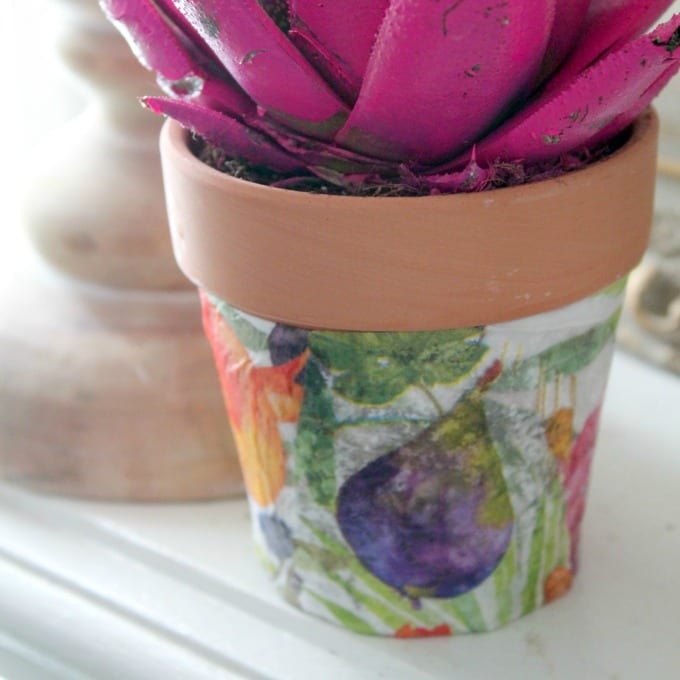
- Cover the band of the flower pot using this same method. Cut the napkin or paper to fit, add a layer of Mod Podge, and gently fold the paper over the adhesive. Press and smooth to remove air bubbles.
- Allow the paper a few minutes to settle and dry. Continue smoothing out any bubbles you may see.
- Apply another layer of Mod Podge, this time directly over the napkin/paper. Apply it in a thin coat, being careful not to saturate any area at one time. Move quickly to avoid saturation or air bubbles.
- Fill in any gaps on the flower pot using this same method. Even if the napkin/paper doesn’t cover the pot perfectly, you can easily use additional scraps to cover these spots.
- Allow the flower pot to sit for at least an hour to thoroughly dry. If you wish, you can apply another coat of product at this time. Finish off your flower pot by adding a fun plant such as a succulent!
More DIY Projects
If you liked this Decoupage Flower Pot craft, you might want to check out these other fun DIY projects:
- DIY Succulent Wreath Tutorial – Juggling Act Mama
- Teacup Planters – Housewives of Frederick County
- Concrete Planters – The Soccer Mom Blog
- Upcycled Ceramic Pots – Oh My! Creative