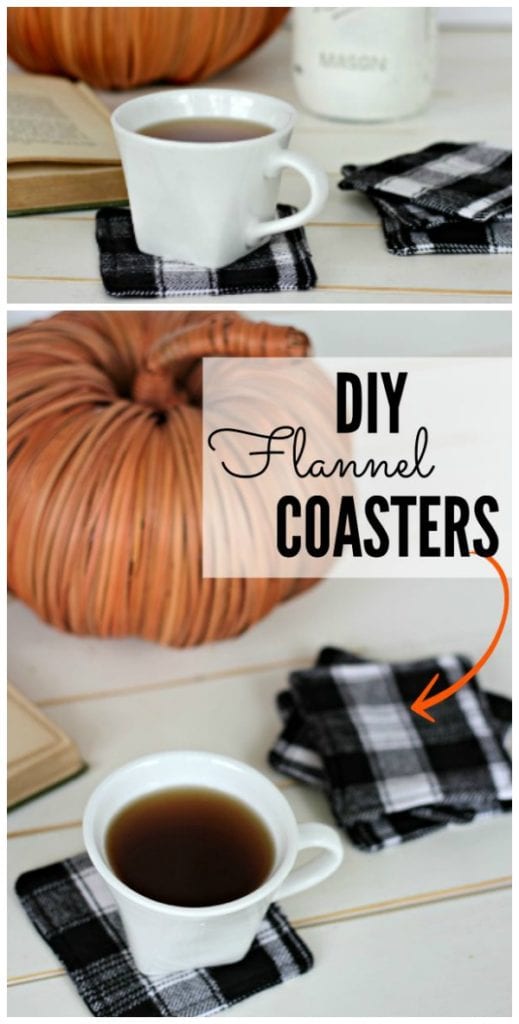
How to Make Fabric Coasters


Easy Fabric Coasters add a cozy feel to your home and make lovely handmade gifts for a housewarming or holiday party. This easy sewing project is perfect for beginners.

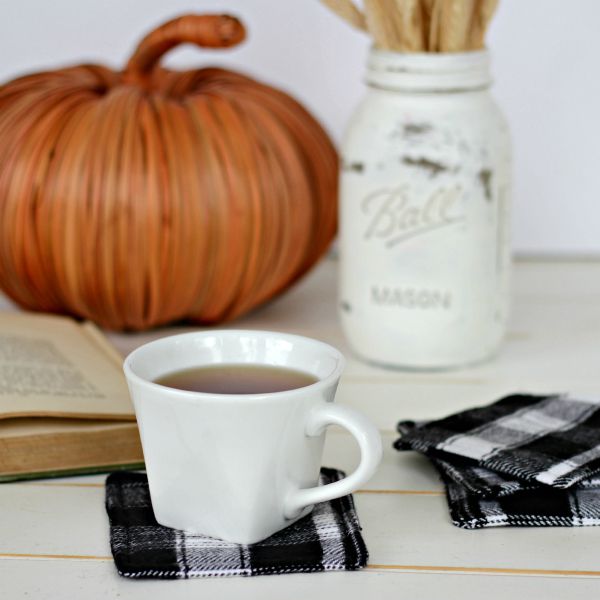
These cute flannel coasters are the perfect for your mugs of hot apple cider, pumpkin spice lattes, or hot chocolate.
Plus they’re a fun addition to your home decor. They really do add that comfy, fall-into-winter feeling to your home.
These DIY Fabric Coasters add a cozy feel to your home, but you can make them with any kind of fabric you like.
I love that these are easily washable (and dry-able). Also, they’re reversible!
They’re also beyond easy to make and can help use up any scrap fabric (or old flannel shirts???) you have lying around.
Fabric Coaster Supplies
Here’s what you’ll need for each coaster:
- Two 5″ squares of flannel (you could also make these with cotton)
- One 5″ square of felt (this will be hidden on the inside, so color doesn’t matter!)
- Sewing machine and coordinating or contrasting thread – your choice!
- Scissors and cutting mat
- An iron (ideally)
How to Make Fabric Coasters
For the full tutorial on how to make cloth coasters which you can easily print out, scroll down to the bottom of this post.
Here’s how to make your own Flannel Coasters:
- Cut your three squares (two of the flannel, one of the felt)
- Stack these three squares on top of one another IN THIS ORDER from bottom up:
- Felt
- One piece of flannel FACE UP (right side up … if your fabric has a ‘right’ side)
- And finally, the second piece of flannel FACE DOWN.
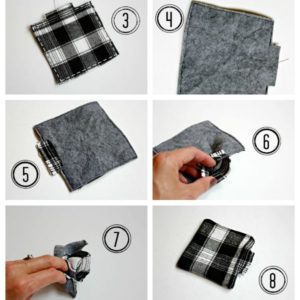
- Pin your fabric sandwich in place and begin sewing around the edges with a ~1/4″ seam allowance. One one side of the square, you’ll want to leave a gap to allow you to flip the coaster right side out. I suggest leaving about 2 1/2″ in the middle of one side (not on a corner). The white dashes in the picture above are highlighting where you should sew. Be sure to backstitch both ends of your gap.
- Next, trim any excess fabric from around your seam. When you’re trimming, however, try to leave more fabric around the gap … since you’ll be tucking this inside and top stitching to close gap.
- One more tip when trimming … leave the flannel fabric around the gap (like I just described above), but trim the felt down as shown (so the gap doesn’t get bulky when you top stitch it closed).
- Next, we’ll be flipping the coasters right-side-out. To do this, open up the coaster at the gap … between the two flannel pieces.
- Flip it right side out!
- If you flipped correctly, the felt should be tucked inside and there should be a little extra fabric at the gap.
- Tuck that extra fabric into the gap as shown and iron in place.
- To finish (and to close that gap), simply top stitch around the coaster on all four sides. Here’s where you can choose a contrasting thread color for fun.
That’s it! Each fabric coaster only takes a couple of minutes. I like that they don’t look ‘perfect’ when they’re done. They’re just a little shabby chic, cozy comfort on my coffee table!

Don’t they just make you want to sip hot apple cider by the fireplace while reading a good book?!?
PS – If you enjoy sewing tutorials, don’t miss this Anthropologie-Inspired DIY Oven Mitt tutorial.
More Fall DIY Crafts
We have loads of fun Fall projects and crafts. Here are some of our most popular ones:


from left to right
- Easy 5 Minute Fall Wreath
- Pumpkin Garland Cricut Project
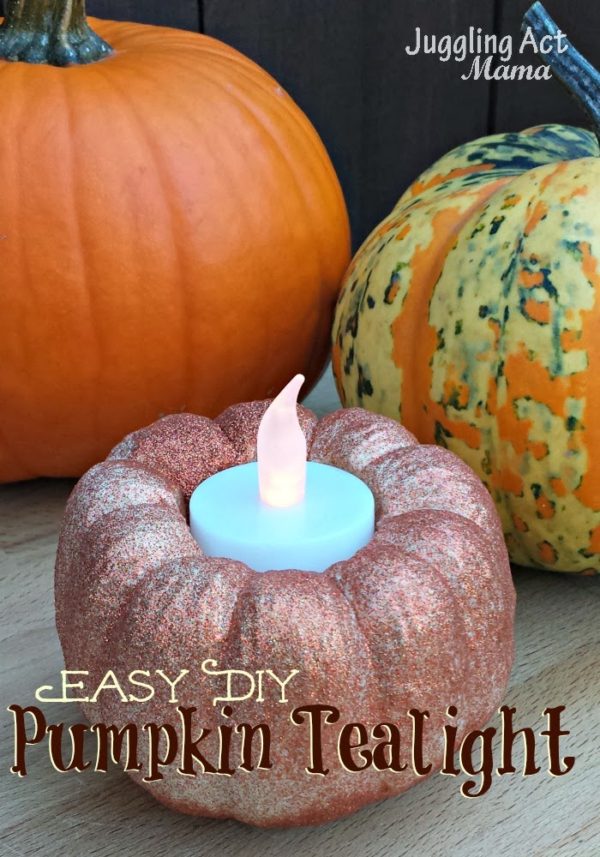
- Easy Pumpkin Tealights
- Autumn Bucket List Printable

DIY Flannel Coasters
As an Amazon Associate, I earn from qualifying purchases.
Equipment
- Sewing machine and coordinating or contrasting thread – your choice!
- scissors
- An iron (ideally)
Materials
- Two 5″ squares of flannel
- One 5″ square of felt this will be hidden on the inside, so color doesn’t matter!
Instructions
- Cut your three squares (two of the flannel, one of the felt)
Stack these three squares on top of one another IN THIS ORDER from bottom up:
- Pin your fabric sandwich in place and begin sewing around the edges with a ~1/4" seam allowance.
- One one side of the square, you'll want to leave a gap to allow you to flip the coaster right side out. I suggest leaving about 2 1/2" in the middle of one side (not on a corner). The white dashes in the picture above are highlighting where you should sew.
- Be sure to backstitch both ends of your gap.
- Next, trim any excess fabric from around your seam. When you're trimming, however, try to leave more fabric around the gap … since you'll be tucking this inside and top stitching to close gap.
- One more tip when trimming … leave the flannel fabric around the gap (like I just described above), but trim the felt down as shown (so the gap doesn't get bulky when you top stitch it closed).
- Next, we'll be flipping the coasters right-side-out. To do this, open up the coaster at the gap … between the two flannel pieces.
- Flip it right side out!
- If you flipped correctly, the felt should be tucked inside and there should be a little extra fabric at the gap.
- Tuck that extra fabric into the gap as shown and iron in place.
- To finish (and to close that gap), simply top stitch around the coaster on all four sides. Here's where you can choose a contrasting thread color for fun.
Notes
More DIY Project Ideas:
These are great! and so simple! I think I will make a few and then wrap them up cute for Christmas gifts. Thanks for the great idea!
Oh my these are adorable! I know I’ve got flannel just sitting in my fabric bin. I probably even have felt, too. I think I’ll get some of these made for gifts. Thanks for sharing such a cute craft! ~Adrienne
These are so cute and seem very easy for a novice sewer.
I even have flannels of my husbands that he does not wear anymore that I can use as fabric. Thank you for this post.
wow Katie, I love everything flannel. I hate to sew, but even I could whip these up! I seriously love how these coasters turned out.
pinning!
gail
These are beautiful – I love the black and white plaid!!
Awesome! I’m sharing these in tomorrow’s fall post, and I’ll link to your post, of course. Thank you! 🙂
To get a nice square corner, stop stitching just before turning the corner, and instead of making a 90° turn, take one or two small stitches diagonally across the corner. Repeat at each corner. Since sewing is an “inside-out” job, what we see on the outside is opposite to what we see on the inside. When turned right side out, the diagonals show up as nice, square corners.
Great tip – can’t wait o try it.
These are so FABULOUS!
Do you make these for sale…like on ebay or Etsy?
Also, is there a “no sew” version?
Thanks for your note! There is not a no sew tutorial at this time.
I would suggest sewing down the center or corner to corner when they are right side out. Otherwise the felt will bunch up when you wash them.
These are great! In making coasters in the past I find that Foamies Foam Sheets work better inside than felt in high humidity areas. The foam keeps the condensation from cold drinks from soaking through.
What a great tip, thanks!
Thanks for sharing! Can they go through the wash ok?
Hi Vanessa! You know, I haven’t tried putting them through the wash. I hand wash them and hang to dry.
Thanks for stopping by!
Love this idea for Fall! I wonder if you could add a few drops of pumpkin spice or cinnamon essential oils to the felt? A warm cup of tea would smell nice!
Could you use fusible fleece? I have that on hand so I thought I would try that:)
We’ve not tried that before so I’m not sure. Let us know how it turns out if you decide to make them that way!