Easy 5 Minute DIY Fall Wreath


You’ll love this quick and easy 5 Minute DIY Fall Wreath using inexpensive craft supplies!

Looks Fall-ish, right?
With my Fall decor this year, I’m going for a neutral color scheme with some accents of orange and turquoise thrown in. This wreath happens to fit right in, and the best part???? I was able to make it while all three of my boys were playing right next to me. It was so simple, I finished before anyone started crying, got in a fight, started whining, or wanted a snack! Huge WIN!! Go Mom!
Here’s how …
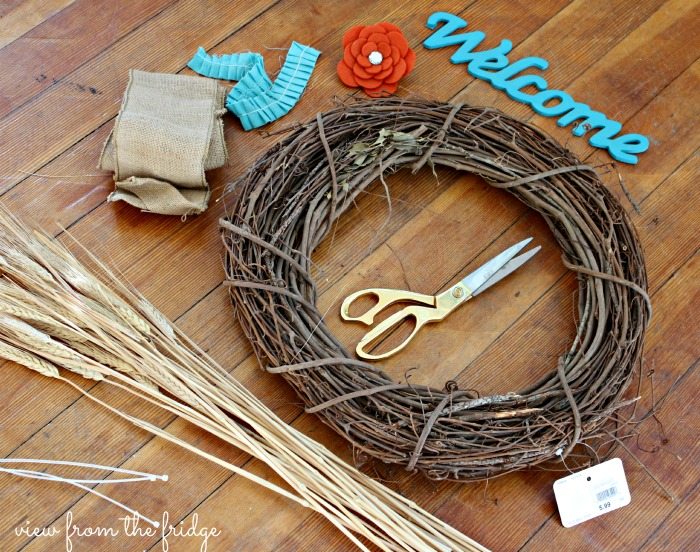
Supplies
Here’s what you’ll need:
- Grapevine Wreath. Mine was about 12″ in diameter and I found it at Michael’s for $5.99 (use your coupon, and it’s an even better deal!)
- Faux Wheat Stems. I also found these at Michael’s. One huge bunch for $4.99 (I used less than half for this wreath, and put these others in a vase on the mantel).
- Zip ties or string, twine, ribbon … just something to secure the wheat stems to the wreath.
- 4″ thick burlap ‘ribbon’ (found in the ribbon aisle of the craft store)
- Accent ‘ribbon’. I found this turquoise ruffled fabric ribbon at Michael’s (I sound like an advertisement for Michael’s here, don’t I ….).
- Clip on pre-made flower (again, from Michael’s).
- Wood ‘welcome’ sign (again … Michael’s and then I painted it turquoise)
- Hot Glue Gun
Instructions
And here’s how easy the process is … 5 minutes, tops (it took me more time to figure out how to hang it correctly on our door!).
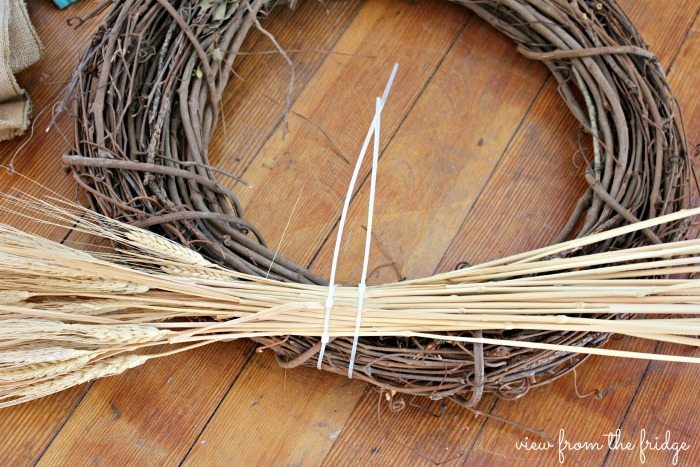
1. Using zip ties, string, twine, or whatever you might have on hand, tie the wheat stems to the wreath as shown.
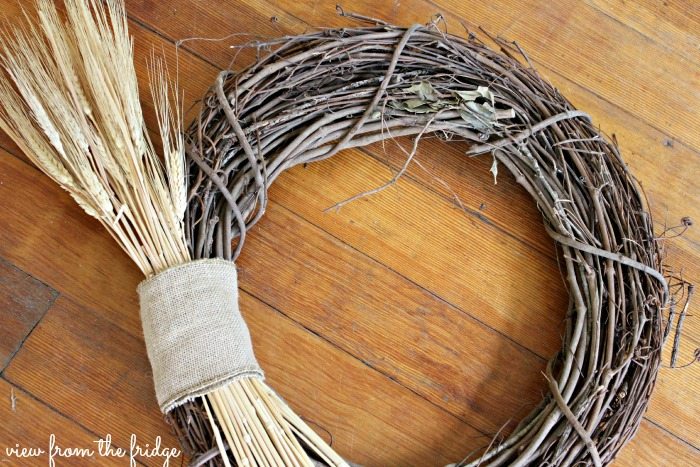
2. Next, wrap the burlap ribbon around the stems covering the zip ties or string. I wrapped it around twice and then glued the ends together in the back.
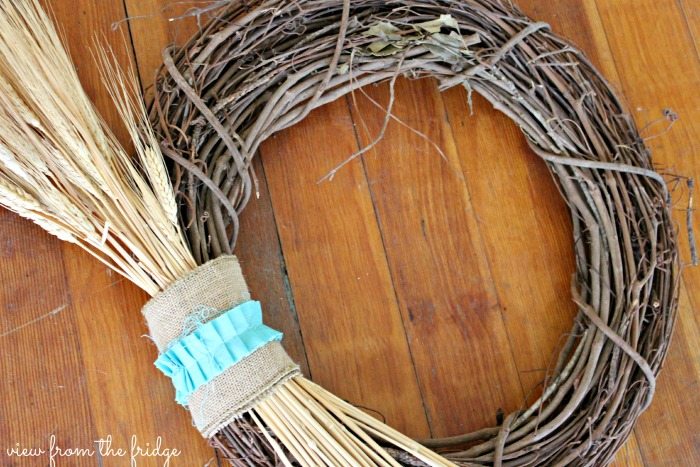
3. Tie your accent ribbon around the burlap and secure with hot glue in the back.

4. Hot Glue your WELCOME letters to either side of the wreath and clip on your flower.
The final step is to hang and admire!! (I used some extra fabric I had laying around for the wreath ‘hanger’, but you could also use ribbon, twine, more burlap, yarn … or nothing and just hang it straight on a nail!).
That’s it! I promise it really is a quick project that has your door looking mighty festive for the first day of Fall!
Related: Check out our Autumn Bucket List

More DIY Projects
- Fall Porch Decorating Ideas
- Scrap Fabric Pumpkin Décor
- How to Make Fabric Coasters
- DIY Wood Pumpkin Craft
- Dollar Tree Clothespin Wreath

5 Minute DIY Fall Wreath
As an Amazon Associate, I earn from qualifying purchases.
Ingredients
- Grapevine Wreath. Mine was about 12″ in diameter
- Faux Wheat Stems
- Zip ties or string twine, ribbon… just something to secure the wheat stems to the wreath.
- 4 ” thick burlap ‘ribbon’
- Accent ‘ribbon’.
- Clip on pre-made flower
- Wood ‘welcome’ sign
- Hot Glue Gun
Instructions
- Using zip ties, string, twine, or whatever you might have on hand, tie the wheat stems to the wreath as shown.
- Next, wrap the burlap ribbon around the stems covering the zip ties or string. I wrapped it around twice and then glued the ends together in the back.
- Tie your accent ribbon around the burlap and secure with hot glue in the back.
- Hot Glue your WELCOME letters to either side of the wreath and clip on your flower!
- Hang using leftover fabric, a nail, wreath hook, etc.

This is SO pretty!! I LOOOOVE how easy it is. I really like the pretty orange and turquoise together, they are a nice contrasting pair! Pinning!! 🙂
Thanks for pinning Amanda! Katie is so clever with her crafts 🙂
Love this wreath Katie, I love the colors you used. I like this so much, I would want to use it all year long 🙂
Love it!!!
Thanks, Heather!! I am loving turquoise and orange together! Hope you had a good weekend!
So pretty! I love the colors you chose to accent! Pinning.
Five minutes–I could do that!
Absolutely adorable.
Gorgeous wreath. Seems simple enough for me to try to make it.
Looks like its from the store, can’t believe it’s so easy to make!!
Is is super easy – hope you give it a try 🙂