Fall Porch Decorating Ideas

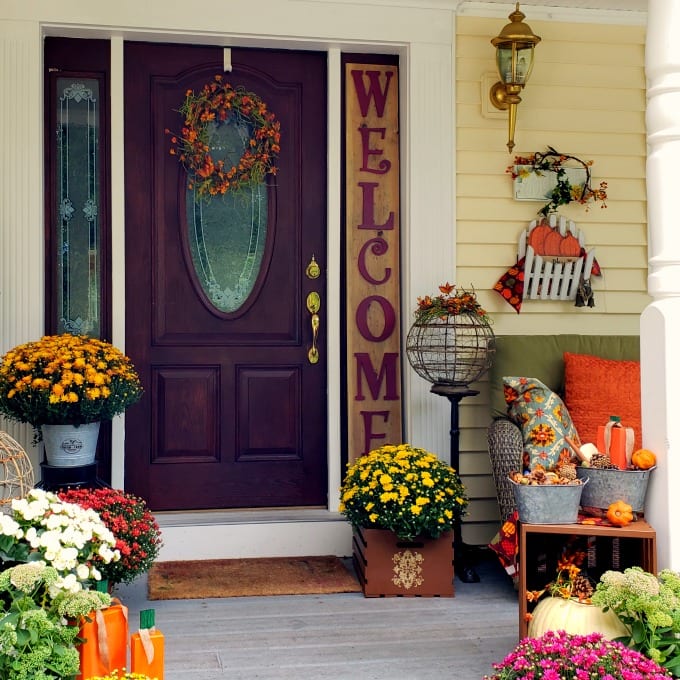
We’re sharing some of our favorite easy Fall porch decorating ideas including scrapwood pumpkins, painted and stenciled crates and a DIY rustic welcome sign.
This post has been sponsored by Wagner SprayTech, however, all opinions are my own. Please see my Disclosure policy for more information. #ad #Wagner
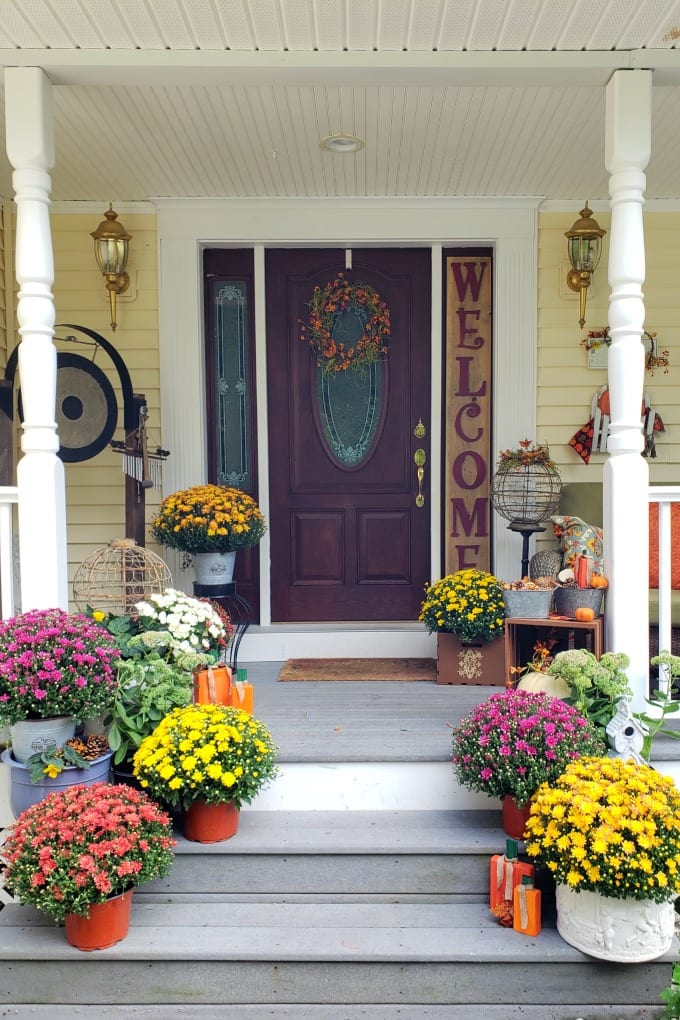
When it comes to decorating for the holidays, I learned from the master. My mom is the ultimate decorator! While I don’t begin to reach her level, I love creating a pretty front porch in the Fall. It has always been my favorite season – it’s not too hot or cold and watching the leaves change in New England never gets old!
Today I’m going to walk you through some fun Fall porch decorating ideas, including a DIY welcome sign you can create easily.
Fall Porch Decorating Ideas
Here are some of the things I used to create decorate the porch for Fall:
- pumpkins
- mums and other flowers
- painted crates
- galvanized containers
- wooden welcome sign
Related: How to Take Care of Mums
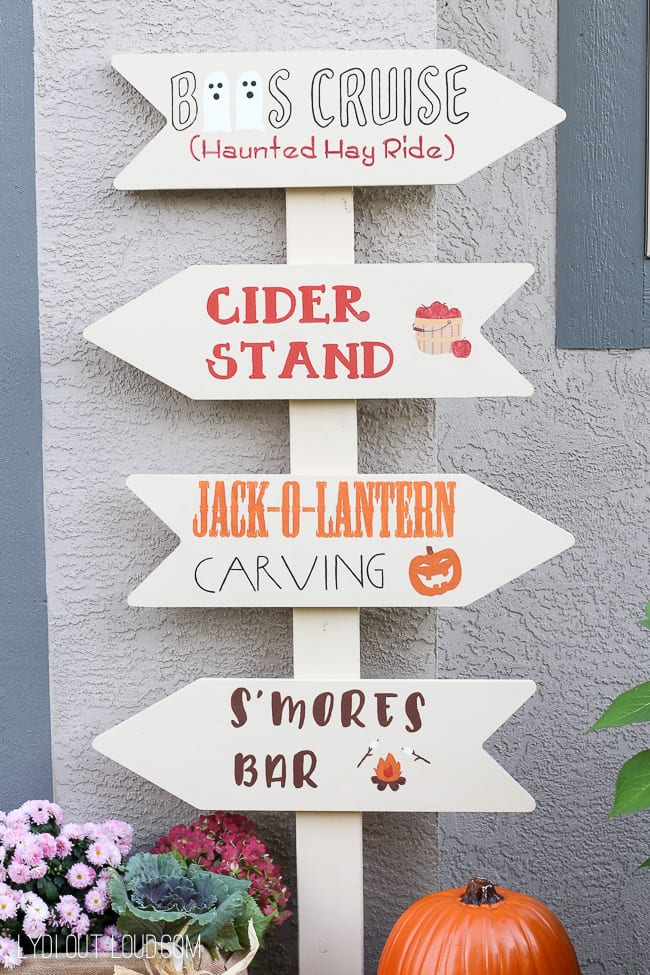
There are so many great Autumn decorating ideas. Visit your local farm stand and pick up gourds and mini pumpkins – this is always fun for kids. Look for flowering cabbages or sedum, which is especially pretty in the Fall.
If you’re lucky, you might even find some bales of hay and cornstalks, both of which make great decor!
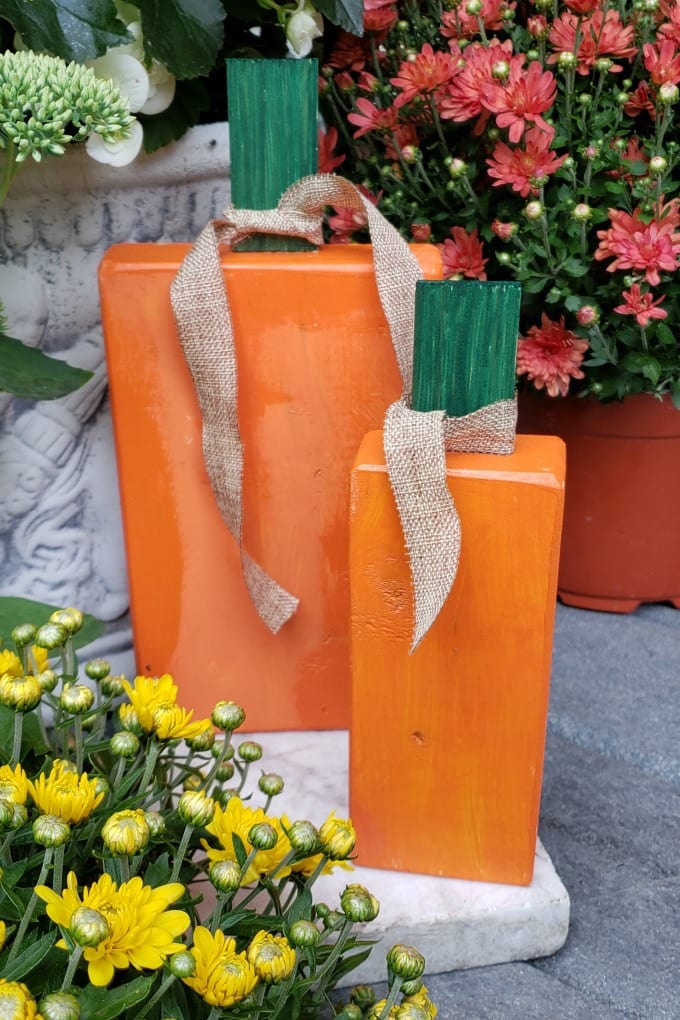
Scrap Wood Pumpkin Blocks
My 8-year-old daughter Olivia created these pumpkins (with a little help) for our porch. I used an orbital sander to round off the edges of the blocks and she painted them.
Once the pumpkin blocks were dry, we added stems made from old paint sticks using wood glue. A simple burlap ribbons completes this little craft. It’s such an easy additional to our collection of Fall porch decorating ideas.
Fall Decorating Ideas with Wagner SprayTech
Purchasing Autumn decor can be expensive, but you can make many components yourself. I think you’ll love some of these fun ideas.
DISCLOSURE: It is important to note that I am not a professional. The ideas presented here are all my own, unless otherwise credited and I have shared tips based on my experience. I always recommend consulting and/or hiring a professional if needed. Be sure to check with local building codes to obtain all permits required for any DIY project. Please always use all proper safety precautions and be sure to read and follow all manufacturer instructions. Finally, please note that I am not responsible for any outcome if you try this yourself; I am not liable for any injury or additional cost or expense incurred.
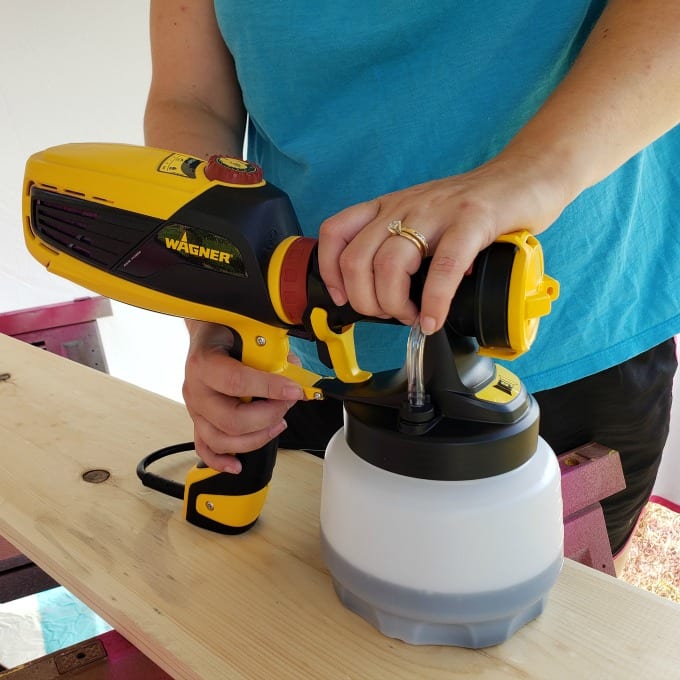
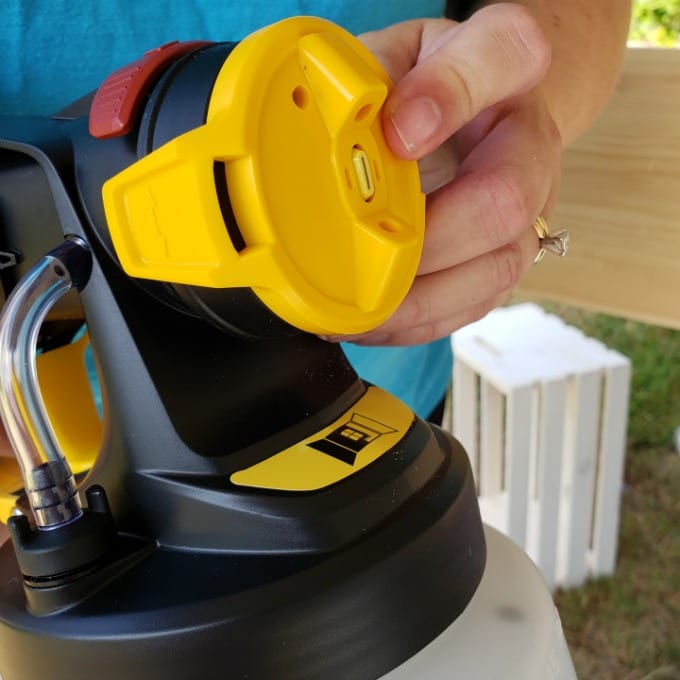
Tips for Using the Flexio 3000
For the best results, I highly suggest thoroughly reading through the instructions on how to assemble and use the sprayer. Likewise, be sure to do a test spray and practice with the included spray poster. Here are some other tips:
- First, choose a good quality paint.
- Take the time to set up the Flexio 3000 sprayer correctly.
- Hold the sprayer about 6-8 inches from the surface and move the sprayer in smooth even passes across your surface.
- Allow the paint to dry completely before adding another coat or touching up any spots.
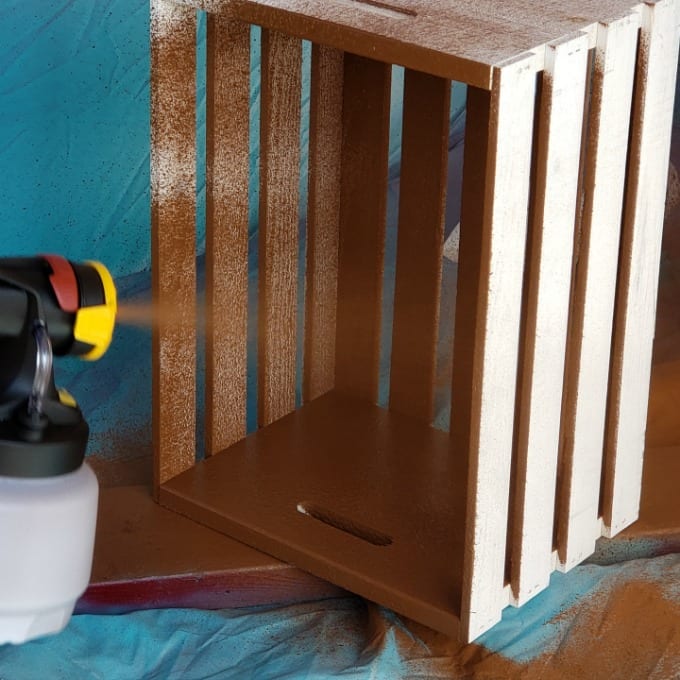
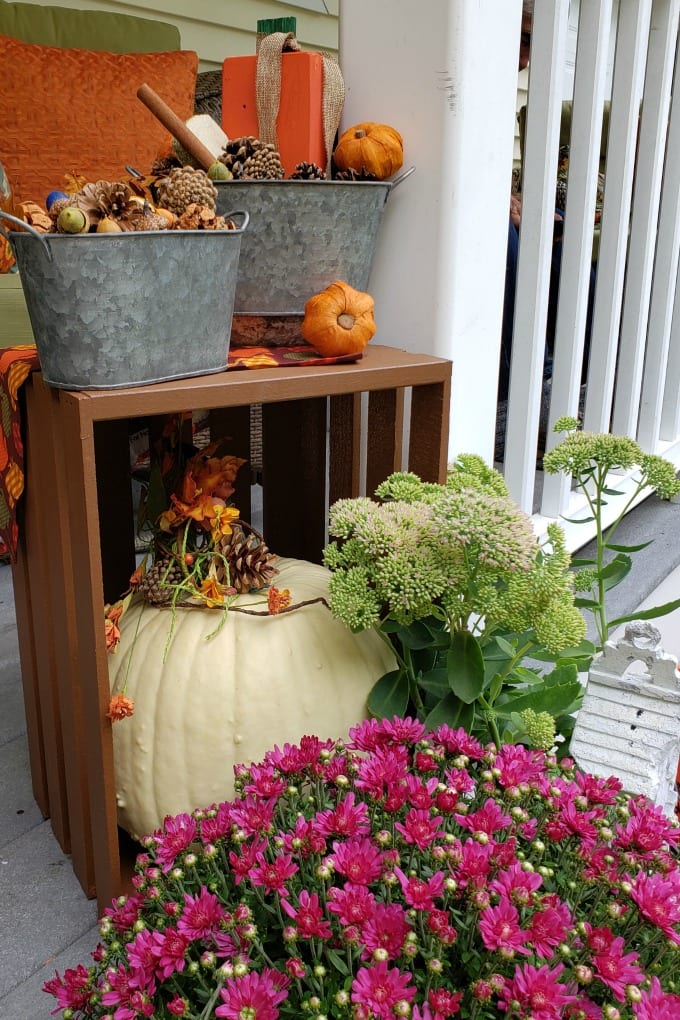
Painted Crates
So many Fall porch decorating ideas include crates. They’re just quintessential Autumn decor! I grabbed a couple from the hardware store and used my Wagner Spraytech to give them a coat of rich brown color. (I used the same paint on my Wooden Porch Swing project.)
I love that the Flexio 3000 sprayer is so simple to use. Not only is it lightweight and easy to maneuver, but it is easy to adjust the settings as needed.
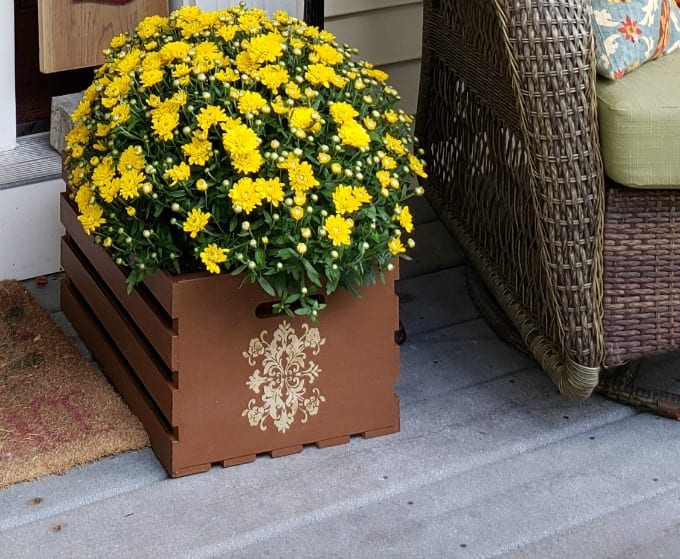
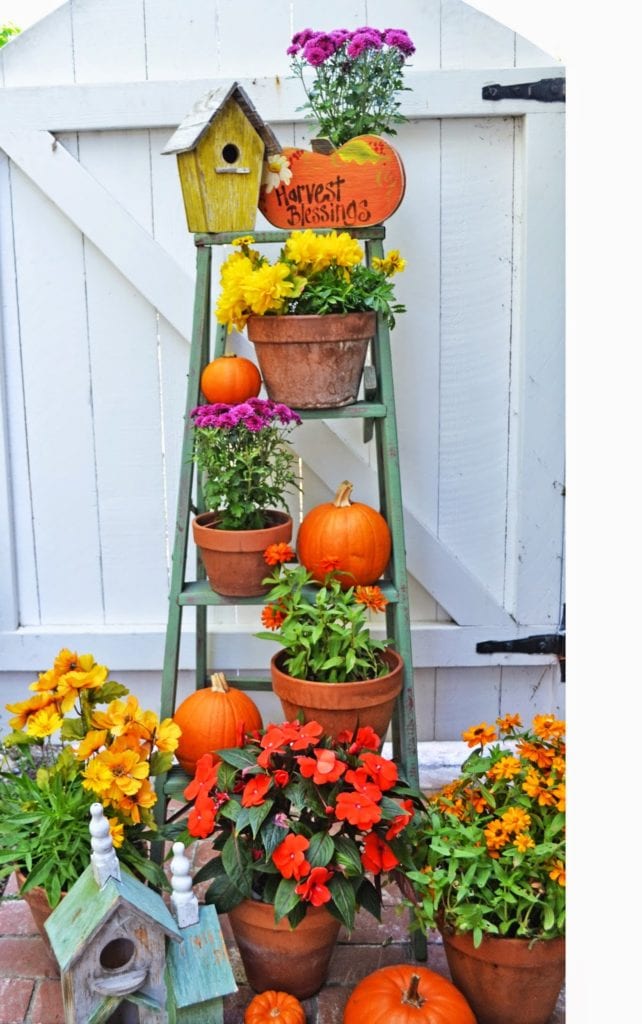
After the paint was dry, I used a stencil and some gold paint to add a pretty design to the sides. Here you see a large yellow mum plant sitting inside the crate. I also used it to create height.
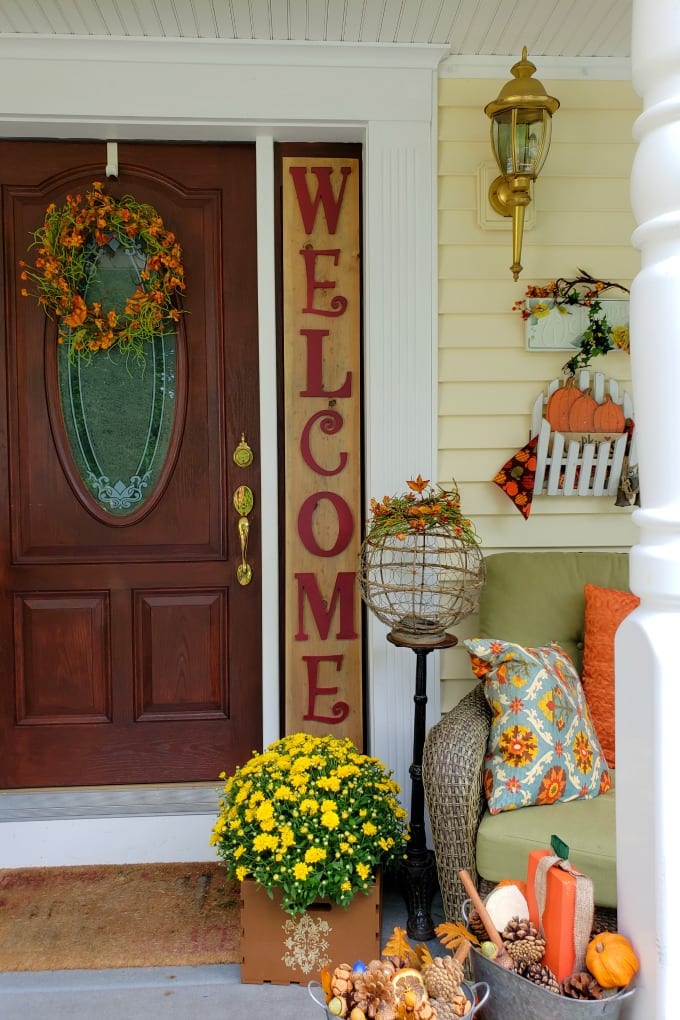
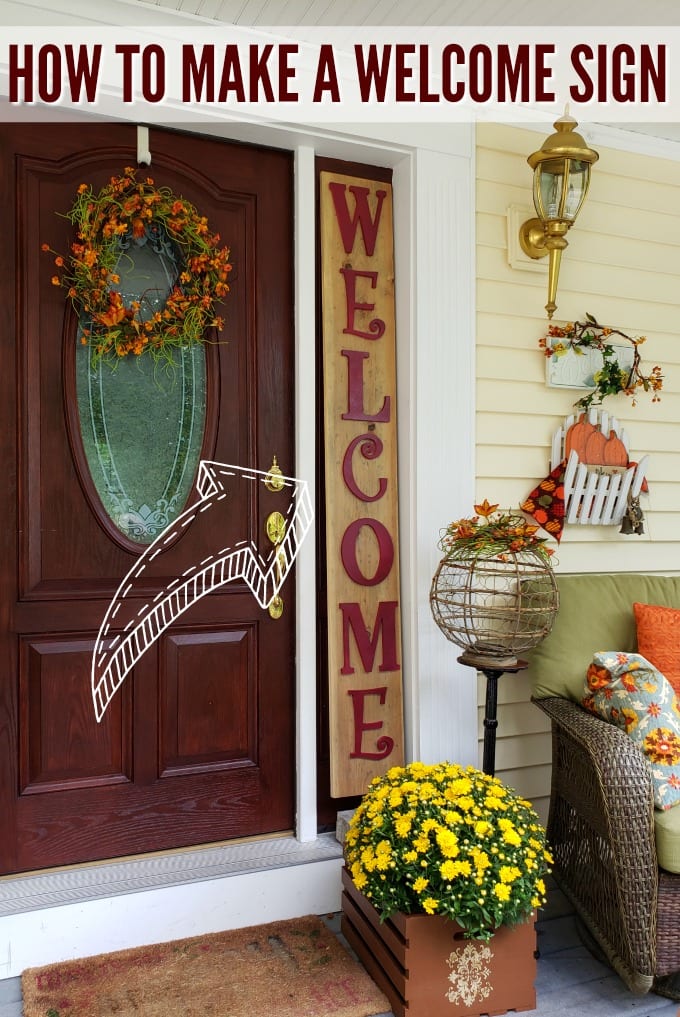
How to Make a Welcome Sign
Here is what you will need:
- 2×6 board
- To make my board look weathered, I used a weathered wood accelerator stain
- WELCOME letters and paint
- Flexio 3000 sprayer
- wood glue

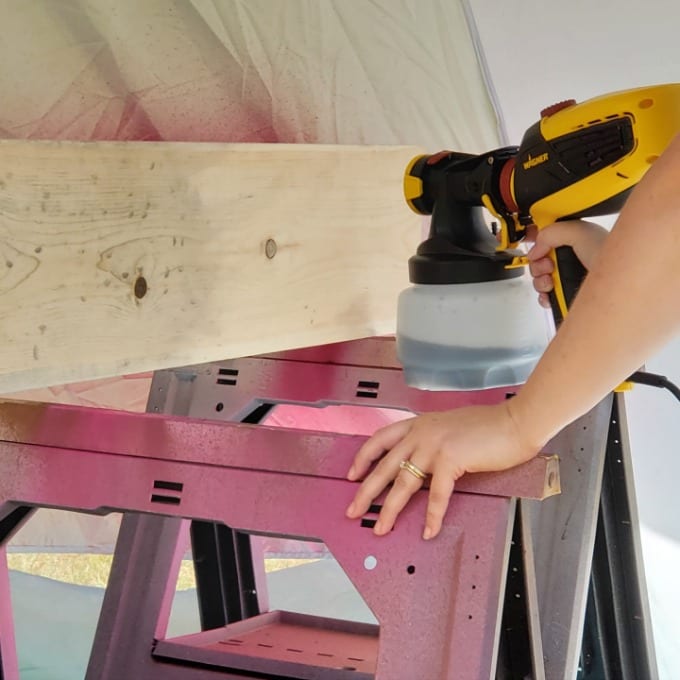
Step 1:
Set up the Flexio 3000 sprayer according to the instructions, taking care to adjust the settings to match the paint you’re using.
Step 2:
Use the Flexio to paint the board with the weathered wood accelerator (optional).
Step 3:
After that, clean the sprayer well and prepare to paint the letters. Be sure to adjust the settings for the type of paint you are using.
Step 4:
Once everything is dry, use wood glue to attach the letters to the board.
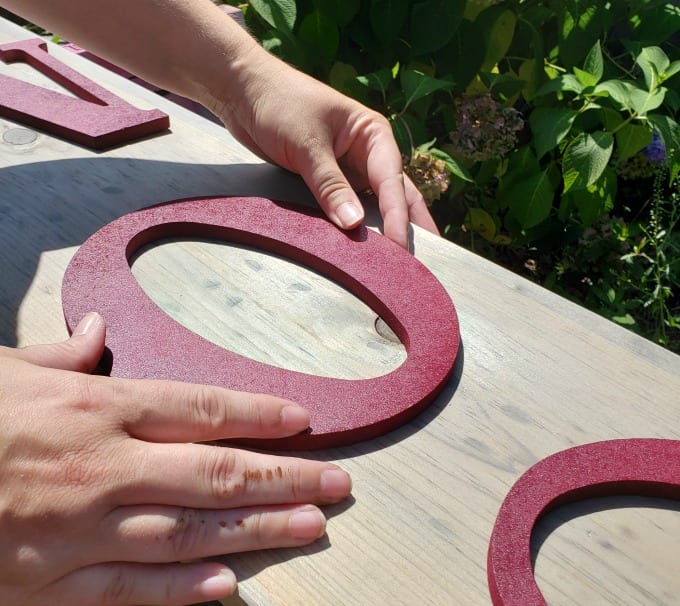
That’s all there is to it! It’s inexpensive and quick but makes such a big statement here!
More Fall Porch Decorating Ideas