Restoring an Outdoor Wooden Swing
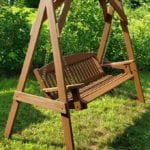
Restoring an Outdoor Wooden Swing brings back the natural beauty of the wood. This tutorial will show you how to add years to the life of your swing. The best part is that it can all be done in an afternoon with a little sanding and painting!
This post has been sponsored by Wagner SprayTech, however, all opinions are my own. Please see my Disclosure policy for more information. #ad #Wagner #Flexio
Our backyard has been an ongoing project since the day we moved in nearly 13 years ago. Each summer, we add something new to enhance our outdoor living space, like our DIY Outdoor Chalkboard and DIY Pallet Planter.
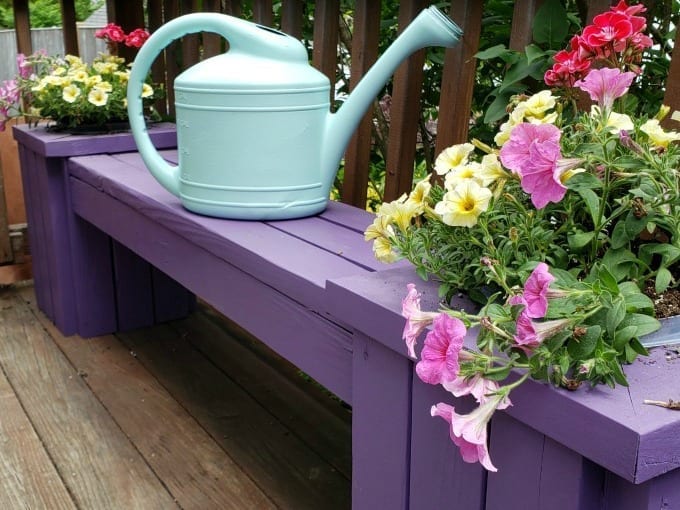
You may recall Mr. Juggling Act and I built and painted this Outdoor Planter Bench.
I really love this project – it has really added some great color to our backyard, and the extra seating is so nice to have.
The following are affiliate links. We are a participant in the Amazon Services LLC Associates Program, an affiliate advertising program designed to provide a means for us to earn fees by linking to Amazon.com and affiliated sites.
Materials
- 80 grit sandpaper disks
- (You may also want 120 grit depending on the condition of your wood).
- Waterproofing stain & sealer
Tools
- orbital sander
- safety glasses
- dust masks
- Flexio 4000 Paint Sprayer
- Studio Spray Tent
DIY DISCLOSURE
It is important to note that I am not a professional. The ideas presented here are all my own, unless otherwise credited and I have shared tips based on my experience. I always recommend consulting and/or hiring a professional if needed. Be sure to check with local building codes to obtain all permits required for any DIY project.
Please always use all proper safety precautions and be sure to read and follow all manufacturer instructions. Finally, please note that I am not responsible for any outcome if you try this yourself; I am not liable for any injury or additional cost or expense incurred.

Tips for Refinishing Outdoor Wooden Furniture
- Tighten/replace any loose/broken screws or bolts.
- Don’t skip sanding down wooden furniture.
- Brush off any dust or debris before you begin to paint.
- Remove the swing chains and tape any hardware you do not want to be covered in paint.
- Take the time to set up the Flexio 4000 sprayer correctly.
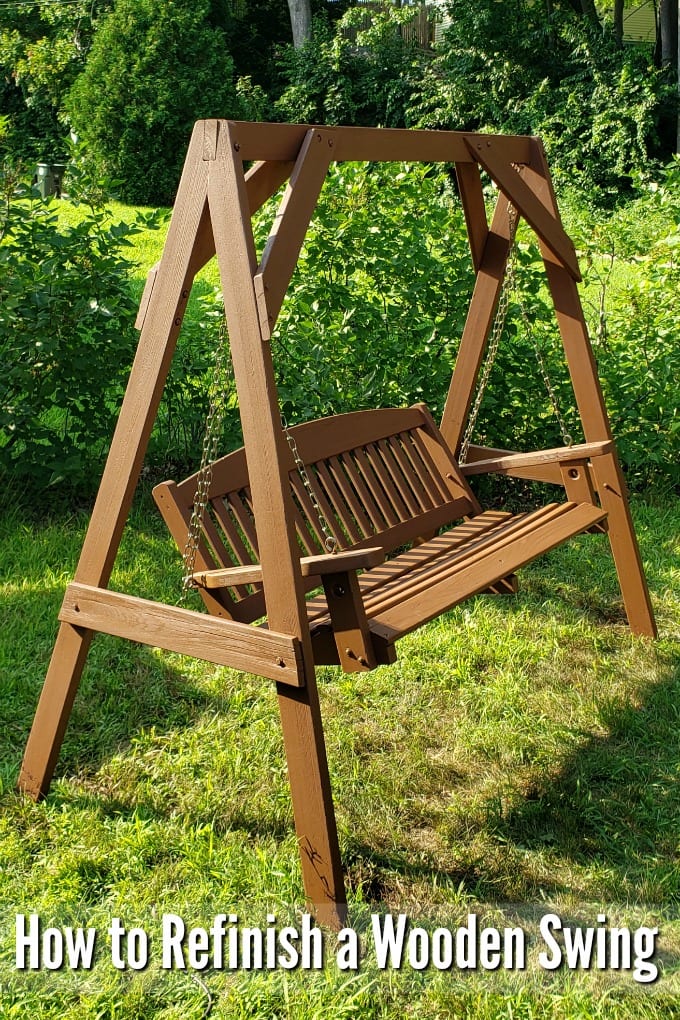
Restoring an Outdoor Wooden Swing
The swing, and the paint, will last much longer if you sand off any moss or stains. It is best to have a smooth even surface. It will probably take you longer to sand than it does to paint in all honestly. However, I would rather spend the extra time now than have to refinish the swing again in a couple of years.

Tips for Staining the Swing
One thing that I really love about the Flexio 4000 sprayer is that it is very simple to use. It is also lightweight and easy to maneuver. Of course, you can adjust the settings to fit your project.
So unlike our bunk bed project, we wanted a slightly more focused spray for the rungs of the swing. Making these adjustments is as simple as turning a little dial!
For the best results, I highly suggest thoroughly reading through the instructions on how to assemble and use the sprayer. Likewise, be sure to do a test spray and practice with the included spray poster.

Tips for Using the Flexio 4000 Paint Sprayer
I have had a lot of practice now with my Flexio 4000 Paint Sprayer, so here are my best tips:
- First, choose a good-quality stain. I used Waterproofing Stain & Sealer in “chocolate” from Behr Premium Wood Coating.
- Set the pressure control on the X-Boost power dial to medium-low. This controls how much air power is created by the base.
- Set the material flow, which controls the amount that will be sprayed. Because stain is much thinner than latex paint, you want it to be about 4-6.
- Change the air cap to match the direction you’re going to paint, either horizontal or vertical.
- Add paint to the cup and tighten the nozzle assembly.
- Set up the Wagner Studio Spray Tent and move the swing into it. (As I mentioned, this will protect your project as you work on painting it. It also protects the surrounding area from any overspray.)
- Hold the sprayer about 6-8 inches from the surface and move the sprayer in smooth even passes across your surface.
- Allow the paint to dry completely on the outdoor wooden swing before adding another coat or touching up any spots.

The A-frame of the swing did not fit into the spray tent so I painted it where it stood. I propped it up on a 2×6 so that I could spend the very bottom of the legs well. A quick tip about painting outdoors, be sure you are not spraying paint into the wind because it’s going to end up in your face!
I just love the way that this restoring project turned out – my outdoor wooden swing looks brand new again!

More DIY Ideas
- DIY Chalk Paint
- Watercolor Canvas Photo Project
- Summer Rules Wooden Family Sign
- DIY Cedar Planter Box