Outdoor Chalkboard Project
Your kids can play for hours outside with this easy Outdoor Chalkboard – and it’s so simple to make!
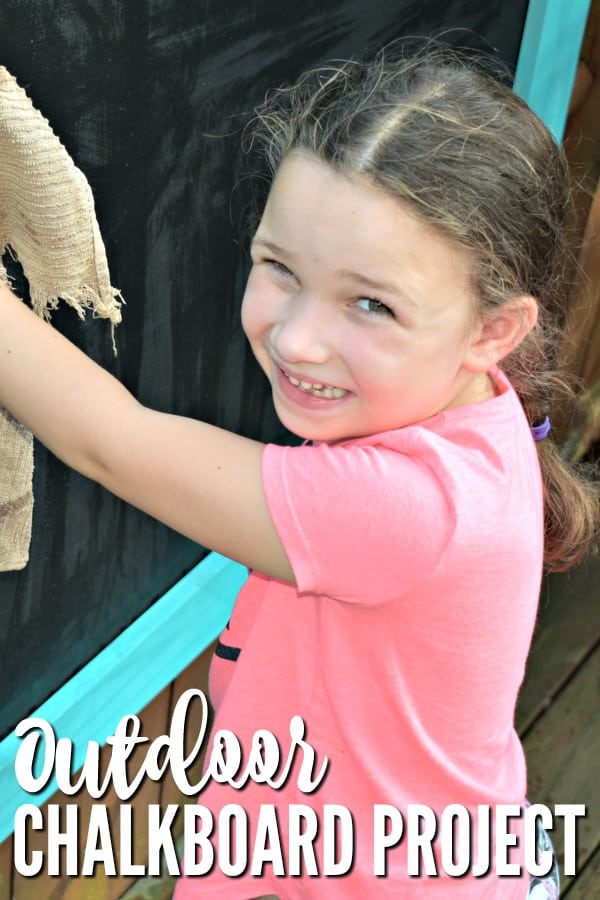
The warm weather is the perfect time for kids to play outside. That “I’m bored” complaint will be gone when after you work together with your kids to create this fun (and beautiful) outdoor chalkboard. Now they can create colorful artwork on their own giant chalkboard. The best thing about drawing on the giant chalkboard is they can stand on the grass or your decking on hot days – not have to sit on the scorching hot driveway or sidewalk.
Outdoor Chalkboard Materials
- (1) 3×5 HardieBacker Board
 – this will be the chalkboard
 - (6) 1 x 3 x 8 boards 1x3x8 wood boards for the frames
- (2) 5/16 x 3 Lag bolts with washers and nuts to match, to attach the finished product to the fence.
- (2) 5/16 x 6 bolts with washer and nuts to match
- a quart of chalkboard paint
- a quart of outdoor paint in the color of your choice for the frame (or spray paint)
- a tube of liquid nails (and a caulk gun if you don’t already have one)
- (28) #7×1-1/4 inch screws decking screws
- (2) hooks to hang the buckets of chalk
- (1) 1 x 3 x 12 strip board
PRO TIP:
When you are making your chalkboard, keep in mind the size of your fence and the height of your kiddos. You want to avoid making it too big and hanging it too high up (or too low).
Outdoor Chalkboard Project
To make the outdoor chalkboard, just follow these easy steps! Anyone can make one, even the DIY challenged. In fact, this makes a fantastic first project to help you gain confidence so you can try more involved ones next.

Because our fence has 6-foot sections, we chose to make our chalkboard is 5 feet long. The size of one cement backer board is also 5-foot so that works perfectly. Usually, you can find the backer board in your home improvement store near the tile.
Outdoor Chalkboard Steps – Make It Yourself
Step 1: Cut the 1x3x8 pieces of wood so you have enough pieces for both a front and back frame. You will need the following sizes:
- (4) 60-inch long pieces for the top and bottom of the chalkboard
- (4) 28-inch long pieces for the right and left sides of the frame
- (2) 36.05-inch long pieces for the right and left sides of the frame
- (2) 60-inch long pieces for the pieces facing the sky and ground
Step 2: Set the backer board to the side and recreate the frame on the ground. The first thing you will be making is the frame that will be attached to the back of the cement backer board.
Step 3: Put a bead of liquid nails on the frame board using a caulk gun.

Step 4: Place the backer board onto the frame. Remember to place the frame pieces onto the back of the cement backer board, with the side that you will use as the chalkboard facing up. Apply pressure.
Step 5: Get ready for the fun part, the painting!
Step 6: Apply 2 generous coats of chalkboard paint with a roller allowing it to dry between coats. The backer board will suck up the paint, so you may need a third coat. Try to do the painting when it is not humid out since the humidity will cause the paint to dry more slowly.
Step 7: Reinforce the back frame that you just built with screws about every 18 inches using a power drill.

Step 8: Dry fit the frame boards in the same way you did for the back frame. Place the 5-foot pieces along the long sides, 2 shorter pieces along the short sides, and the other longer and shorter pieces around the outside edges facing out. Put them to the side after you make sure they are the correct size.
Step 9: Paint the frame pieces in the color of your choice with outdoor paint. I used spray paint and loved how it turned out! Allow everything to dry, and add a second coat as needed.
Step 10: Place the frame on the chalkboard and reinforce it with screws. (You can putty and paint the screw holes if you want to after it is installed on the fence.)
Step 11: Using the table saw, cut down the 1 x 3 x 12 strip board. You will need the following pieces:
- (2) 1 in. x 2 in. x 3 ft.
- (1) 1 in. x 2 in. x 5 ft.
To achieve this, first cut the 1 in. x 3 in. x 12 ft strip board so you have (2) 3-foot lengths and (1) 5-foot lengths. Then, using the table saw, strip each of these pieces down from 3-inches to 2-inches.

Step 12: Lean the chalkboard against the fence where you want to install it. –This is important so that you can find where you will need to predrill holes in your fence posts and the frame.
**Note: Keep in mind the height of the kiddos who’ll be using it. About 14 inches off the ground is perfect for younger children and toddlers. For older children, I suggest hanging it up at least 24 inches off the ground so they aren’t crouching.
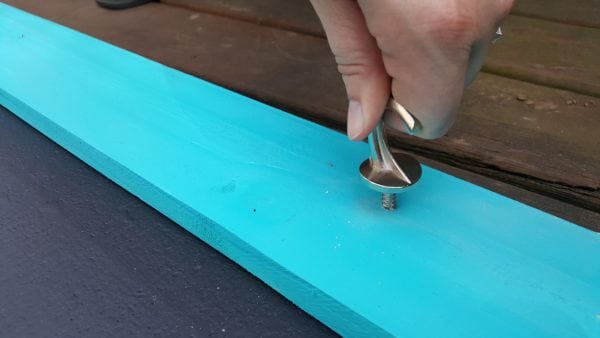
Step 13: Predrill holes in the frame of the chalkboard.

Step 14: Secure the chalkboard to the fence posts using the lag bolts.

Step 15: Decide where you want the hooks to hold the buckets of chalk and install them. When choosing hooks for the buckets, make sure you find some that are more curved than pointy so young children don’t scratch their fingers as they reach for chalk.
Step 15: Hang the chalk buckets and let the kiddos go wild!

Outdoor Chalkboard Ideas
You and your kids will love having a large chalkboard outside in your yard. If you want some ideas for how to use your new outdoor chalkboard, here are some of my favorites.
- Artwork – This is the most obvious – and fun! Let your little artists flex their creativity with chalk. Fill up the buckets with all sorts of colors and watch the vibrant pictures they create.
- Love Notes – Just for fun, leave your kids (and spouse) little love notes on it. Maybe they wake up and see little jokes and notes saying how much you love them. This will encourage everyone and make them smile.
- Party Signage – If you host an outdoor BBQ or birthday party, you can use your chalkboard as a DIY banner. The artistically talented can even draw pictures to match the theme of the party.
- Back to School Sign -Another way to use your chalkboard is to create a larger-than-life back to school sign for those pictures you take every year. Fill it with facts about your child and even let them sign their own name. It makes your back to school pics go to an entirely new level.
- Play “School” Together -Spend some time together outside and play school. Let your child teach you what they are learning in school by acting like the teacher at the chalkboard. For this game, I suggest buying smaller chalk that is easier to write smaller print with.
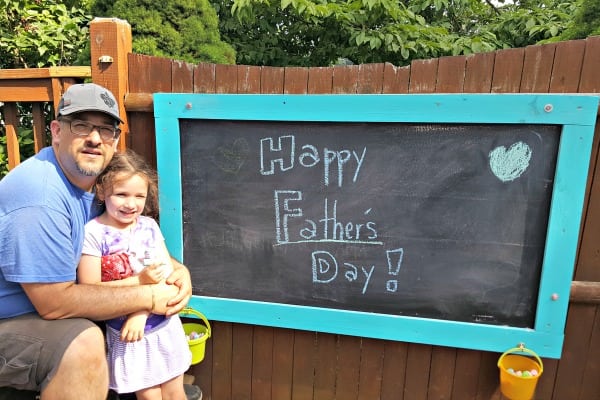
There you have it! Your backyard will become an even more fun place for your kids to play! You’ll love your outdoor chalkboard. If you make one, share it on Instagram and tag #JugglingActMama so I can see it.

More Easy DIY Tutorials
- Simple DIY Pallet Planter
- All Natural Insect Repellent Jars
- House Number Plaque
- Restoring a Wooden Swing
- DIY Pallet Pool Storage Solution
- Cricut Glitter Iron-On Mermaid T-Shirt
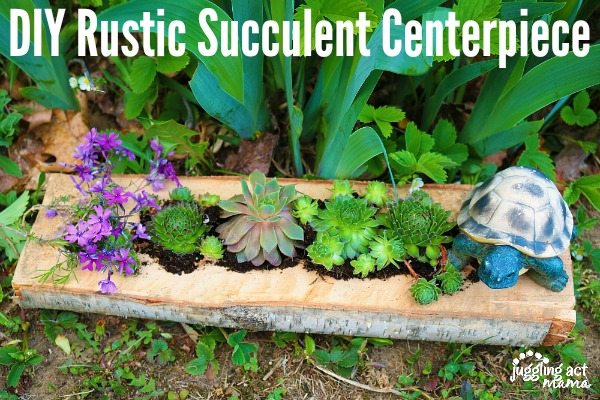
- Rustic Succulent Centerpiece (pictured below)
You make it look so easy! My niece needs one of these. I’ll get my husband to make it ;D