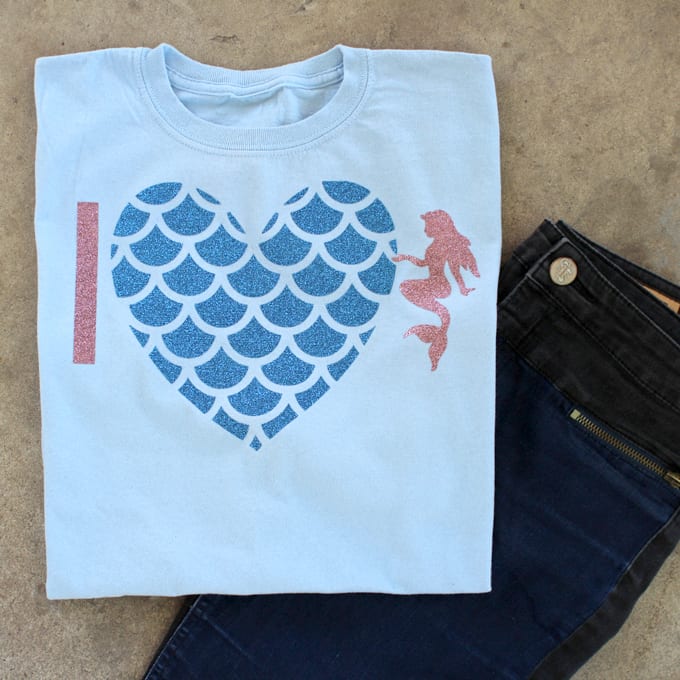
Cricut Glitter Iron-on Mermaid Shirt DIY
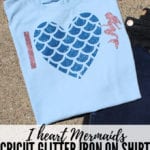
Glitter iron-on is divine and won’t get glitter anywhere! Mermaids are all the rage, and this makes a fun gift.
Mermaids are the epitome of Summer and sunshine…glitter is the perfect way to express it. Make an especially perfect shirt using Cricut glitter iron-on vinyl. Shirts are my favorite craft medium, they are especially fast to make and are the perfect last-minute gifts. Have you made shirts before?
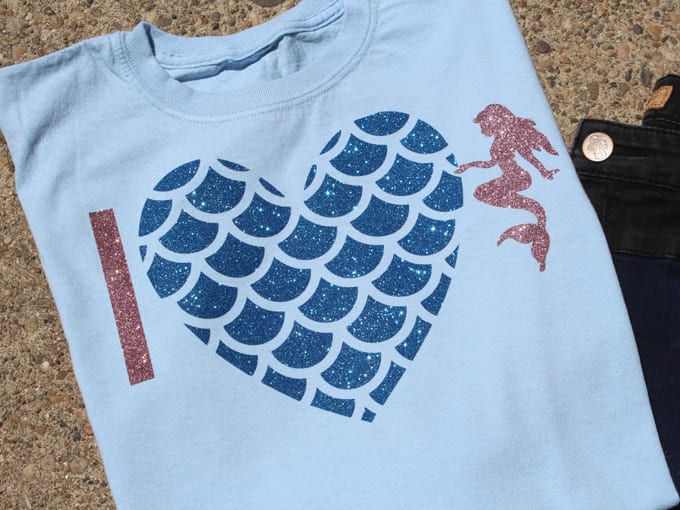
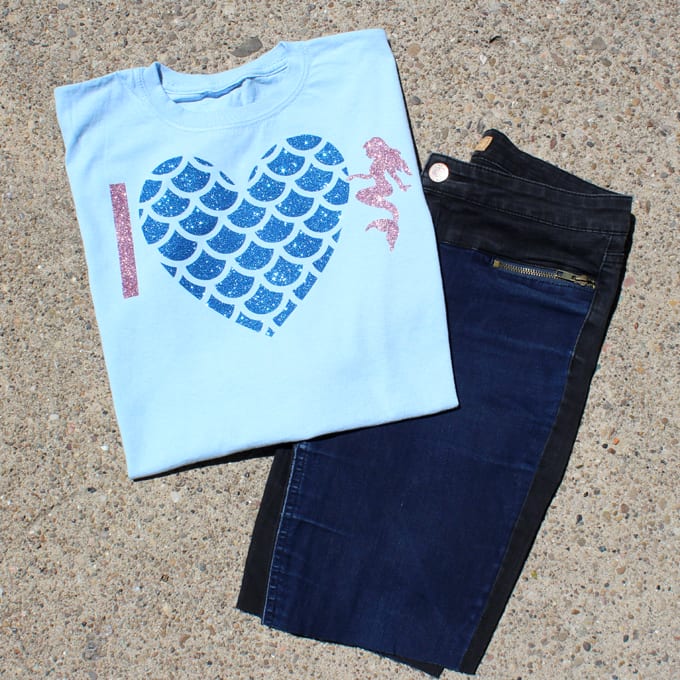
Hi friends, It’s Natalie from Doodlecraft sharing a Cricut Glitter Iron-on Mermaid shirt made in just a few minutes! Making shirts is one of my most favorite crafts. I designed this fun mermaid scale heart shape as the perfect love symbol.
PIN FOR LATER
Do you have a Cricut machine? I’ve had the Cricut Explore Air 2 and the Cricut Maker. They are both totally awesome machines.
Making Money with My Cricut
My maker sits on my desk and I use it every single day… but I make it pay rent to sit there. Especially because it’s an investment for sure. When considering this large investment, think of making your machine work for you as a side business.
There are many ways to do it. I’ve made thousands of tee shirts… as well as nearly a hundred different projects. Check out this post for 100 fun Cricut Crafting ideas to sell.

However, even if you have no desire to start up a Cricut side hustle, the machine is still worth its weight in gold. If you can make it work, invest in the Cricut Maker.
It has 10X the cutting pressure and has the adaptive tool set which allows you to use the rotary cutter, the knife blade and the scoring wheels. This gives so many options for materials to use and projects that can be made.
Cricut Glitter Iron-On Mermaid Shirt Supplies
- Cricut Maker
- Blue and Pink Glitter Iron-on Vinyl
- Cricut EasyPress 2
- Cricut EasyPress Mat
- Light Blue T-Shirt
- Cricut Weeding Tools
How to Make a Cricut Iron-On Shirt
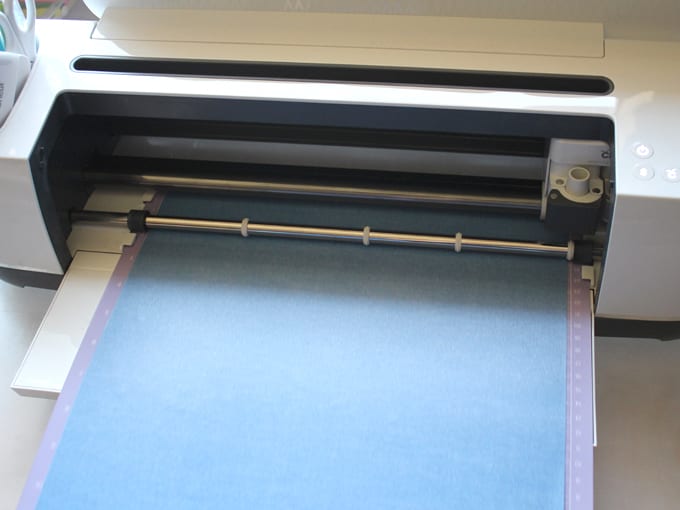
- Start by placing the glitter iron-on on the mat with the glitter side down. Then insert into the Cricut Maker or other machine.
- Next, open up the Cricut Design Space project and click the “make it” button. Or “customize” if you want to change the image size.
- After that, mirror the image and cut the iron-on.
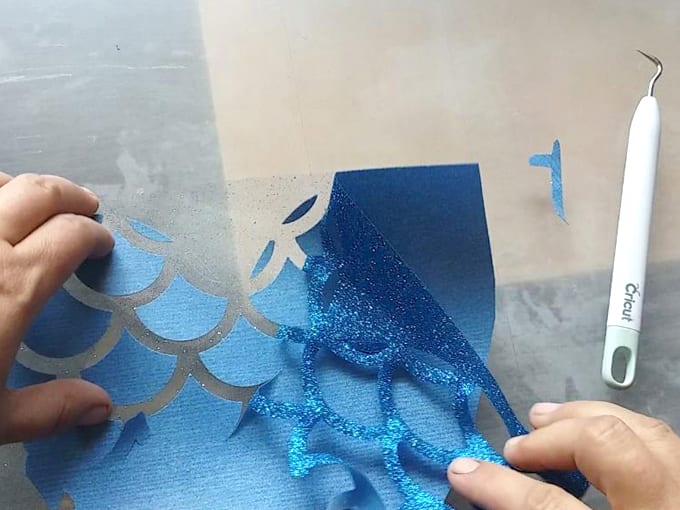
- Remove the iron-on from the mat and weed out the excess iron-on from the newly cut image.
- Repeat the process with the pink glitter iron-on and cut the I and the mermaid silhouette.
- Then mirror the image and cut the iron-on.
- Remove the iron-on from the mat and weed out the excess iron-on from the newly cut image.
- Repeat the process with the pink glitter iron-on and cut the I and the mermaid silhouette.
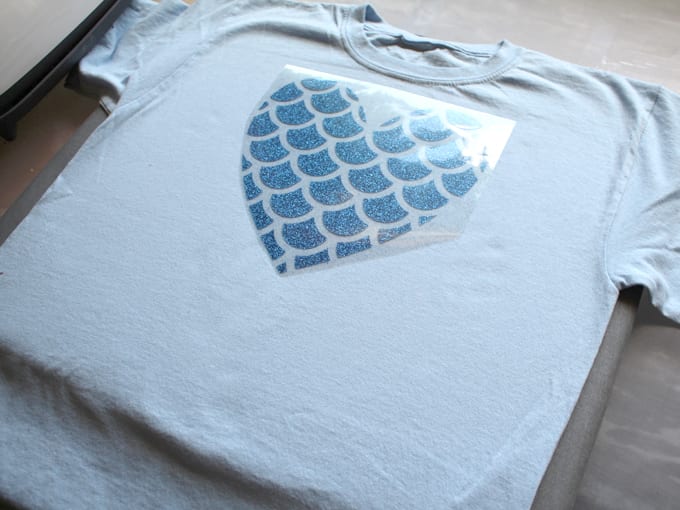
- Next warm up the shirt with the EasyPress 2. Then Place the mermaid scale heart with the glitter/plastic side up on the shirt.
- Then place the EasyPress 2 on the shirt and press down firmly for 30 seconds.
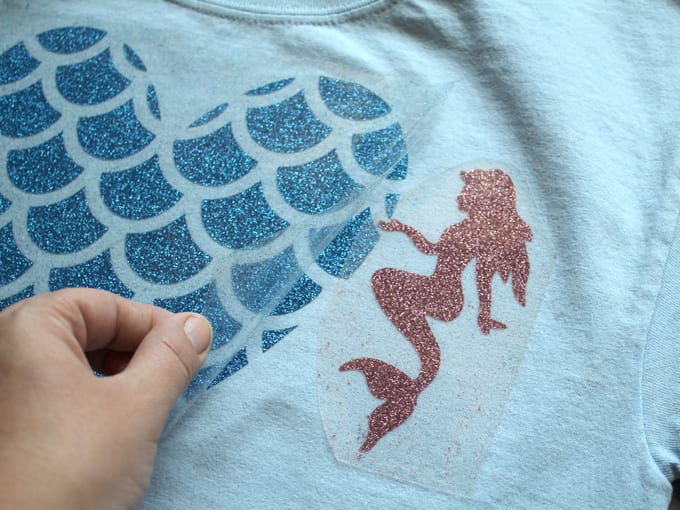
- Let the shirt cool slightly and then gently peel up the edge of the plastic. Tuck the mermaid so her hand appears to be holding part of the heart.
- Place the plastic carrier sheet back on top of the mermaid.
- Then align the “I” on the other side of the heart making sure to place the iron-on directly on the shirt.
- Again, use the EasyPress 2 to set the glitter iron-on by gently pressing down on the EasyPress 2 with the temperature set according to the recommended settings.
- Then let the shirt cool down completely.
- Finally, peel off the carrier sheet and enjoy the extreme sparkle from the glitter iron-on!


This is a shirt that is going to get attention! Wrap it up and give it as a uniquely special gift–or wear it to a fun Summer party!

More Fun Summer Crafts:


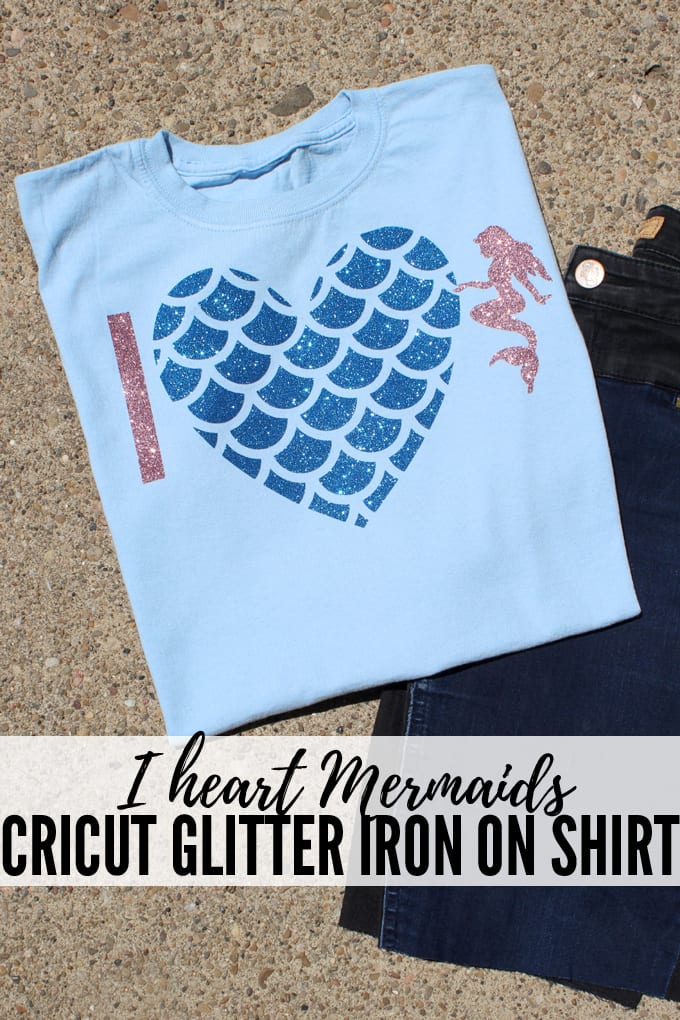
Make Your Own Cricut Iron-On Glitter Mermaid Shirt

Cricut Glitter Iron-on Mermaid Shirt DIY
As an Amazon Associate, I earn from qualifying purchases.
Equipment
- Cricut Maker or Cricut Explore Air™ 2 machine
- Cricut EasyPress 2
- Cricut EasyPress Mat
- Cricut Tool Kit
Materials
- Blue and Pink Cricut Glitter Iron-On Vinyl
- T-shirt
- Cricut Design Space Project link in post
Instructions
- Open Cricut Design Space and the linked project. Click “Make it”
- Cut the glitter iron-on in the order requested. Place the iron on vinyl on the mat with the plastic side on the mat.
- Weed the excess vinyl once cut.
- Place the heart image on warm shirt.
- Press firmly with the EasyPress 2.
- Gently lift the edge of the plastic and insert the “I” and the “mermaid” silhouette.
- Press again with the EasyPress 2.
- Let shirt cool and remove the plastic carrier sheet.
- Wear the shirt and enjoy the sparkle!
This is so cute!!
I’m going to make these for my girls. They LOVE mermaids 🙂
Thank you for this idea!
This is such a cute mermaid project! I am going to make these as party favors for my little daughter’s birthday party next month. Thank you for sharing!