• Skip to primary navigation
  • Skip to main content
  • Skip to primary sidebar
  • Skip to footer
  • Home
  • About
    • Privacy Policy
    • Work with Me
  • Recipes
    • Recipe Index
    • My Favorite Kitchen Tools
    • Menu Planner
  • Lifestyle
    • DIY Crafts
    • Bath & Beauty
    • Busy Moms Survival Guide
    • Family Finances
    • Home Decor
    • Parenting
    • Gardening & Outdoor Living
    • Kids
    • Printables
  • Travel
    • Family Travel
    • Travel Activities
    • Romantic Getaways
    • New England
  • Subscribe

Juggling Act Mama logo

Home » Lifestyle » DIY » Sleep Masks DIY with Iron-on Vinyl

December 14, 2019

Sleep Masks DIY with Iron-on Vinyl

Pin
Share
Tweet
Share
15Shares

As an Amazon Associate, I earn from qualifying purchases.

Sleep masks make the perfect easy homemade gift using your Cricut and iron-on vinyl! Perfect for spa baskets, new moms, birthdays and holidays, too. via @jugglingactmama

Sleep masks make the perfect easy homemade gift using your Cricut and iron-on vinyl! Perfect for spa baskets, new moms, birthdays and holidays, too.

Hi friends, it’s Natalie from Doodlecraft sharing a fun last minute gift for the holidays. These darling and useful sleep masks are perfect for anyone that’s tired and needs rest.

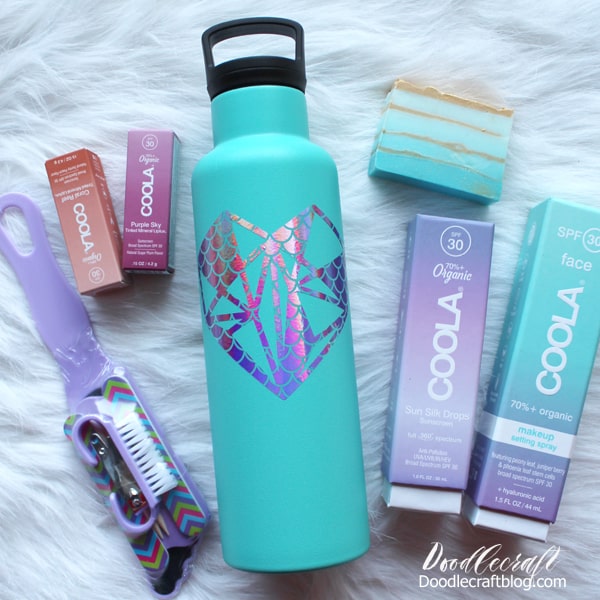
Customize this gift with some fun Cricut iron-on vinyl to make it personal. These would pair perfectly with other spa-like gifts like this personalized tumbler.

The best part, these masks only take a few minutes to make from start to finish…perfect for a last minute gift.

Supplies Needed for Sleep Mask DIY

As an Amazon Associate, I earn from qualifying purchases.

  • Eye Masks (I love these ones that are sculpted, they don’t smash your eyelashes down)
  • Cricut Cutting Machine
  • EasyPress Mini
  • Iron-on Vinyl

How To Make Sleep Masks:

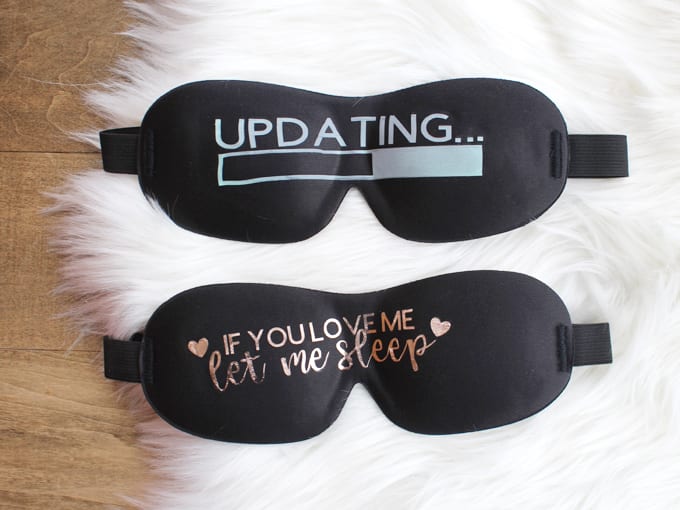
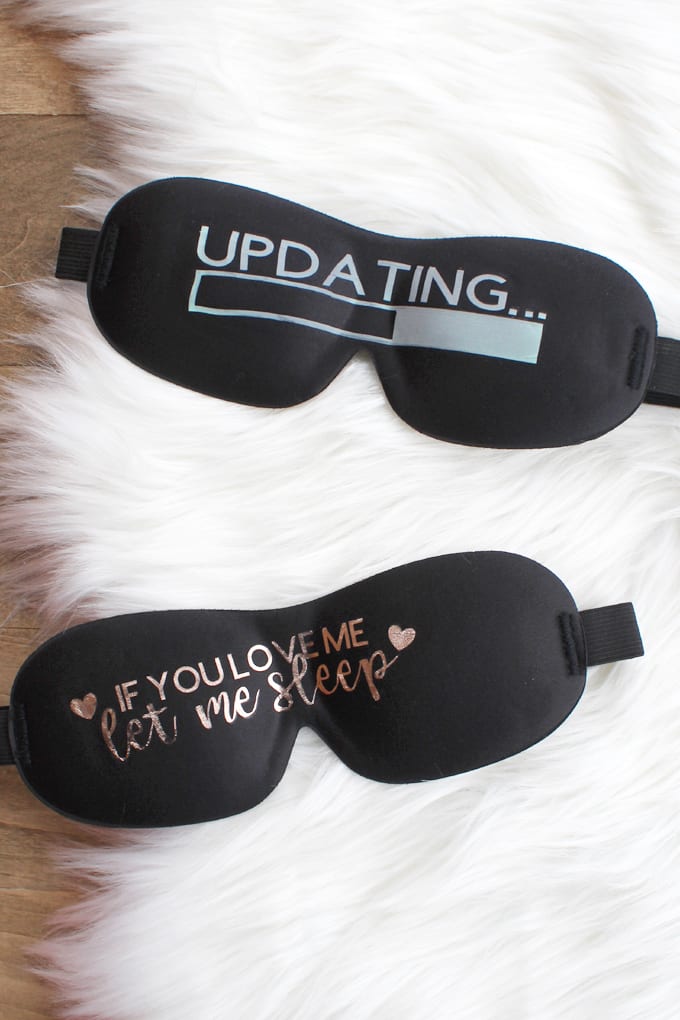
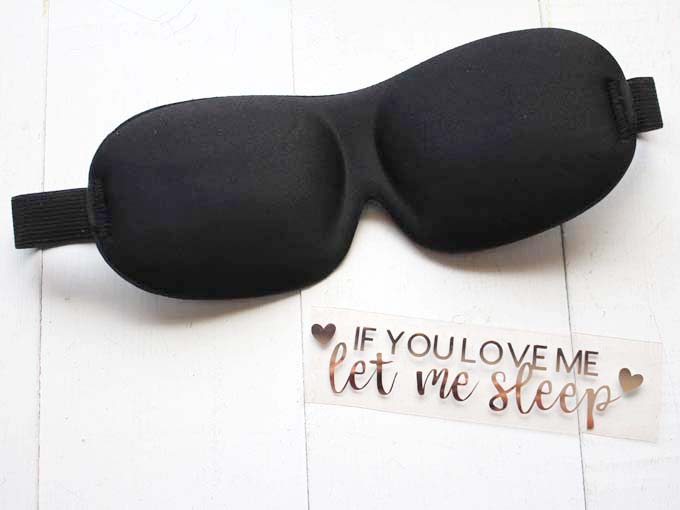
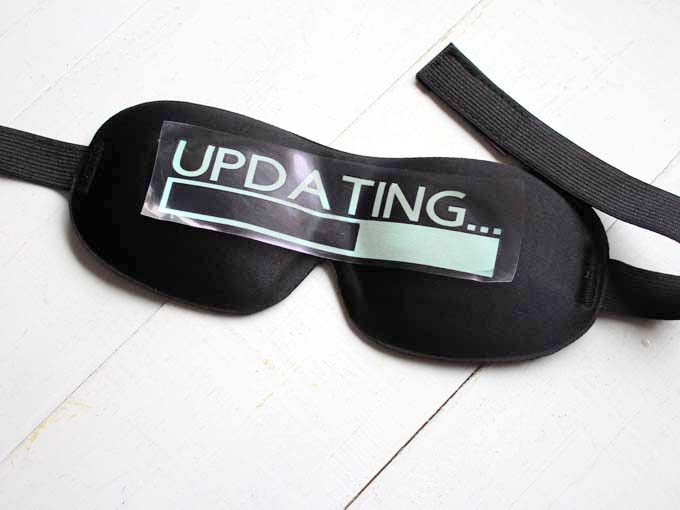
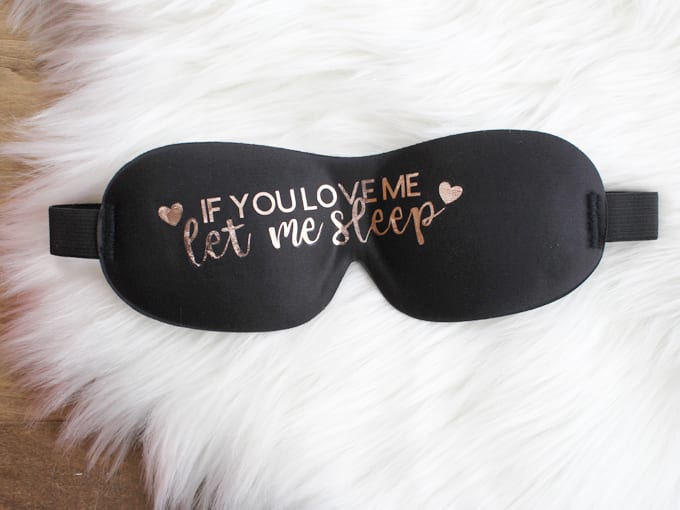
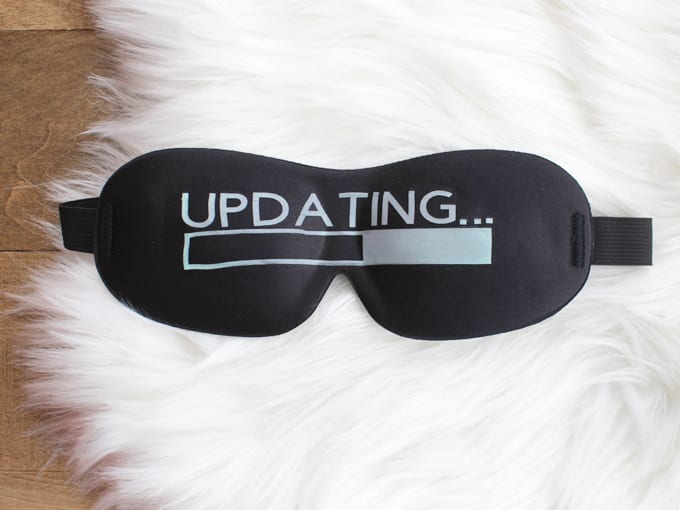
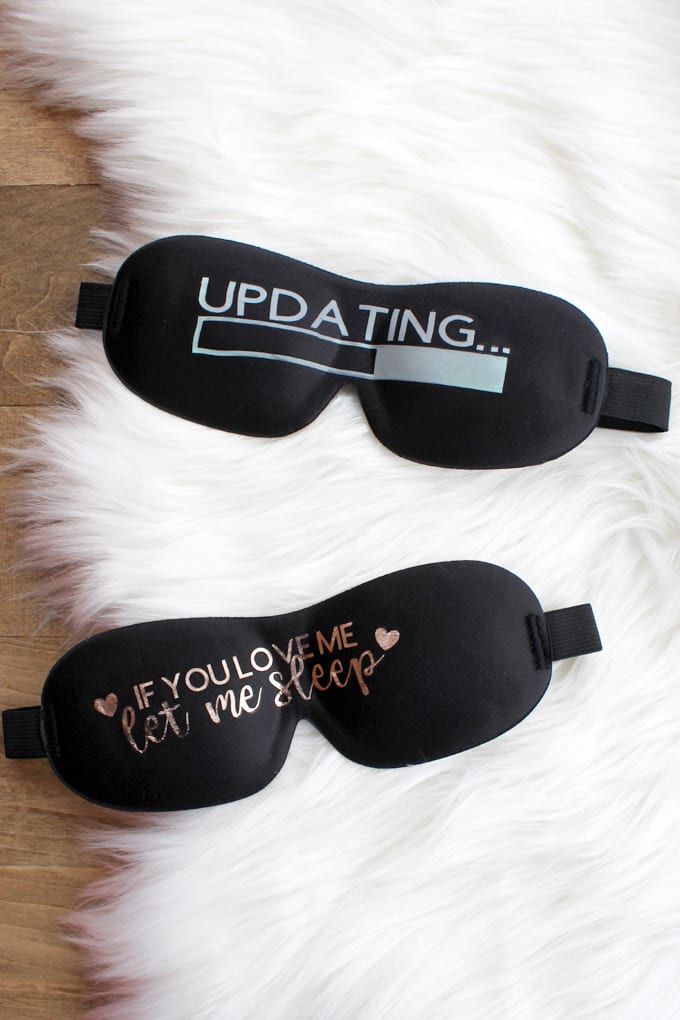
If you love me, let me sleep…or Updating! Which of these fun sleep masks is your favorite?

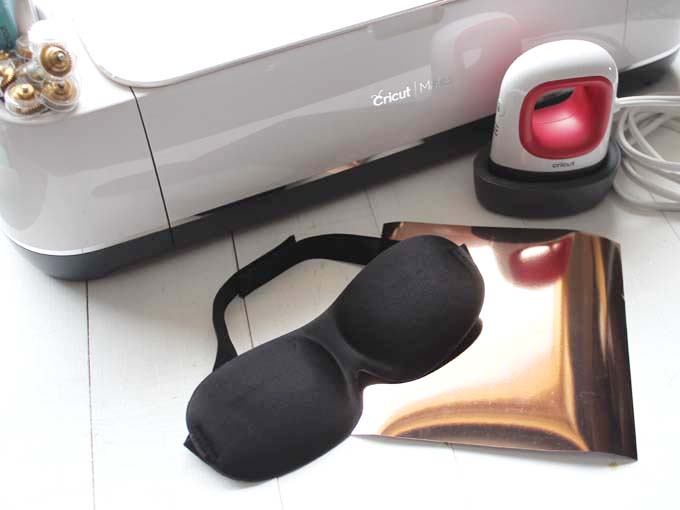
STEP ONE: Start by cutting out the iron-on vinyl with the Cricut machine. Simply design your text in Cricut Design Space. Then place the iron-on vinyl on the mat with the shiny side down.

TIP: Don’t forget to cut the iron-on with the mirrored option.

STEP TWO: Then weed the iron-on vinyl so just the phrase remains. Place the iron-on vinyl on the mask and heat up the EasyPress Mini.

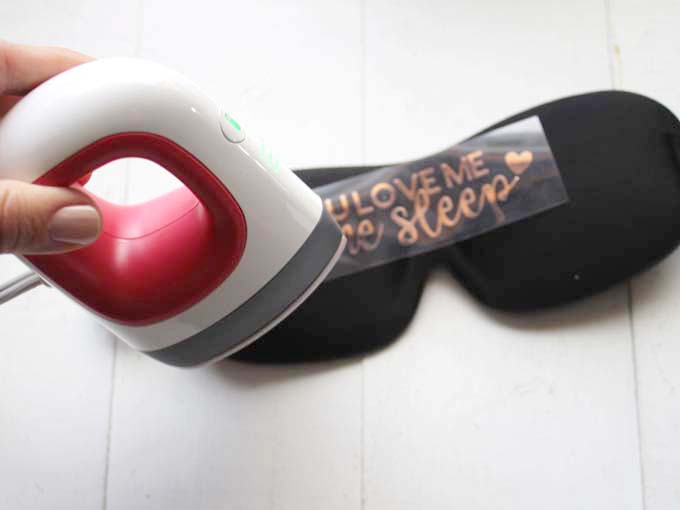
STEP THREE: Next, firmly press the iron-on vinyl with the EasyPress mini, going over each part of the iron-on vinyl for about 30 seconds.

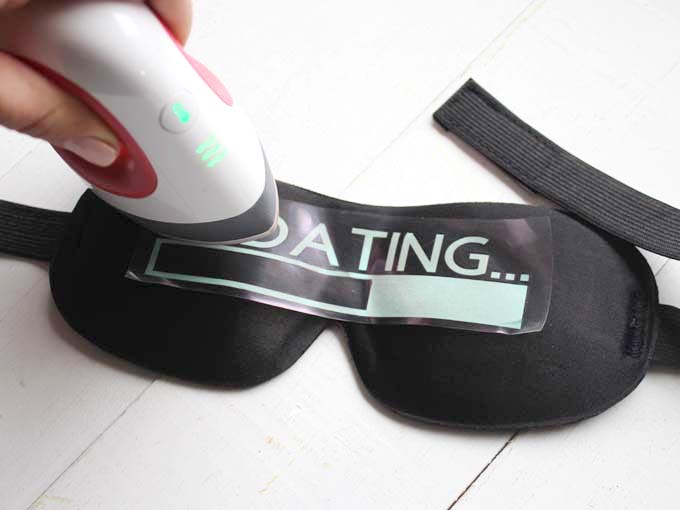
Repeat the process for each of the sleep masks. Then let the iron-on vinyl cool down completely.

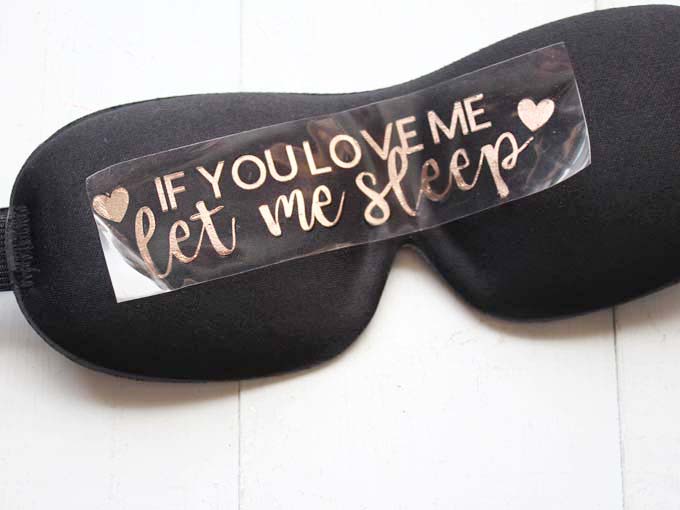
STEP 4: Then peel off the plastic carrier sheet.

Now these great sleep masks are ready to gift.

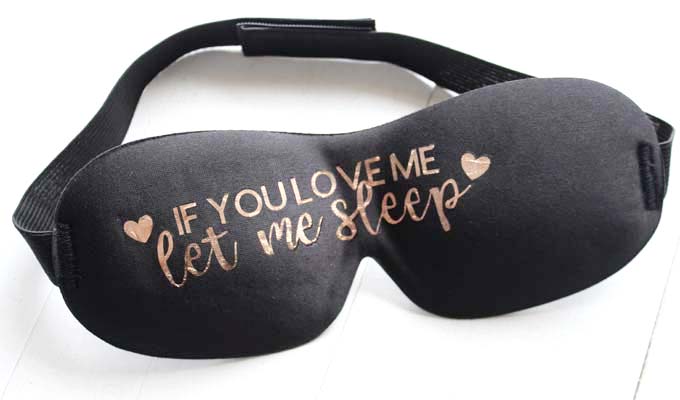
The shiny gold foil iron-on works perfectly on the sleep mask for a super chic finish.

This “Updating…” sleep mask is my favorite. At night time, I always tell my kids that they are like computers and need to shut down and restart the next morning!

Sleep masks are great in a spa gift basket with bath bombs, nail polish, face masks, and chocolate. They also work great as stocking stuffers!

Image result for amazon a logo

Be sure to check out my Juggling Act Mama Storefront on Amazon where you’ll find all kinds of great products to make your life easier!  

Thanks so much for being a part of Juggling Act Mama

❤ ❤ ❤

Pin
Share
Tweet
Share
15Shares

Filed Under: DIY, Just for Moms, Mother's Day

Reader Interactions

Comments

  1. SuK says

    December 17, 2019 at 7:36 am

    Wish I had seen this sleep mask sooner. My grand-daughter uses one but she lives out of state. Maybe next year.

    Reply

Leave a Reply Cancel reply

Your email address will not be published. Required fields are marked *

Recipe Rating


Primary Sidebar

Welcome! I'm Ang - the Juggling Act Mama! I love sharing quick and easy recipes, creative DIY projects, and fun family travel with you. Like many of you, I am a multi-tasking mama juggling priorities which are why here I offer solutions to tame your hectic lifestyle. Read More…

Popular Posts

Authentic Italian Meatballs topping a bowl of spaghetti with sauce.
Grilled Petite Sirloin Steak on a cutting board. Int he background, a blue towel and a small green ramekin with Cowboy Steak Rub with a wooden spoon.
Slices of oven roasted pork tenderloin on a cutting board with a sprig of fresh thyme. In the background are slices of compound butter and ramekins with salt and pepper

Footer

More Blog Posts

EASY CHICKEN TORTILLA SOUP - make this on the stovetop or slow cooker for a simple and delicious weeknight meal!
Upcycle your old wine bottles (or San Pelligrino bottles, in my case) into fun and festive bottle vases! Learn how to make these burlap rosettes to add some color, too!
Copyright Notice · Disclosure · Privacy Policy · Republication Policy · Terms and Conditions · Trademarks · Work with Me

JUGGLING ACT MAMA IS A LIFESTYLE BLOG FOR BUSY MOMS THAT WANT TO DO IT ALL. ENJOY AMAZING RECIPES, FANTASTIC PROJECTS
AND INCREDIBLE TRAVEL IDEAS FOR LIVING YOUR BEST LIFE.


Copyright © 2021 Juggling Act Mama · Log in