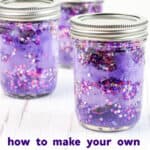
Galaxy Jars Step-by-Step Tutorial
If you have space fanatics, you have to try this fun craft! You and the kids will have so much fun making this DIY galaxy in a jar project!
Warning, this craft has a generous amount of glitter so if you have sparkalaphobia – or a fear of glitter – this project probably isn’t for you. 😃
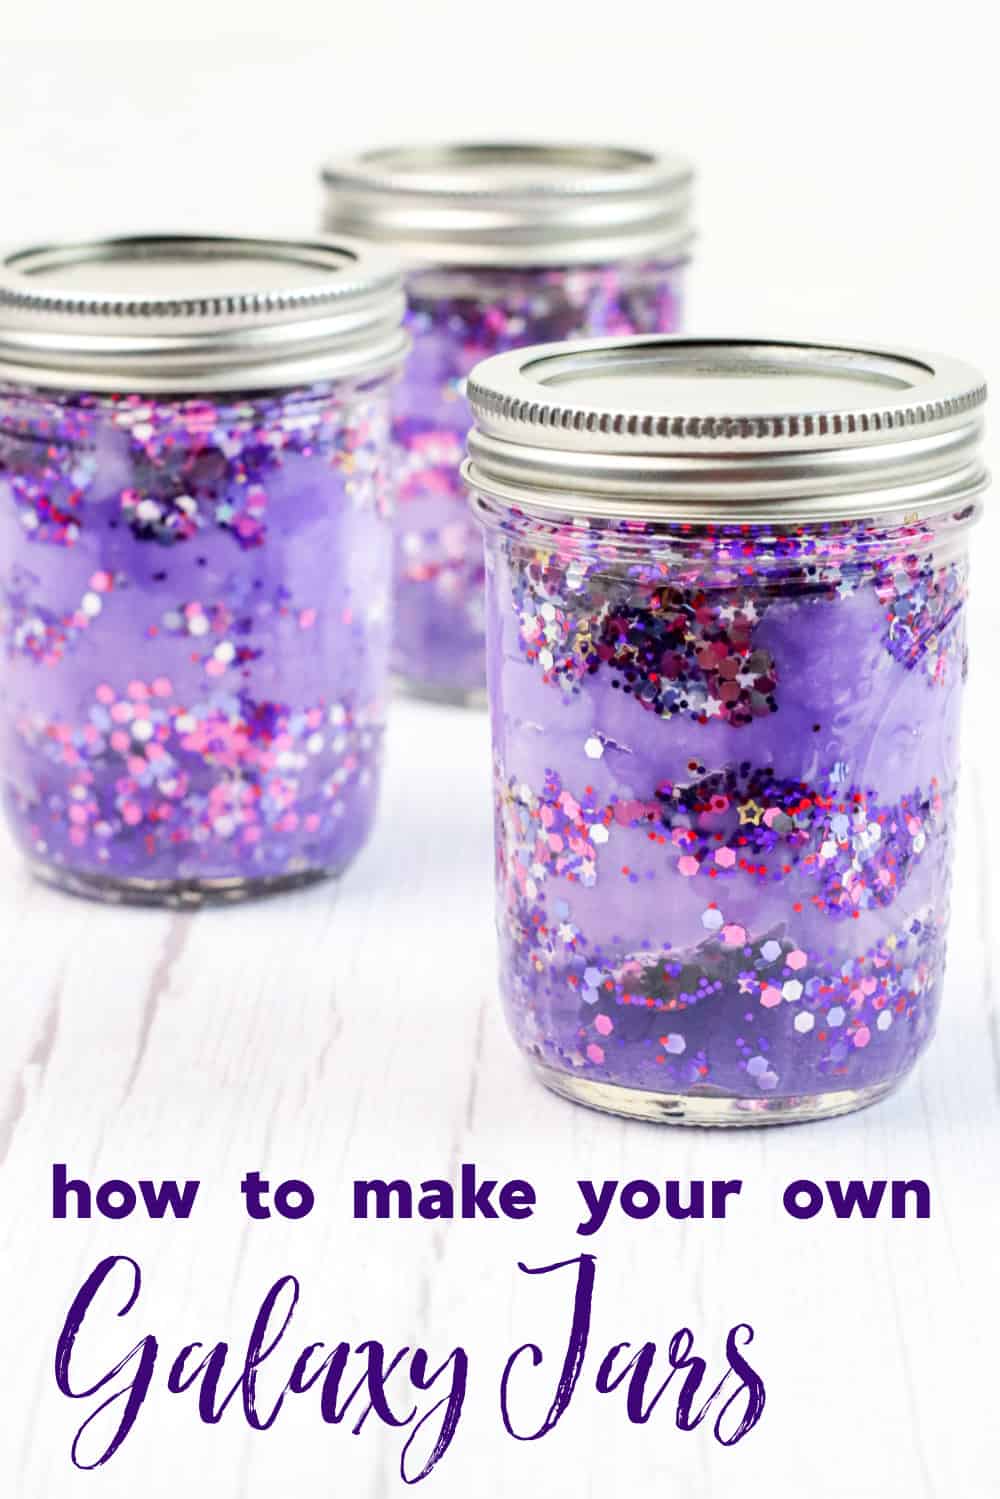
This DIY Galaxy Jar, or Nebula Jar is a gorgeous craft for kids – and honestly, adults, too!
Having a sensory jar like this is a great way for young children to to relax and have a few minutes of ‘calm down’ time.
And I find it a great stress relief, too! Taking a few minutes to shake up the jar and watching the glitter swirl around really is therapeutic. The silver glitter makes me think of stars in the night sky, which I love looking at in real life, too.
In this tutorial, we’ll show you how to make a galaxy glitter jar. We’ve used purple paint in three shades to create an Ombre effect.
You can use different colors, but you might want to test them first to see how they look together.
Some galaxy jar DIY instructions do not call for cotton balls, but using them is what will give you the illusion of a nebula cloud.
It doesn’t take too much imagination to think of the glitter as baby stars in between clouds of dust and gas in some far off corner of the universe!
Along with this Glitter Slime, these jars would be a fun addition to any rainbow, unicorn, or Mermaid Themed Party
Related: Mason Jar Lid Coasters
This is meant to be a brief overview of the how to make a galaxy jar. For step-by-step instructions and a full printable card, please scroll down to the teal box below
✂️ Supplies Needed
The following are affiliate links. We are a participant in the Amazon Services LLC Associates Program, an affiliate advertising program designed to provide a means for us to earn fees by linking to Amazon.com and affiliated sites.
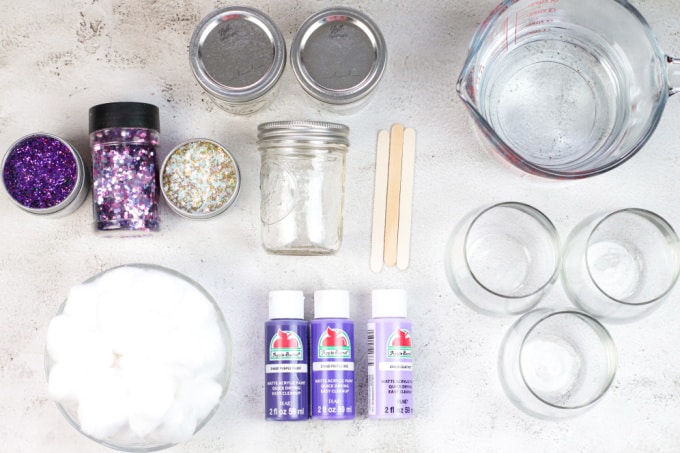
Here is what you will need to make this galaxy in a jar DIY project:
- 3-8-ounce plastic cups
- 3 ombre colors of acrylic paint
- 3 Mason jars
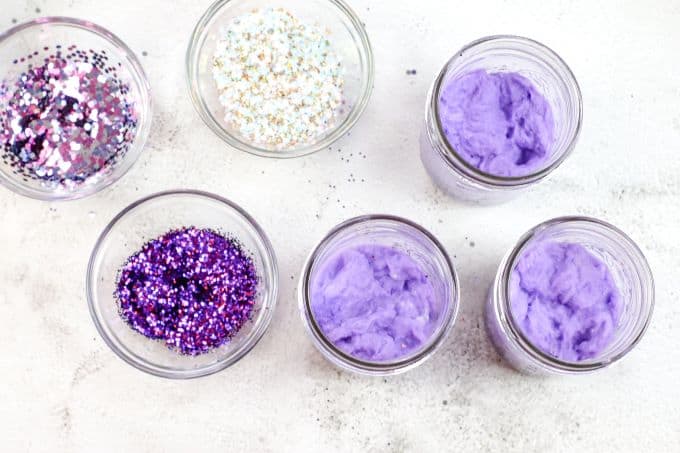
- Large cotton balls
- Regular glitter
- Chunky glitter
- Glitter stars
- Wooden craft sticks
Many of these items are available at your local Dollar Tree or other dollar stores. I like to stock up simple craft supplies because my money goes a lot further that way!
📝Instructions
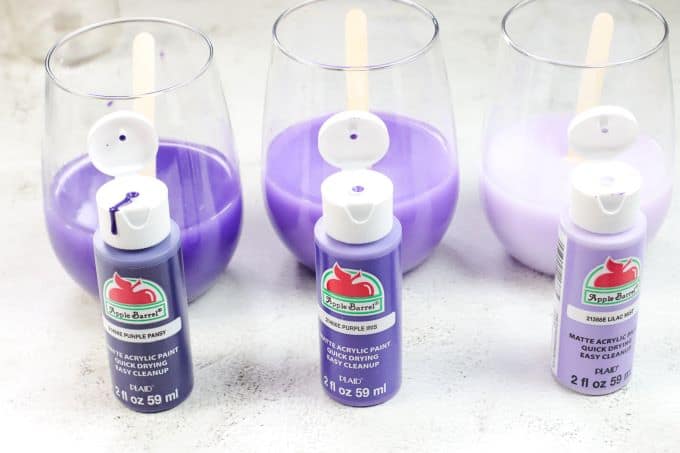
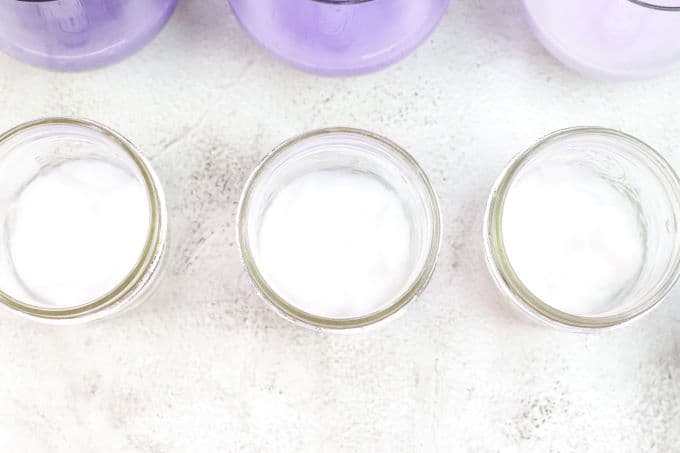
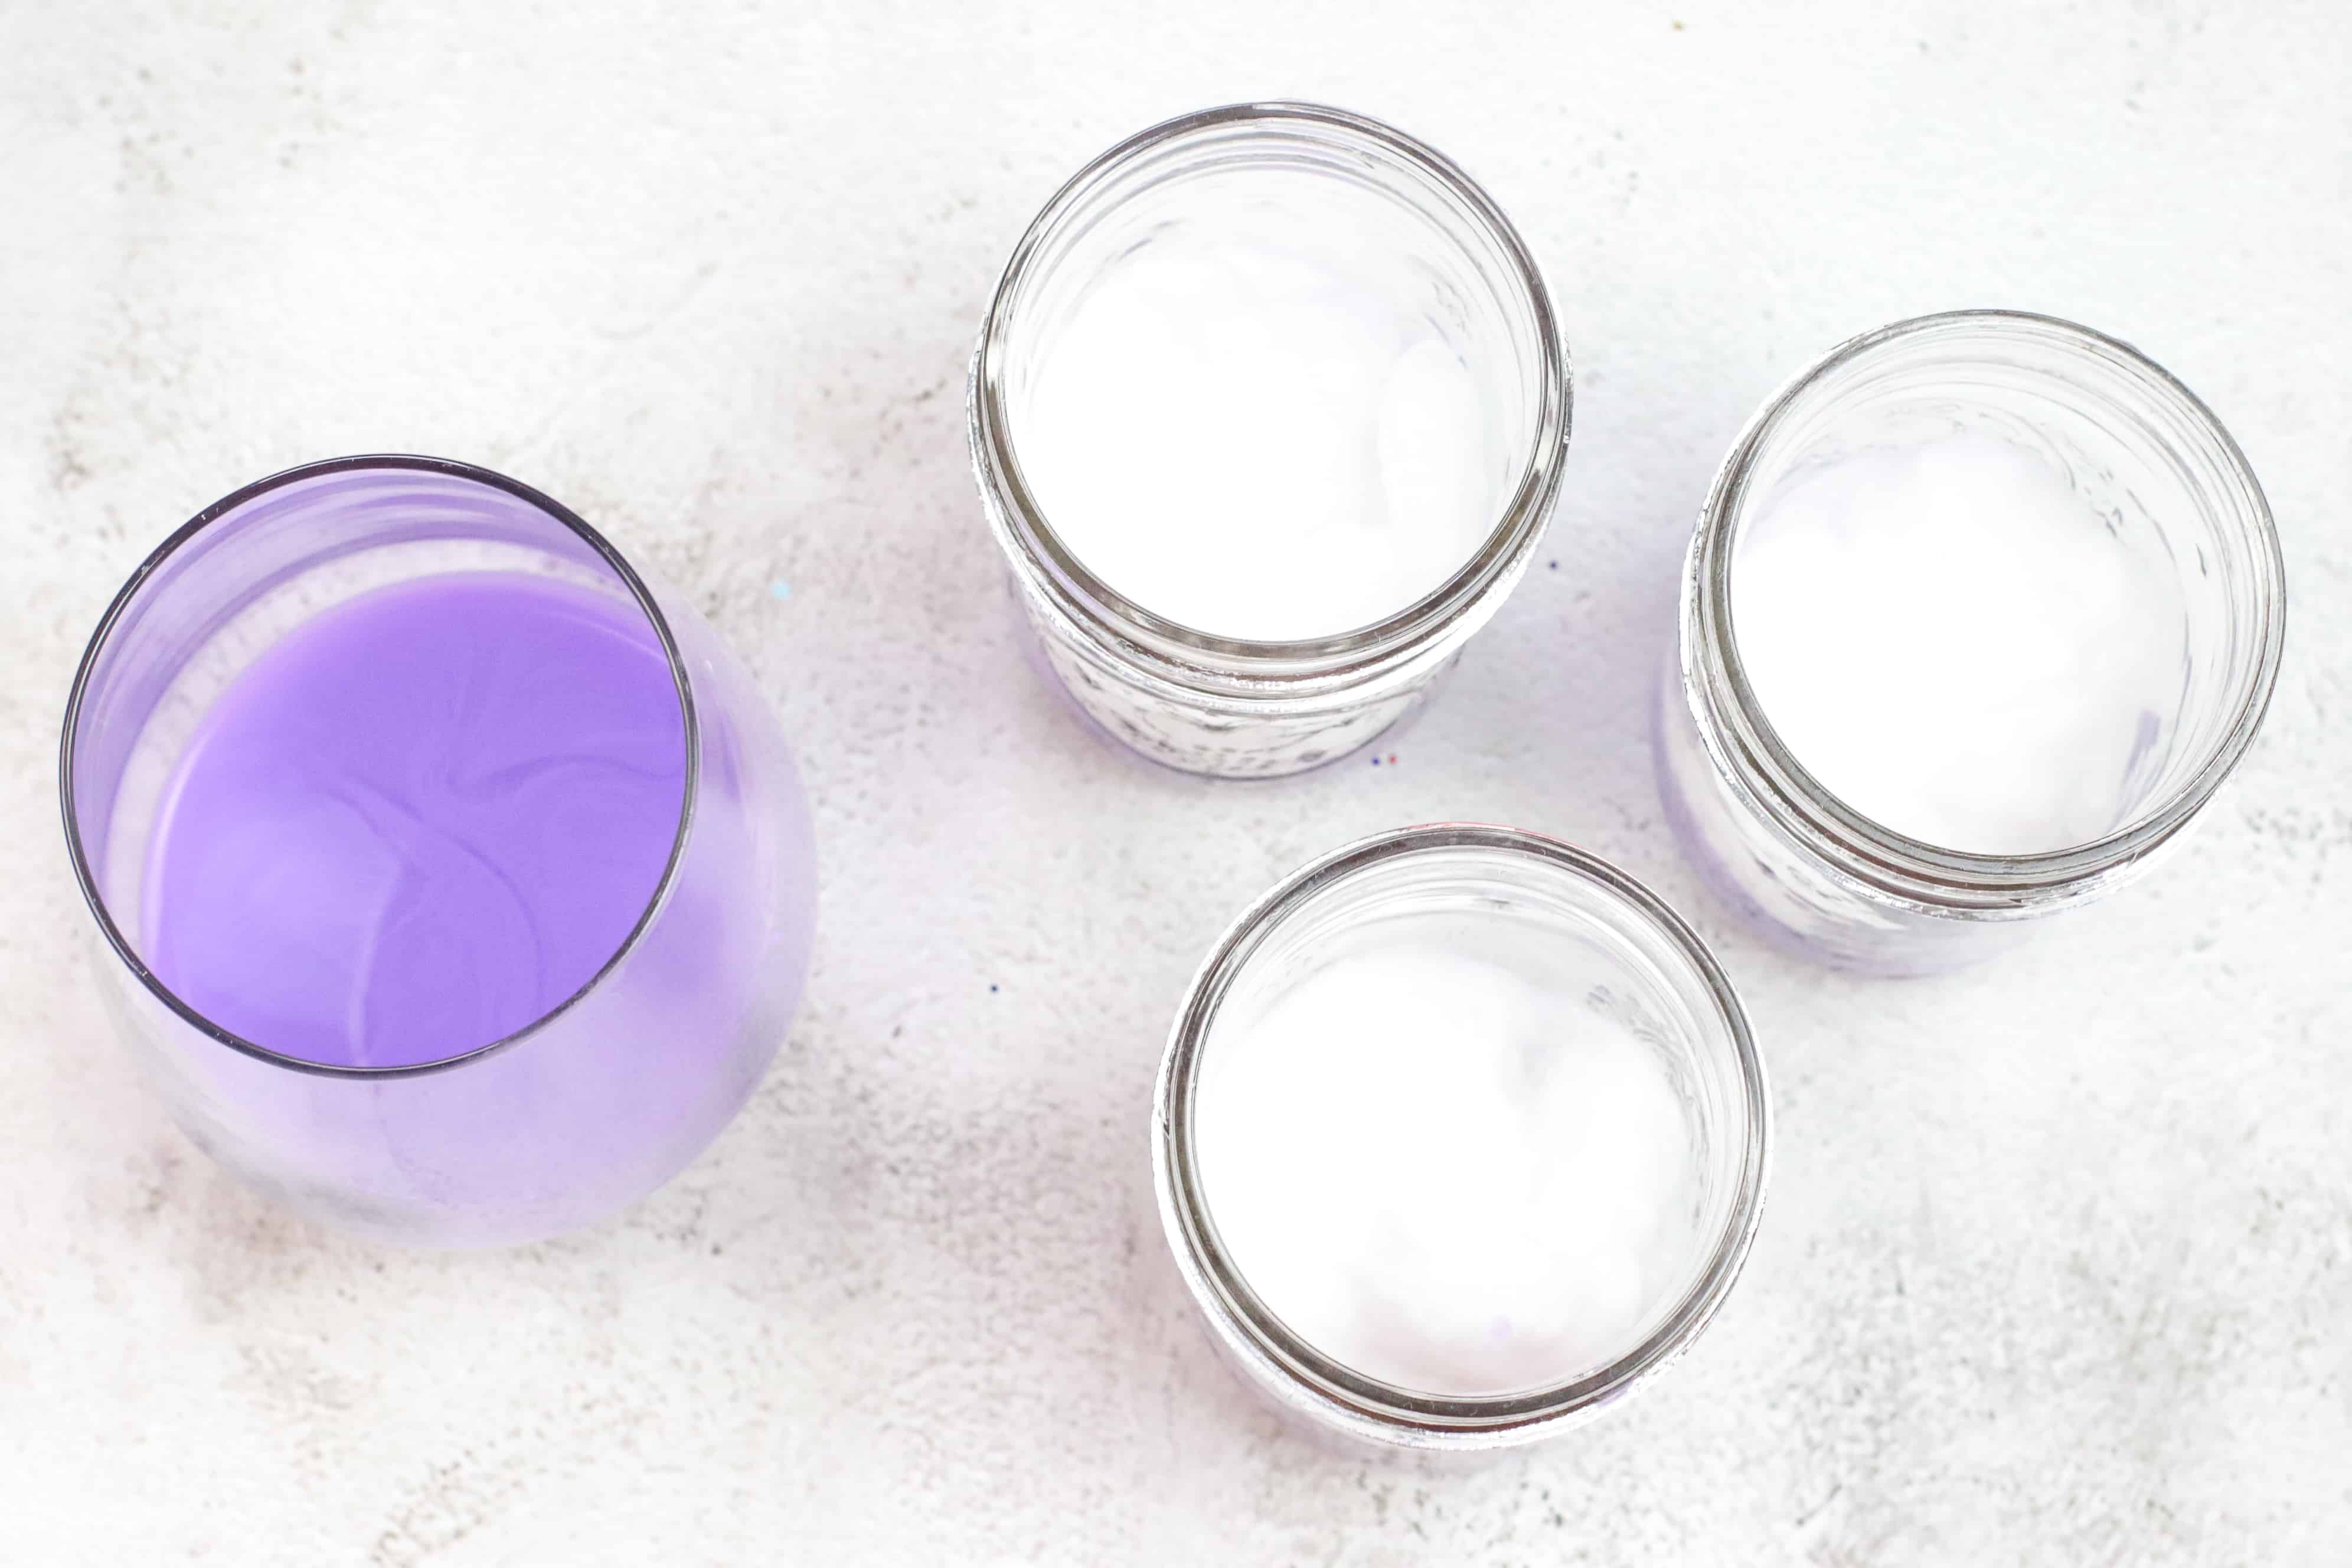
Step 1: Add water to each glass until it’s about ¾ full. Put 4 or 5 drops of paint in each glass and stir with a popsicle stick. Use a separate popsicle stick for the dark, medium, and light colors. Add 1 or 2 more drops of paint, if needed, to deepen the colors in each glass.
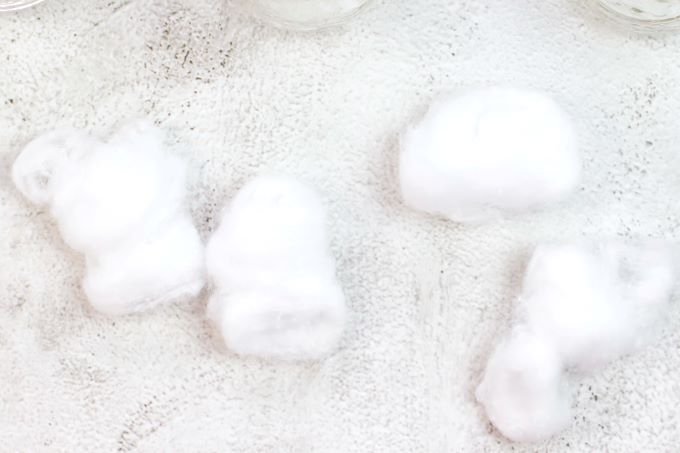
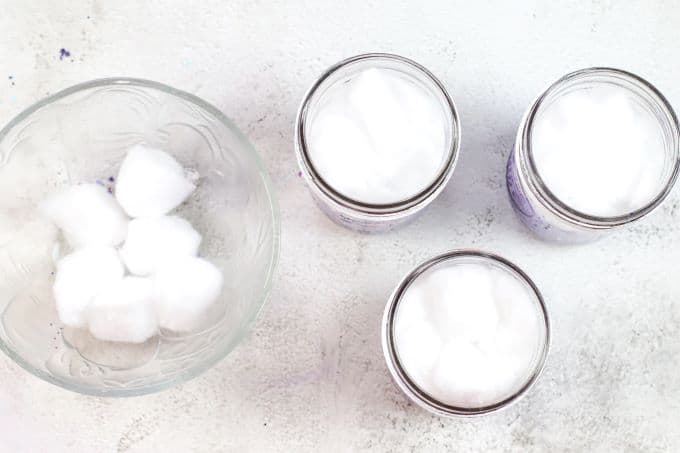
Step 2: Stretch the cotton balls.
Step 3: Put the cotton balls in the jar, filling each one ¼ of the way with cotton balls.
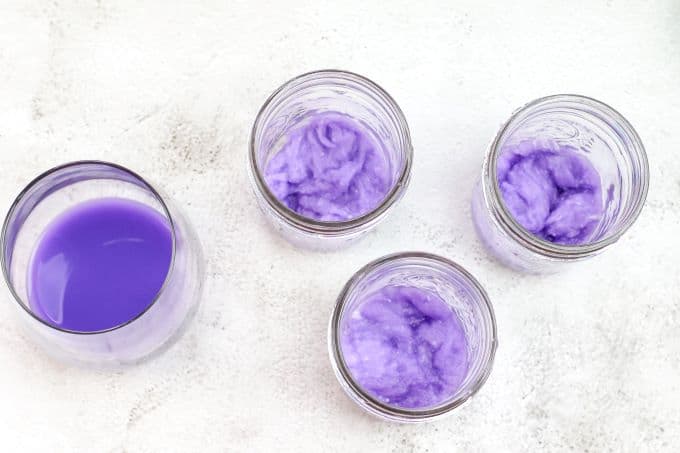
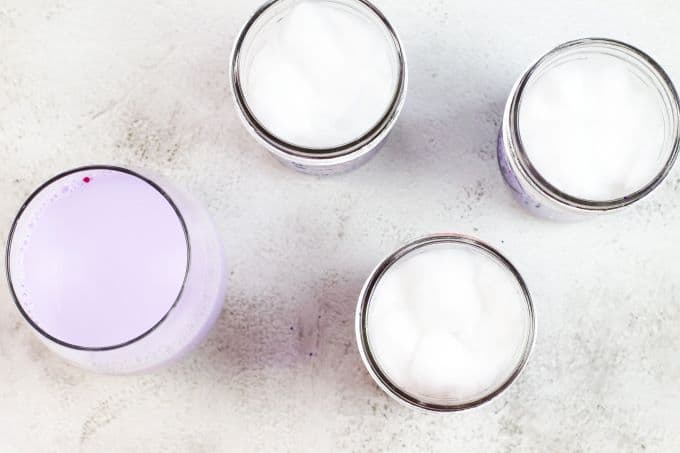
Step 4: Pour just enough of the darkest color of purple paint into each jar to soak the cotton.
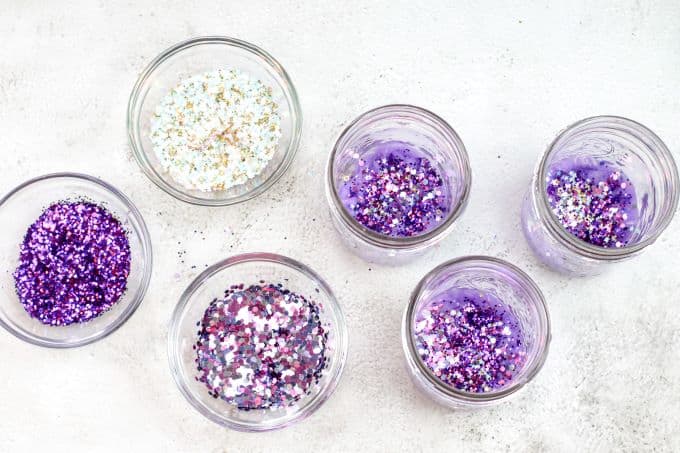
Step 5: Add some of the glitter and stars to each jar.
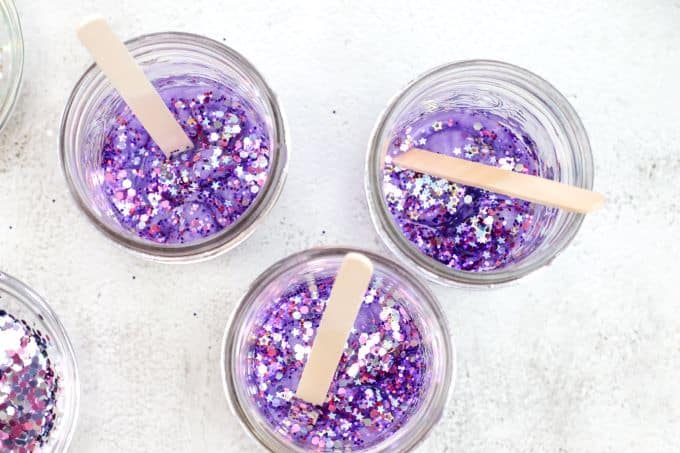
Step 6: Use a popsicle stick to spread the glitter over the cotton balls and around the sides of the jars.

Step 7: Add another layer of cotton to each jar.
Step 8: Grab the glass with the medium shade of purple paint.
Step 9: Pour the medium purple paint over the cotton ball layer in each jar.
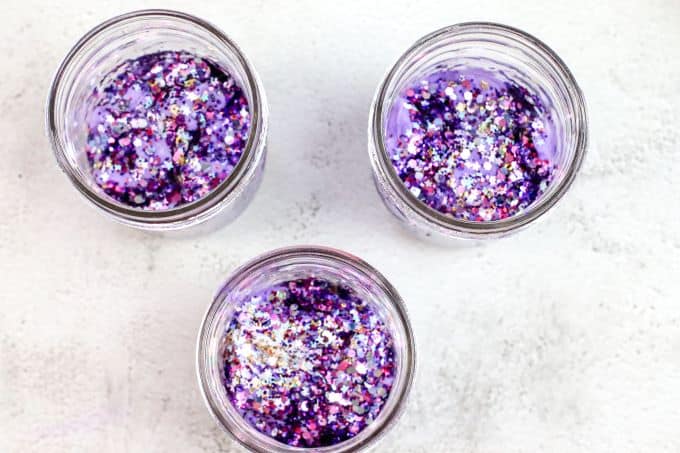
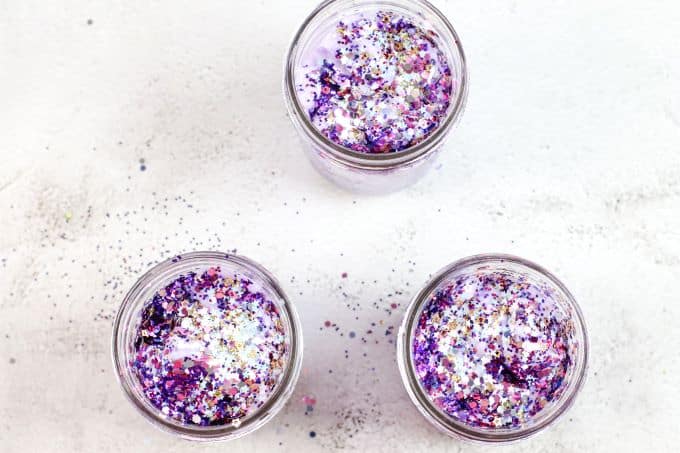
Step 10: Add another layer of glitter and stars, using the popsicle stick to spread the glitter around.
Step 11: Add another layer of cotton balls to each jar.
Step 12: Grab the lightest shade of purple paint.

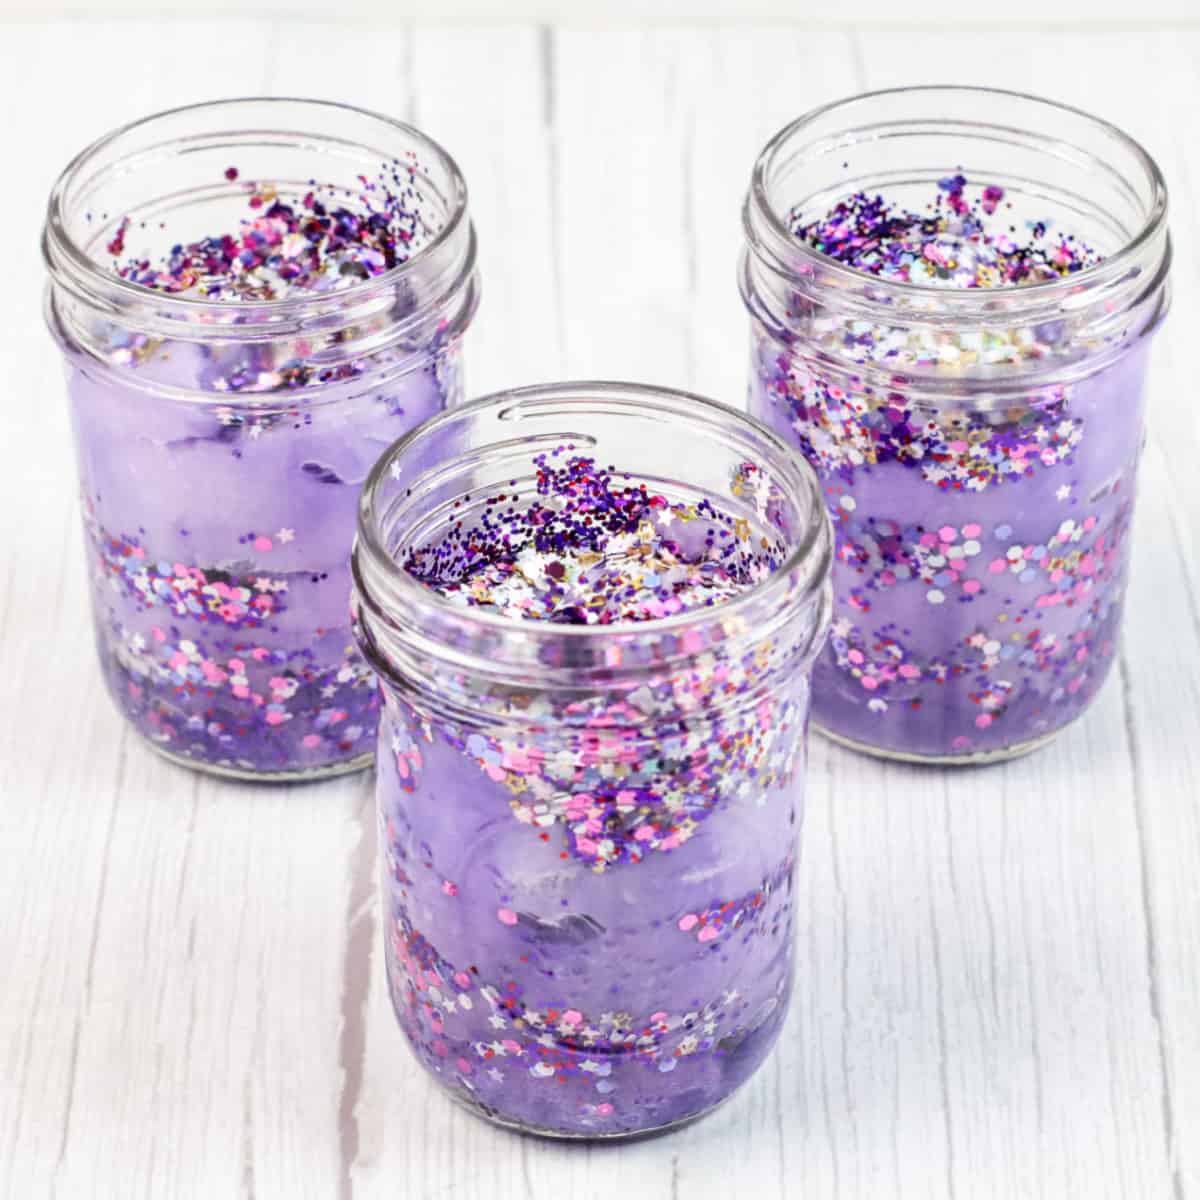
Step 13: Pour the light purple paint over the cotton layer in each jar.
Step 14: Top with another layer of glitter and stars, using the popsicle stick to spread the glitter around. Finally, top the jars with their lids to seal.
Tips
Be sure to wipe the rim of the mason jar thoroughly before sealing the lid tight. Glitter can sometimes get stuck in the ridges at the top of the jar and prevent a good seal, causing the jars to leak.
How to Make Galaxy Jars

Galaxy Jars
As an Amazon Associate, I earn from qualifying purchases.
Equipment
- 3-8-ounce plastic cups
- Wooden craft sticks
Materials
- 3 ombre colors of acrylic paint
- 3 Mason jars a plastic jar is great for small children
- Large cotton balls
- Regular glitter you can also use glitter glue if you have it on hand
- Chunky glitter
- Glitter stars
- water
Instructions
- Add water to each glass jar until it’s about ¾ full. Put 4 or 5 drops of the paint in each glass and stir with a popsicle stick. Use a separate popsicle stick for the dark, medium, and light colors. Add 1 or 2 more drops of paint, if needed, to deepen the colors in each jar.3 ombre colors of acrylic paint, 3 Mason jars, water
- Stretch the cotton balls.Large cotton balls
- Put the cotton balls in the jar, filling each one ¼ of the way with cotton balls.
- Pour just enough of the darkest color of purple paint into each jar to soak the cotton.
- Add some of the glitter and stars to each jar.Regular glitter, Chunky glitter, Glitter stars
- Use a popsicle stick to spread the glitter over the cotton balls and around the sides of the jars.
- Repeat steps 2-6 with the medium purple paint and water mixture.
- Repeat steps 2-6 with the light purple paint and water mixture. After adding the final layer of glitter, put the lids on the jars to seal them.
Video
Notes
More Mason Jar Crafts
- Sea Glass Mason Jars
- DIY Natural Insect Repellent Jars
- Dinosaur Mason Jars
- Glow in the Dark Fairy Jar
I am a nanny and I’m always looking for fun projects to do with the kids I care for. this galaxy jar craft was a huge hit. Thank you!
Thanks for your comment, Tiffany! It’s always awesome the hear that one of our projects is loved 🙂