Cricut DIY Dried Herb Mason Jars (with SVG)


Give your pantry a quick upgrade with your Cricut – make these Cricut DIY Dried Herb Mason Jars in no time with my tutorial, then fill them with fresh herbs or my delicious Basil Salt.

When I wanted to add a pretty touch to our pantry, I knew that I had to break out my Cricut machine and make these Cricut DIY Dried Herb Mason Jars to store all of our dried herbs and seasoning mixes.
I’ve shared many Cricut projects, but I just can’t help myself – I love mine. If you ask my family and friends, they’ll tell you I talk about it all the time – and use it all the time, too!
I really love using my Cricut cutting machine to make cute projects around my house. Of course, they make lovely gifts, too! These would be the perfect inexpensive housewarming gift. Since you can customize the color choices, they fit in any kitchen.
You could also paint your mason jars first.
Keep reading to learn how to make these and to grab the SVG file.

Materials Needed:
- Herbs SVG File
- Cricut Joy (or Cricut Explore Air) with Fine Point Blade
- Cricut Smart Vinyl, Removable – I used Coral
- Cricut Transfer Tape
- Mason Jars, 8oz with lids
- Scissors
- Weeder tool
- Dried herbs of your choice
- Twine or ribbon (optional)
Cricut DIY Dried Herb Mason Jars Instructions:
- Gather supplies.
- Thoroughly wash jars with soap and hot water and let them dry completely before using.
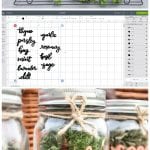
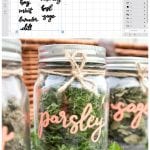
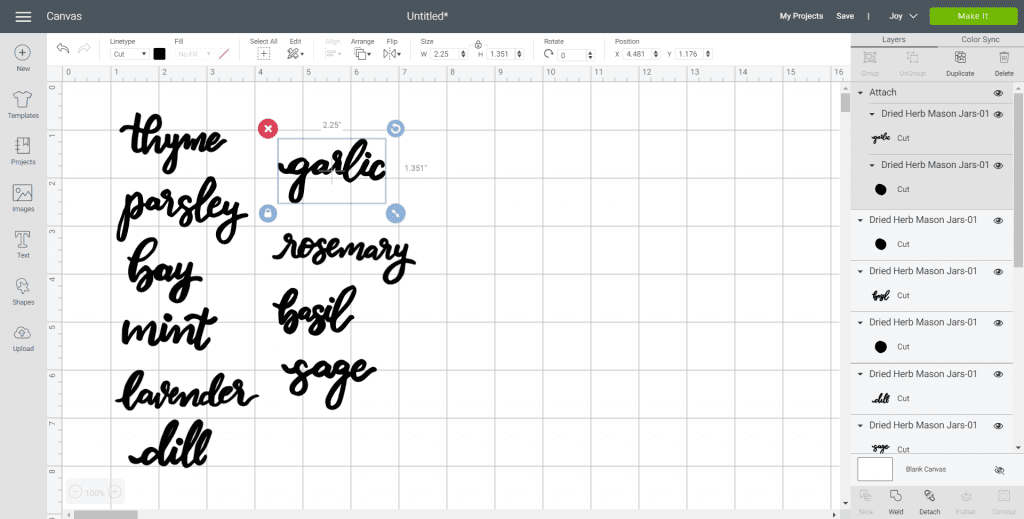
- Upload Lettered Herb SVG File into Design Space.
- Click Ungroup.
- Click and drag over each of the words with the letter “i” separately. With the word highlighted, click on the “Attach” button to secure the dot over the letter i to the word. Choose which herb lettering you want to cut and hide the remaining words.
- Adjust image sizes to fit mason jars accordingly or maintain size as provided.
- Color sync the images if needed to match the vinyl color.
> > > DOWNLOAD THE SVG FILE HERE

Cutting
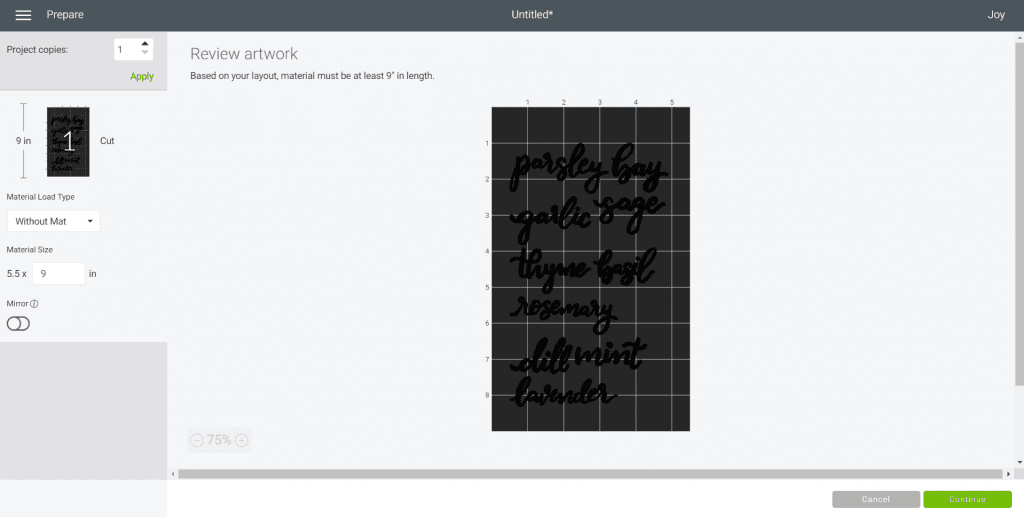
- Ensure the machine is set to Cricut Joy and select “Make It” in Design Space.
- Choose “Without Mat” as the option for cutting when using Smart Vinyl.
- Set material type to Smart Vinyl.
- Follow the prompts for loading the mat into the Cricut Joy and cutting the Smart Vinyl. When prompted, unload the vinyl from the cutting machine.

How to Assemble the Dried Herb Mason Jars
- Cut around each word with a pair of scissors.
- Using the weeding tool, peel away the excess vinyl around the cut images and discard.
- Cut a piece of transfer tape a bit larger than the size of the lettering.
- Peel away the transfer tape backing and place the transfer tape overtop of the cut lettering. Gently rub the vinyl to help it stick to the transfer tape.
- Peel away the vinyl backing, leaving just the lettering adhered to the transfer tape.
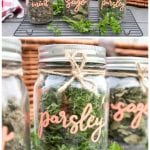
- Position the word with the transfer tape onto the smooth side of a jar and press in place.
- Press the vinyl image down with your fingers to help it stick to the glass jar.
- Slowly and carefully remove the transfer tape leaving the vinyl word on the jar.
- Repeat for the other mason jars and herb lettering.
- To finish, fill the mason jars with dried herbs and tie a piece of twine around the jar lid.
More Mason Jar Projects
More Cricut Crafts
- Holiday Cricut Projects
- DIY Pumpkin Paper Garland Project
- DIY Teal Pumpkin Project Decorations
- Thanksgiving Craft Ideas
- Hello Fall sign
