Wood Photo Ornaments | Wood Slice Ornaments
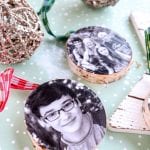

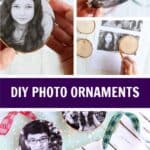

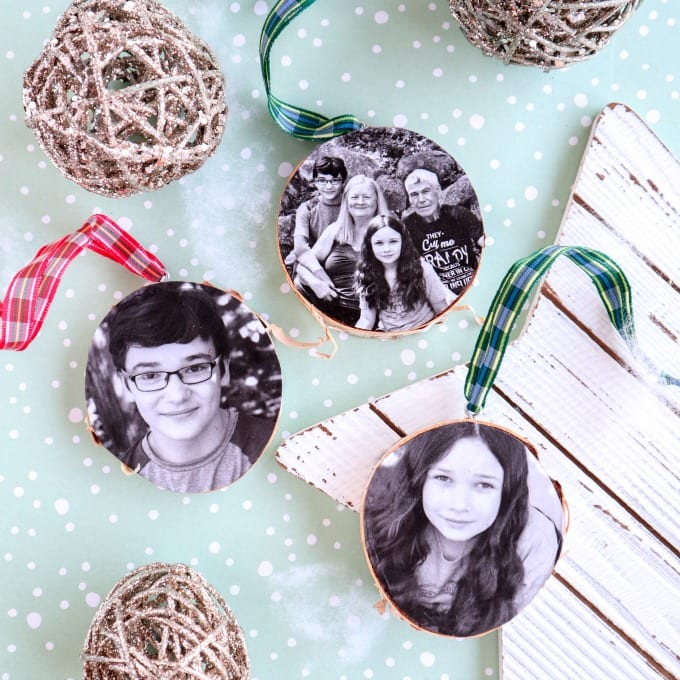
Wood Photo Ornament Craft – Whether you love rustic or elegant décor, everyone loves a good photo ornament! We’ll show you how to make your own wood photo ornaments on a slice of birch-wood. These are perfect to keep or gift! And, if you love personalized ornaments, check out this Scrabble Ornaments Tutorial.

Every year, I buy the kids a new ornament. Usually it has something to do with an accomplishment or highlight from the year. My parents did this for my sisters and I, and I just think it’s such a special tradition!
This year, I decided to take a couple of my favorite photos and make them into wood slice photo ornaments. So, how do you put pictures on a wood slice? In this tutorial, I’ll show you how to make your own wood photo ornaments!
Materials Needed:
- wood slice, about 2.25” in diameter
- photo printed on printer copy paper (in black and white or color) and sized to fit on wood slice
- scissors
- pencil
- Mod Podge, matte finish
- foam brush, ¾”
- decorative ribbon
- screw eye, ½”

Adding the Photos to the Wood Slices
- Working one ornament at a time, place a wood slice over top of the photo and trace along the outer edge.

2. Using a pair of scissors, cut along the pencil line.

3. Position the cut out photo on top of the wood slice to ensure it fits. If too big, trim off the edges a bit.


6. Brush on a layer of mod podge over the wood slice.

7. With the back side of the photo facing up, brush on a layer of mod podge on the back side of the cut out photo.

8. Press the photo on to the wood slice and press gently with fingers. You can also use a craft stick to help press the photo in place.

Apply a thin layer of Mod Podge over top of the photo and leave it to dry fully before assembling the ornaments.


Assembling the Ornaments
- Insert the screw eye to the top of the wood slice. If needed, use a drill with a similar sized drill bit to make a pilot hole.

2. Cut three pieces of ribbon 10” long.

3. Insert the end of the ribbon through the screw eye and tie ends together.

Of course, if you purchase wood slices that already have the eye hook or a hole drilled in them, you can skill this step.
Vinyl Lettering Detail
If you’d like to add something other than a photo to the opposite side of the ornament, check out my Wood Slice Christmas Ornaments with free SVG files you can use with your Cricut Joy.

More Wood Slice Ornament Ideas
- Wood Burning Ornament Project – these ornaments have a rustic look, but are simple to make.
- Painted Wood Slice Ornaments – I love this colorful version of wood slice ornaments.
- Decoupage Wooden Slice Ornaments – these are gorgeous and so versatile.
- Wood Circle Ornaments | Cricut Craft – pull out your Cricut for these farmhouse beauties.
🎄 More Holiday Ideas
- Christmas Bucket List Printable
- Tri-Color Christmas Cake Pops
- How to Make a Kissing Ball
- Old Fashioned Chocolate Peanut Butter Fudge
- Painted Wood Ornaments
- Dried Orange Slices for Ornaments
- Paper Mache Ornaments Cricut Craft
- Popsicle Stick Sled Ornaments
You can also find more DIY ornament ideas here on my Pinterest board.

Wood Photo Ornaments
As an Amazon Associate, I earn from qualifying purchases.
Equipment
- Pair of scissors
- pencil
- 3/4" Foam brush
- 1/2" Screw Eye
Materials
- wood slice about 2.25” in diameter
- photo printed on printer copy paper in black and white or color and sized to fit on wood slice
- Mod Podge matte finish
- decorative ribbon
Instructions
- Working one ornament at a time, place a wood slice over top of the photo and trace along the outer edge.photo printed on printer copy paper
- Using a pair of scissors, cut along the pencil line.
- Position the cut out photo on top of the wood slice to ensure it fits. If too big, trim off the edges a bit.
- Brush on a layer of mod podge over the wood slice.wood slice, Mod Podge
- With the back side of the photo facing up, brush on a layer of mod podge on the back side of the cut out photo.
- Press the photo on to the wood slice and press gently with fingers. You can also use a craft stick to help press the photo in place.
- Apply a thin layer of Mod Podge over top of the photo and leave it to dry fully before assembling the ornaments.
- Insert the screw eye to the top of the wood slice. If needed, use a drill with a similar sized drill bit to make a pilot hole.
- Cut three pieces of ribbon 10” long.decorative ribbon
- Insert the end of the ribbon through the screw eye and tie ends together.
- Of course, if you purchase wood slices that already have the eye hook or a hole drilled in them, you can skip this step.