Dried Orange Slices for Ornaments


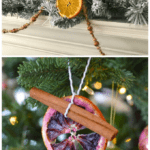


Beautiful dried orange slices for ornaments are a wonderful way to add homemade rustic charm to your holiday décor this Christmas!
When it comes to decorating for Christmas, no one does it like my mom. She’s a wizard when it comes to creating gorgeous garlands and whimsical wreaths. Seriously – her Christmas tree takes hours to put together and it is a work of art.
While I inherited her Christmas spirit, I don’t have the finesse that she does when it comes to decorating, so my decorations tend to be more simple. That doesn’t mean I don’t like creating pretty things, though! Today’s tutorial for drying citrus slices is just the thing if your holiday season decorating speed is more low-key.
There are two different options for drying your citrus slices; the oven or with a food dehydrator. With both methods, you’ll want to keep an eye on everything during the process because smaller slices will dry quicker than larger ones.
✂️ Supplies Needed
Be sure to check out my Juggling Act Mama Storefront on Amazon where you’ll find all kinds of great products to make your life easier! Thanks so much for being a part of Juggling Act Mama ❤
- Citrus Fruit like fresh oranges, clementines, blood oranges or even grapefruit
- Dehydrator or Baking Sheets and Cooling Racks
- Cutting Board and Serrated Knife or Mandoline Slicer

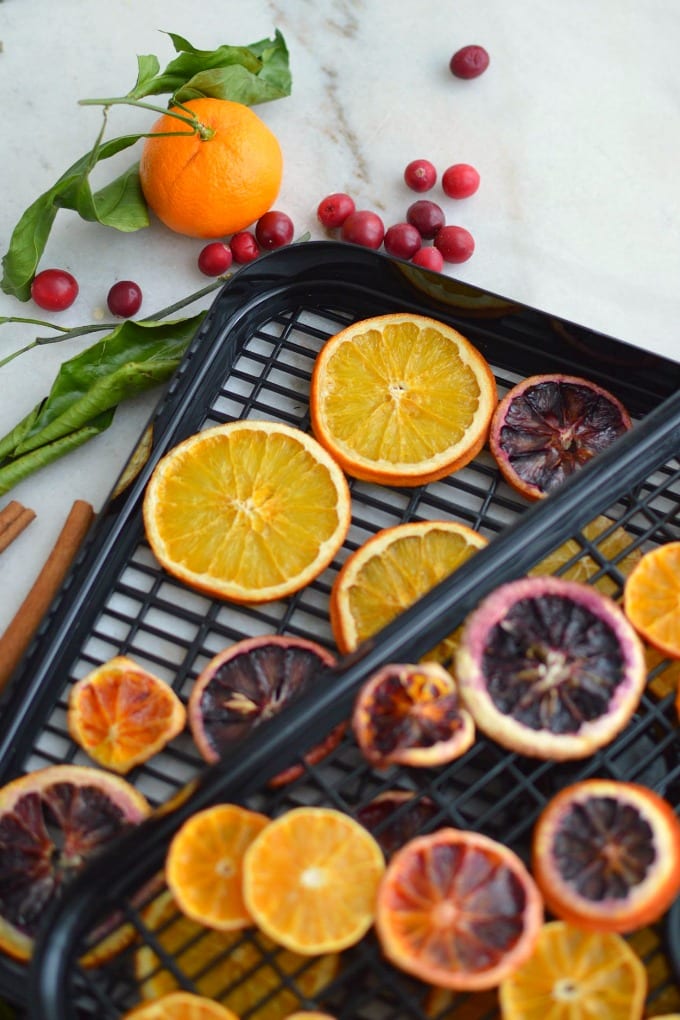
What kind of citrus can you dry?
For dried orange slices for ornaments, you can choose one type of citrus or a mix. Shown here you’ll find Navel oranges, Blood oranges, and Clementines.
- Navel Oranges
- Grapefruit
- Cara Cara Oranges
- Clementines
- Blood Oranges
- Limes
- Lemons
- Kumquats
There are so many options though, consider including Grapefruits of different sizes and colors along with Cara Cara oranges that are a little bit pink inside.
Limes and Kumquats make very small slices but look so pretty when you mix them with the larger slices.
How thick do you slice fruit for drying?
The size of the fruit will dictate the thickness of your slices. For example, smaller fruits can be cut in 1/4-inch circles, while larger fruits should be about 1/2-inch thick.
It is important to keep the slices about the same thickness. Having uniform circles will help during the drying process.
Slicing Tip: For even slices, use a mandoline slicer.
📝Instructions
Jump to Printable Project CardThis is meant to be a brief overview of how to make dehydrated orange slices. For step-by-step instructions and a full printable tutorial with materials, please scroll down to the teal box below.
🍊 Dehydrated Orange Slices
Before starting read through the instructions for your food dehydrator as machines vary. Although this did take longer than the oven method, I’m really happy with how well the slices maintained their original coloring.
- Start by cutting the citrus into thin slices approximately 1/4 to 1/2 inch circles, depending on the type of fruit.
- To remove excess moisture, place the slices onto paper towels or a clean kitchen cloth and gently press.
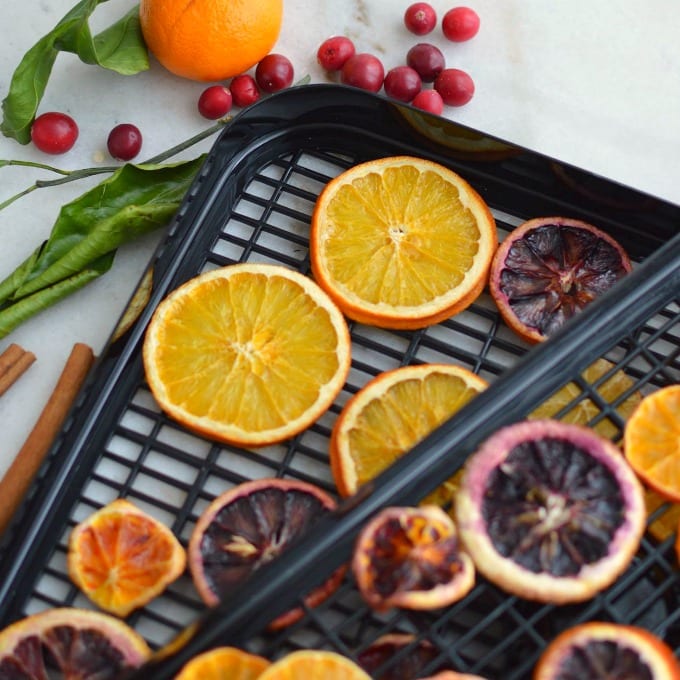
- After that, arrange the slices onto the dehydrator racks.
- Set the dehydrator to 130-degrees F and dry for 9 hours. (Be sure to check your specific machine for temperature and drying time.
🍊 Oven Dried Orange Slices
Absolutely, you may not have the same results as using the dehydrator, however.
- Preheat your oven to 200 degrees F.
- Line cookie sheets with parchment paper and set wire racks on top.
- Cut the fruit into thin slices approximately 1/4 to 1/2 inch circles, depending on the type of fruit.
- Place the slices onto paper towels or a clean kitchen cloth and gently press with another paper towel to remove some of the moisture.
- After that, arrange the slices on cooling racks in a single layer that fit into baking trays.
- Depending on how many slices and the thickness and diameter, plan on drying them for a long time – about 2 to 3 hours.
- Keep a close eye on them after the two-hour mark and remove from the oven before they start to brown.
- Remove the baking sheet and let cool before handling the dehydrated oranges.
Tips for drying in the oven:
- You can put two or three trays in the oven at once, just plan on a bit more time with the addition of each tray.
- Try keeping slices that are similar in size on trays together as smaller slices will dry faster than thicker slices.
- Do not crowd the trays; more air circulation will help the citrus dry faster.
- Rotate the tray(s) each hour so that the slices dry evenly.
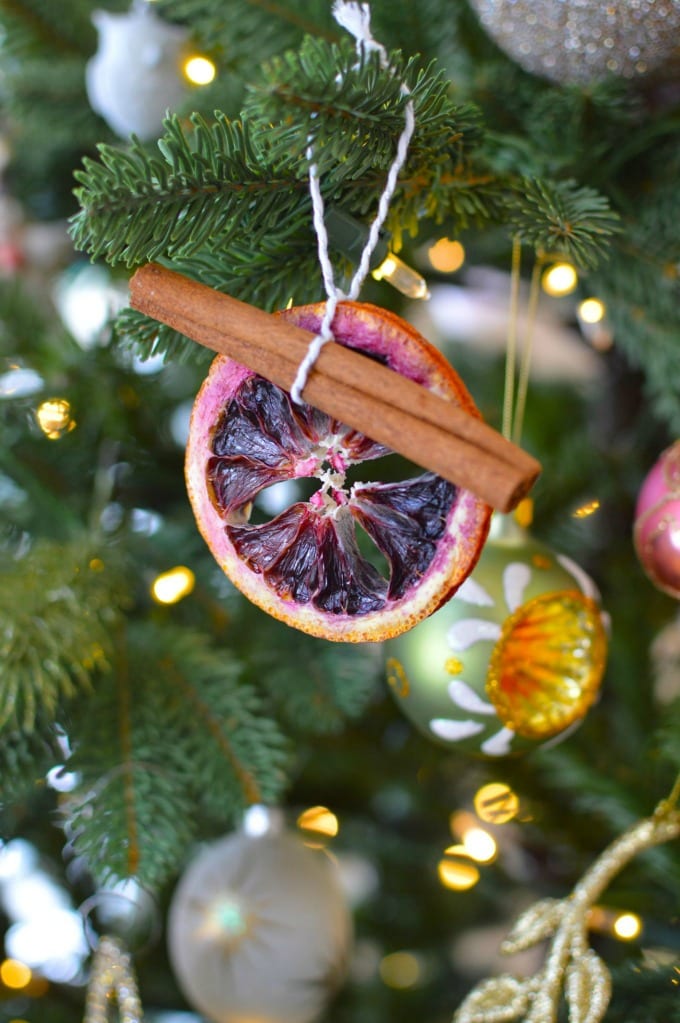
How to Make Dried Orange Slice Ornaments
This is a fantastic project for kiddos to help out with and they make lovely winter gifts!
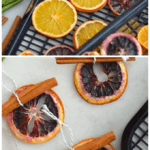
- Once the slices are completely dry, use a thin ribbon, string or baker’s twine, and a cinnamon stick.
- Tie a loop at the top for hanging.
- After that, loop the string around the cinnamon stick and one of the openings on the slices.
- Tie tight to secure.
These would look so lovely with Cinnamon Applesauce Ornaments, too!
How do you use orange slices for decorations?
Once your slices are slightly translucent and cooled they are ready to set into your projects. Here are some ways to use citrus slices in your Christmas decorations other than making ornaments:
- Add them to garland for your mantle.
- Secure them to a balsam wreath for a pop of color.
- String them with cranberries to make festive orange garlands for your Christmas tree.
- Place the citrus wheels into different size jars for a pretty centerpiece.
- Create a bowl of homemade potpourri with dried citrus, cinnamon sticks, whole cloves, small pine cones, and star anise. This is especially good for the pieces from the end of the orange.
- Add dried oranges slices to mason jars with fairy lights for a pretty centerpiece.
- Tie dried slices with a couple of bay leaves to Christmas presents.

DECORATING TIP – Floral wire works really well for adding citrus slices to wreaths and garlands.

How long will dried orange slices last?
These dried orange slices will last about 2 years of they are properly dehydrated and stored.
Be sure to keep them in a cool, dark place in an airtight container.

🎄 More Holiday Ideas
If you’re looking for gift ideas, check out our Must Have Cookbooks for Collectors.
We’re also all about making our own homemade bath and beauty products like scrubs, bath salts and bath bombs.
Here are a few of our favorite holiday recipes:


Free Holiday Place Cards
Download this file and customize your own Editable Place Cards, perfect for your holiday table.
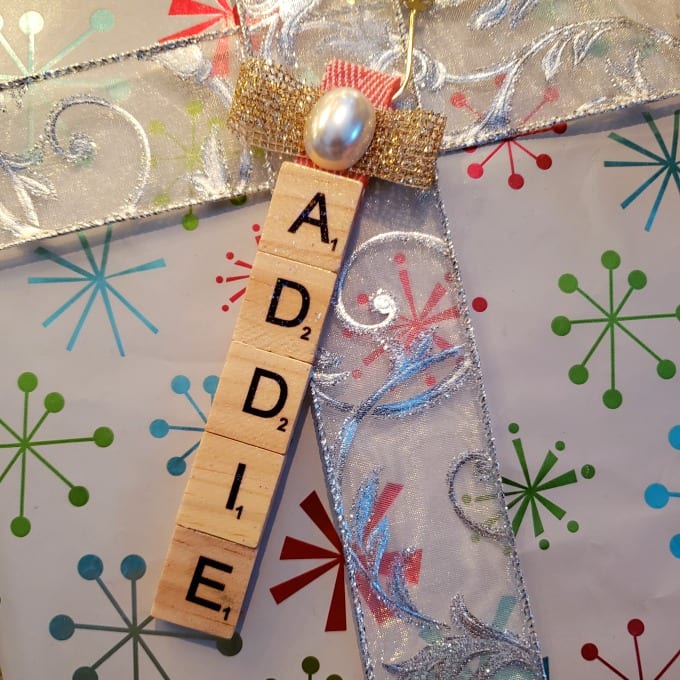
Scrabble Ornaments
These cute DIY ornaments are fun to make and also make great “gift tags.”

DIY Chalk Cutting Board
This is a quick and simple project that makes a lovely gift.
📋 Dehydrated Orange Slices
Not ready to make dried orange slices yet? Don’t forget to pin this project for later! When you do make it, please be sure to tag me on Instagram @jugglingactmama or #jugglingactmama – I’d love to see your pictures!

Dried Orange Slices for Ornaments
As an Amazon Associate, I earn from qualifying purchases.
Equipment
- Dehydrator or Baking Sheets and Cooling Racks
- Cutting Board and Sharp Knife or Mandoline
Materials
- Citrus Fruits
Instructions
- Before starting read through the instructions for your dehydrator as machines vary. Although this did take longer than the oven method, I’m really happy with how well the slices maintained their original coloring.
- Start by cutting the citrus into thin slices approximately ¼ to ½ inch circles, depending on the type of fruit.Citrus Fruits
- To remove excess moisture, place the slices onto paper towels or a clean kitchen cloth and gently press.
- After that, arrange the slices onto the dehydrator racks.
- Set the dehydrator to 130-degrees F and dry for 9 hours. (Be sure to check your specific machine for temperature and drying time.
- Once the slices are completely dry, use a thin ribbon, string or baker’s twine, and a cinnamon stick.
- Tie a loop at the top for hanging.
- After that, loop the string around the cinnamon stick and one of the openings on the slices.
- Tie tight to secure.
Thanks! It’s such a fun way to decorate!
This is the pop of color I long for! I feel like these would also be a beautiful complement to a Thanksgiving table. I’m also a huge fan of the idea of drying herbs… I tend to buy too much!
That is so gorgeous!!!!
Well, thank you! ❤
These are beautiful! I bet the cinnamon and citrus smells amazing. I would love to do something similar! I wish I had seen this sooner.
Looking at how pretty the dried oranges with cinnamon sticks tied onto them look, I decided to make some for my daughter in law. She LOVED them. Thanks!