Wood Circle Ornaments – Cricut Craft


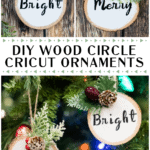
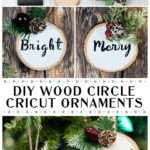
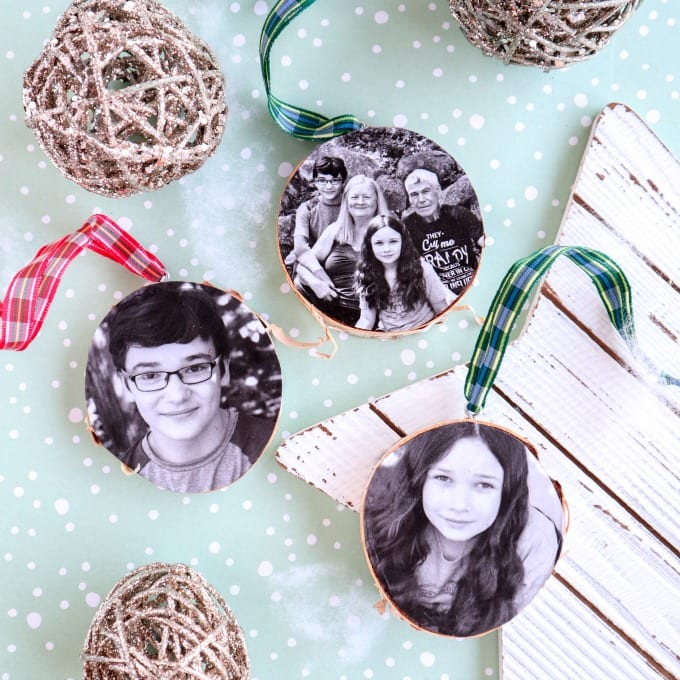
These Wood Circle Ornaments are so simple to make and would make a gorgeous gift topper! If you loved my other Wood Slice Ornament Ideas, you definitely need to grab your Cricut and get creative with these!

FYI, this post and tutorial contain affiliate links. We may earn a small commission when you buy through links on our site, which help support the free content you love here at Juggling Act Mama. Learn more.
There is no better way to get into the holiday spirit than by making your own ornaments. These vintage style wood circle ornaments are the perfect way to use up scrap wood, and get creative with your own homemade ornaments.
These take no time to make and you can have an easy Christmas ornament ready to go in just a few hours. There are so many different ways you can customize these ornaments to make them perfect for your tree, or to give as a gift.

DOWNLOAD THE FILE
Copyright Notice: You may print and download these files solely for your own non-commercial use provided that you agree not to change or delete any copyright or proprietary notices from the materials. For more information, please see our Copyright Notice Policy.

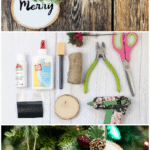
✂️Supplies Needed
The following are affiliate links. We are a participant in the Amazon Services LLC Associates Program, an affiliate advertising program designed to provide a means for us to earn fees by linking to Amazon.com and affiliated sites.
You can find many of the craft supplies you need like the craft brushes, twine, and greenery at your local dollar store.
- Wooden discs (You can find them at the craft store, Walmart or on Amazon)
- Acrylic craft paint – white
- Craft brushes
- Floral wire cutters
- Craft scissors
- Holiday greenery
- Glue Gun
- Twine
- White school or Tacky glue
- Cricut machine
- Cricut removable vinyl
- Cricut transfer paper
- Cricut weeding tools
Be sure to check out my Juggling Act Mama Storefront on Amazon where you’ll find all kinds of great products that will make your life easier! Thanks so much for being a part of Juggling Act Mama ❤
📝Instructions
This is meant to be a brief overview of how to make these Wood Circle Ornaments for the Christmas season. For step-by-step instructions and a full printable tutorial with materials, please scroll down to the teal box below.
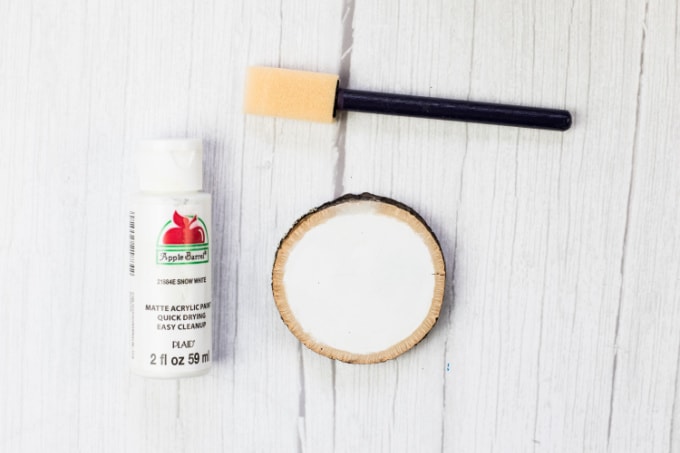
Step 1: Using your foam craft brush, paint your wooden disc with your white craft paint. Allow to dry completely. We applied two coats to give ours a bright white appearance 😊
Step 2: Set up your Cricut machine using the merrybright JPG file and cut onto your vinyl.

Step 3: Using your weeding tools, peel up your vinyl letters and apply them to the transfer paper/tape.
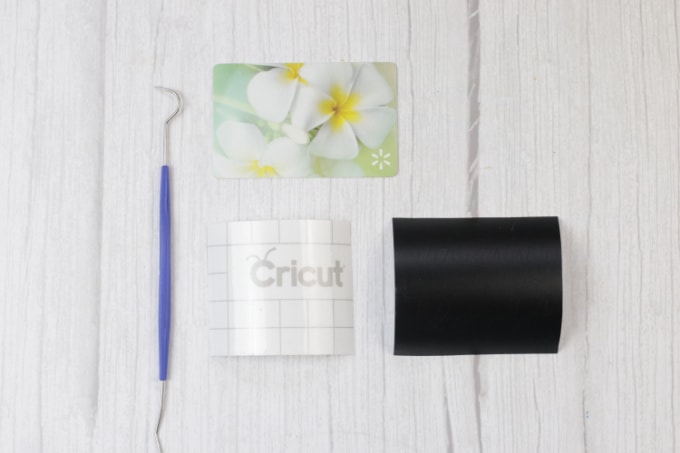
Step 4: Center your word on the transfer tape onto your wooden disc (which you applied in step 3) and using your rubbing tool or credit card, etc. apply the word to the ornament.

Step 5: Using your Glue gun, school glue, Mod Podge or Tacky glue, add your holiday greenery.

Step 6: Turn disc over and secure the tie. Allow glue to dry completely before hanging on your tree.


Similar Projects
Here are some other DIY projects you might also enjoy:
- Wooden Snowman Ornaments – These ornaments make a wonderful craft option for kids, and you’ll never guess what they’re made from!
- 20+ DIY Ornaments with Kids – Keep little hands busy this holiday season with these ornament crafts.
- Cheap Christmas Crafts – No need to break the bank when Christmas crafting. Get inspired with these affordable options.
- Popsicle Stick Sled Ornaments – These add farmhouse charm to your Christmas tree!
- Paper Mache Ornament Cricut Craft – These ornaments are versatile and so easy to make!
- Cricut Christmas Ornaments – A round up of easy to make ornaments.

📋 Wood Circle Ornaments
Not ready to make these easy ornaments yet? Don’t forget to pin this project for later! When you do make it, please be sure to tag me on Instagram @jugglingactmama or #jugglingactmama – I’d love to see your pictures!

Wood Circle Ornaments
As an Amazon Associate, I earn from qualifying purchases.
Equipment
- Craft brushes
- Floral wire cutters
- Craft scissors
- Glue Gun
- Cricut machine
- Cricut weeding tools
Materials
- Wooden discs
- Acrylic craft paint White
- Holiday greenery
- White school or Tacky glue
- Twine
- Cricut transfer paper
- Cricut removable vinyl
Instructions
- Using your foam craft brush, paint your wooden disc with your white craft paint. Allow to dry completely. We applied two coats to give ours a bright white appearance 😊Acrylic craft paint , Wooden discs
- Set up your Cricut machine using the merrybright JPG file and cut onto your vinyl.Cricut removable vinyl
- Using your weeding tools, peel up your vinyl letters and apply them to the transfer paper/tape.Cricut transfer paper
- Center your word on the transfer tape onto your wooden disc (which you applied in step 3) and using your rubbing tool or credit card, etc. apply the word to the ornament.
- Using your Glue gun, school glue, Mod Modge or Tacky glue, add your holiday greenery.Holiday greenery, White school or Tacky glue
- Turn disc over and secure the tie. Allow glue to dry completely before hanging on your tree.Twine