Wooden Spoon Garden Markers
Wooden Spoon Garden Markers are a fun and cute project you can do to add a little whimsy to your vegetable garden. Get the full tutorial below.
FYI, this contains affiliate links. We may earn a small commission when you buy through links on our site, which help support the free content you love here at Juggling Act Mama. Learn more.
Every year, we plant a small garden in our back yard. It’s a nice way to connect with nature and teach the kids all kinds of lessons about where their food comes from and how it grows. This year, we made our own Wooden Spoon Garden Markers.
It’s pretty easy, honestly. You don’t have to be an accomplished artist to make these cute garden markers. You just need a few simple inexpensive materials. You can pick up cheap wooden spoons at the Dollar Store. I used hair spray to coat them, it gives it a shine and protects the paint, and there’s no need for an acrylic overlay!
Materials
The following are affiliate links. We are a participant in the Amazon Services LLC Associates Program, an affiliate advertising program designed to provide a means for us to earn fees by linking to Amazon.com and affiliated sites.
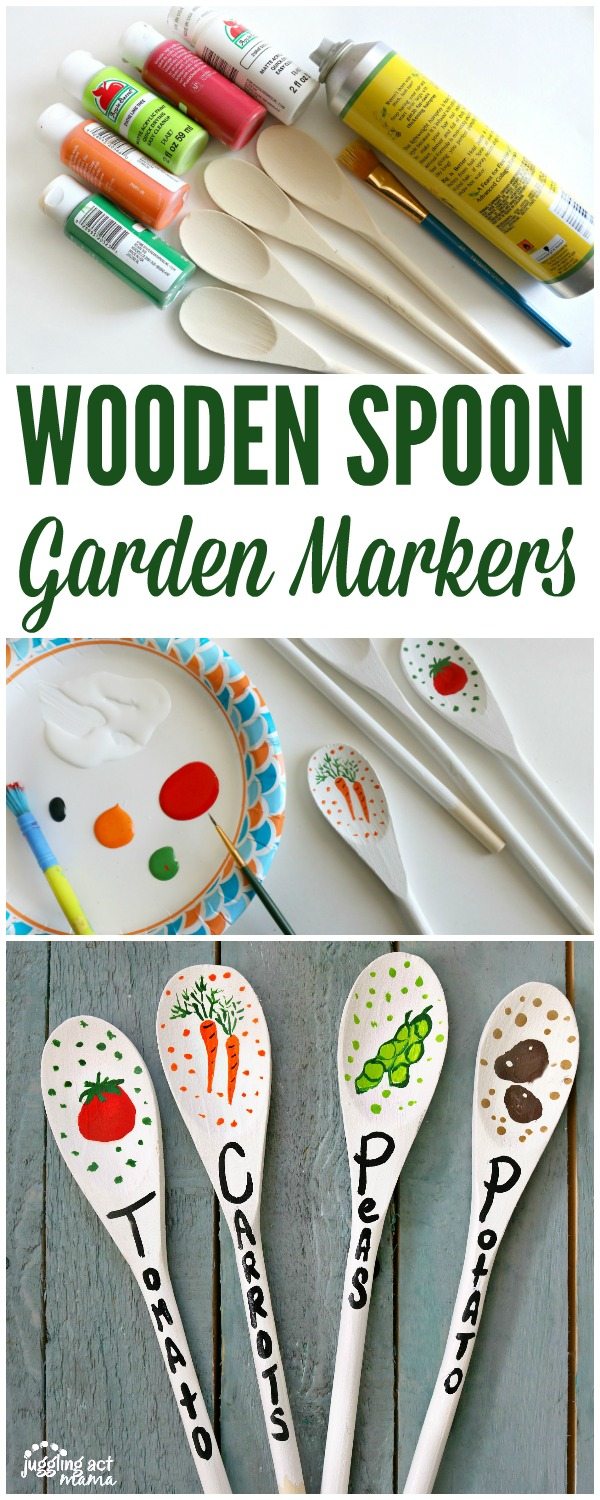
Here’s how to make these cute Wooden Spoon Garden Markers:
- Craft Paint ( We have this 18 Piece Apple Barrel Acrylic Paint Set that works great)
- Paint Brushes
- Wooden Spoons
- Black Sharpie
- Hairspray
You can pick up most of these items at your local Dollar Tree!
Instructions
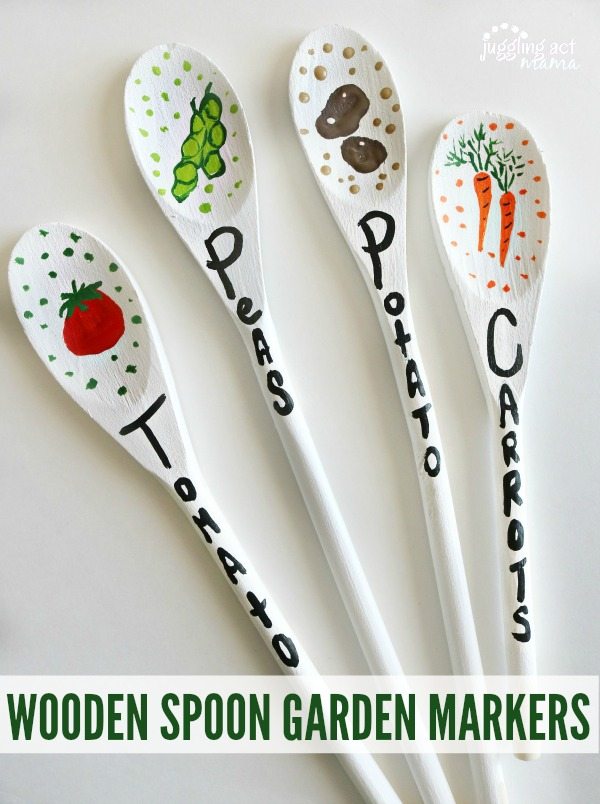
- Paint the spoons all white, allow to dry.
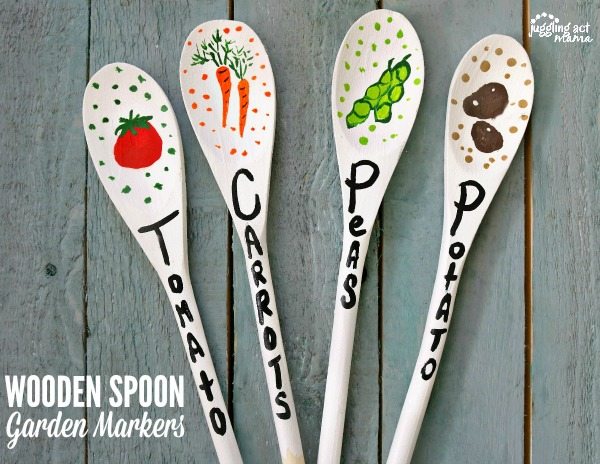
- Decide which vegetables you need each spoon for and paint a picture on the large part.
- Use the sharpie to write the name of the vegetable down the spoon handle. (You can paint this if you have a fine brush, but we think it is easier to use a marker)
- Allow the spoons to dry completely.
- In a well-ventilated area, spray the spoons (front and back) with aerosol hair spray. The hair spray will coat the spoons protecting the paint and giving them a nice shine!
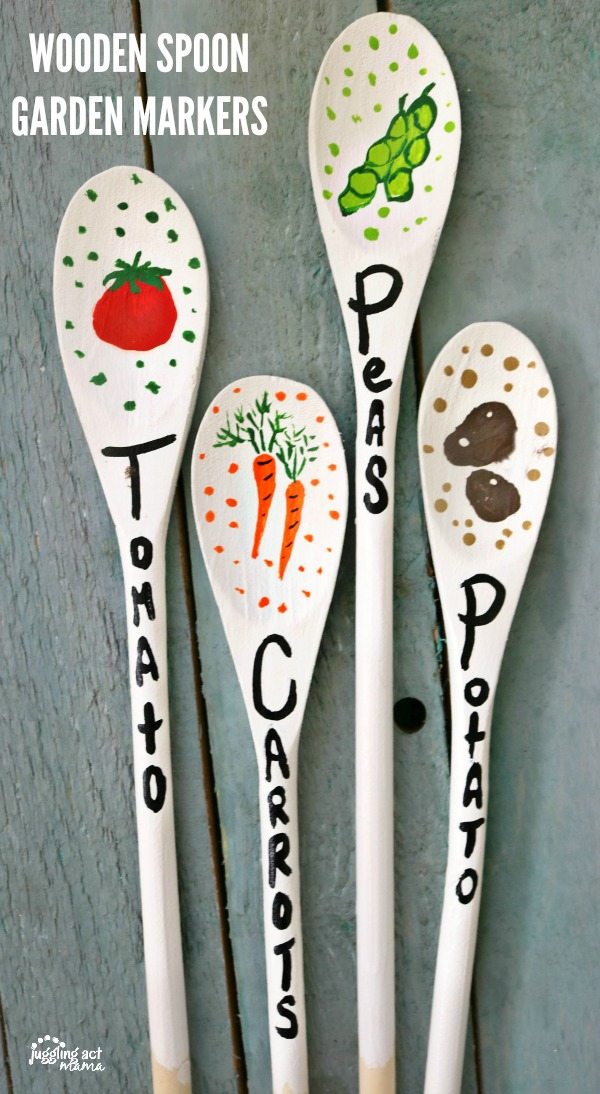
That’s all there is to it! I love how cute these look in the garden and can’t wait to see our veggies start growing!
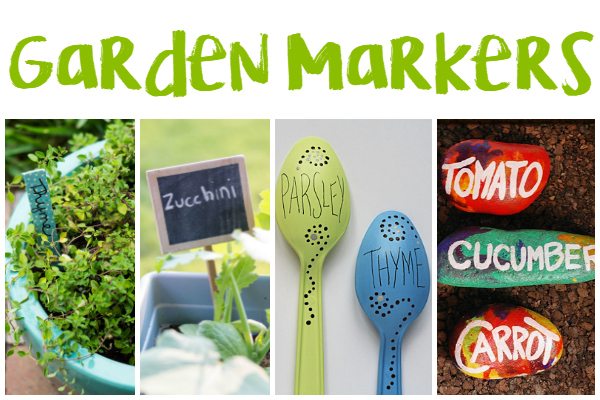
Related: More Garden Marker Ideas
More Ideas for Spring and Summer
If you enjoyed this garden marker tutorial, you might also like these fun summery ideas for your backyard:

from left to right:
- We love filling our DIY Pallet Planter with beautiful flowering annuals.
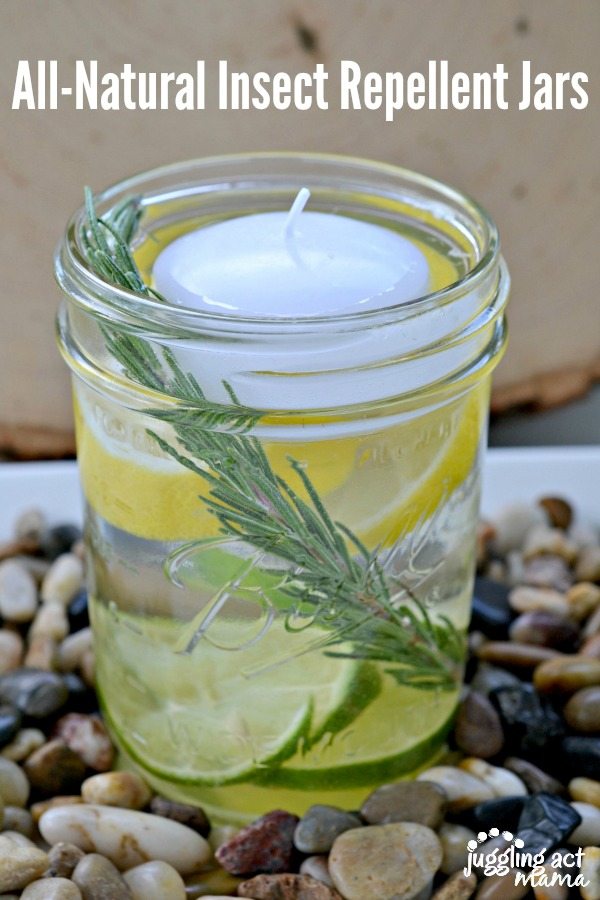
- These All Natural Insect Repellent Jars are both beautiful and functional!
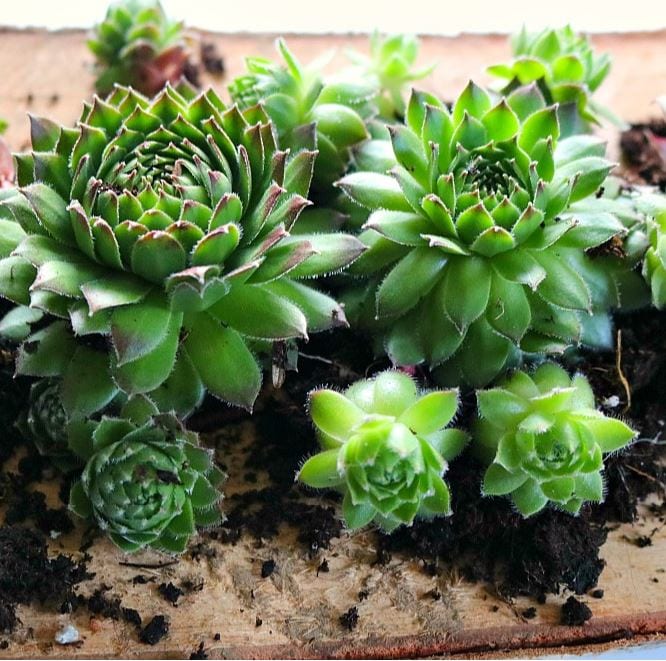
- Our sweet DIY Rustic Succulent Garden is fun to make with the kids.
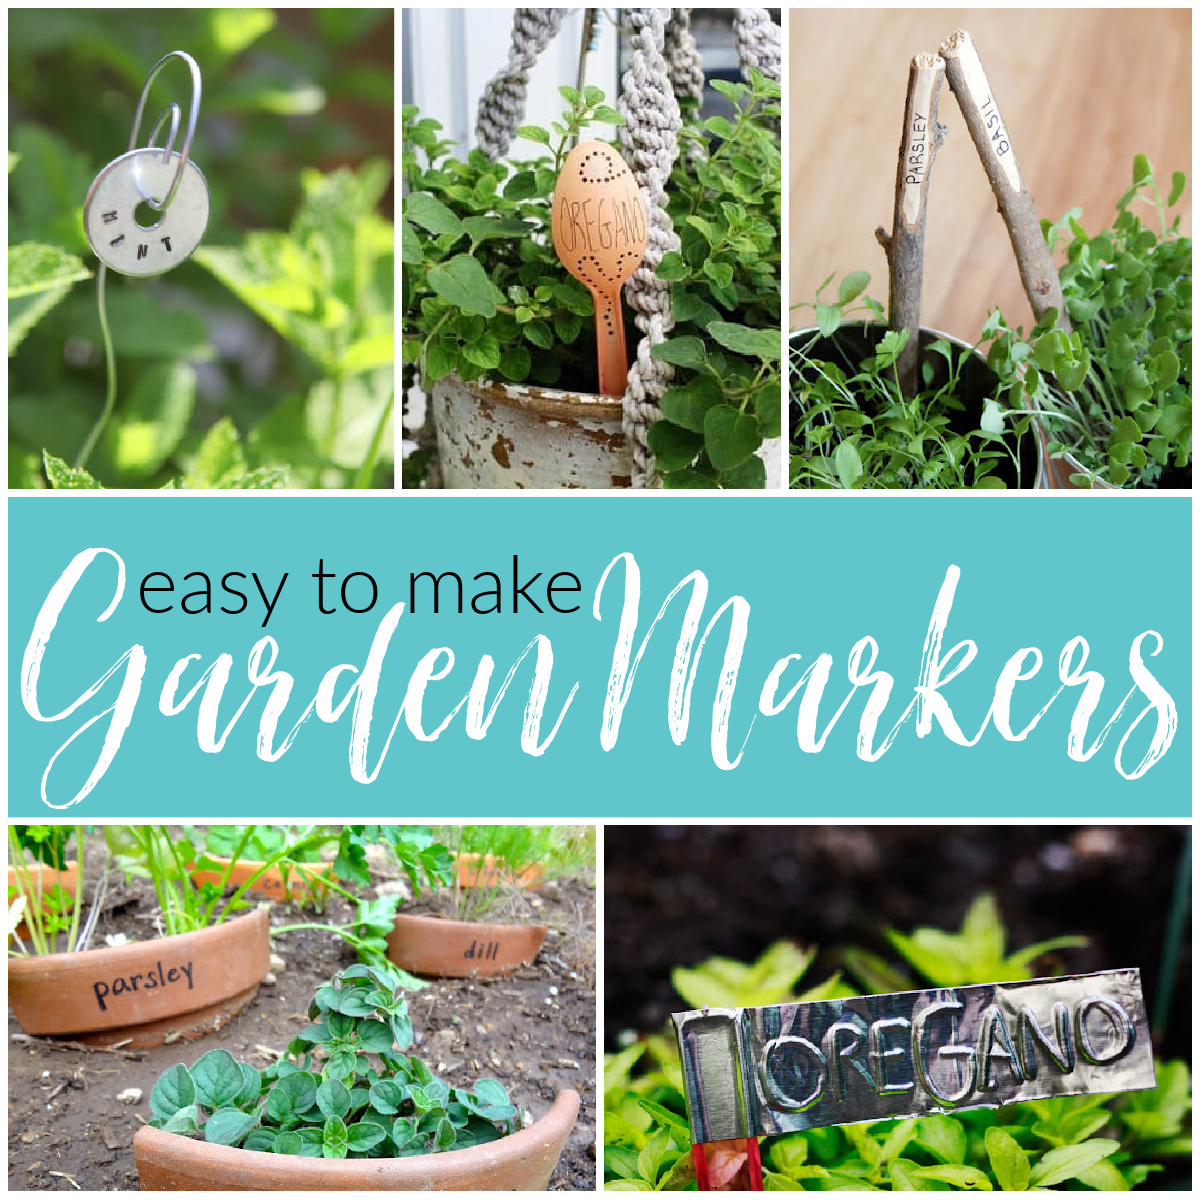
If these wooden spoon garden marker’s aren’t quite your style, you can find loads more creative garden marker ideas here!
PIN FOR LATER
More Fun Ideas:
- DIY Chalk Paint
- Rainbow Grilled Vegetable Kabobs
- 3 Ways to Make the Playground Safe + Fun
- Irresistible Ice Cream Sandwiches
- Boredom Buster Activities for Kids
I so, so, so LOVE these! How creative and perfect for my garden! All those small ones that you can buy get lost in my jungle!
Thanks for your sweet note!