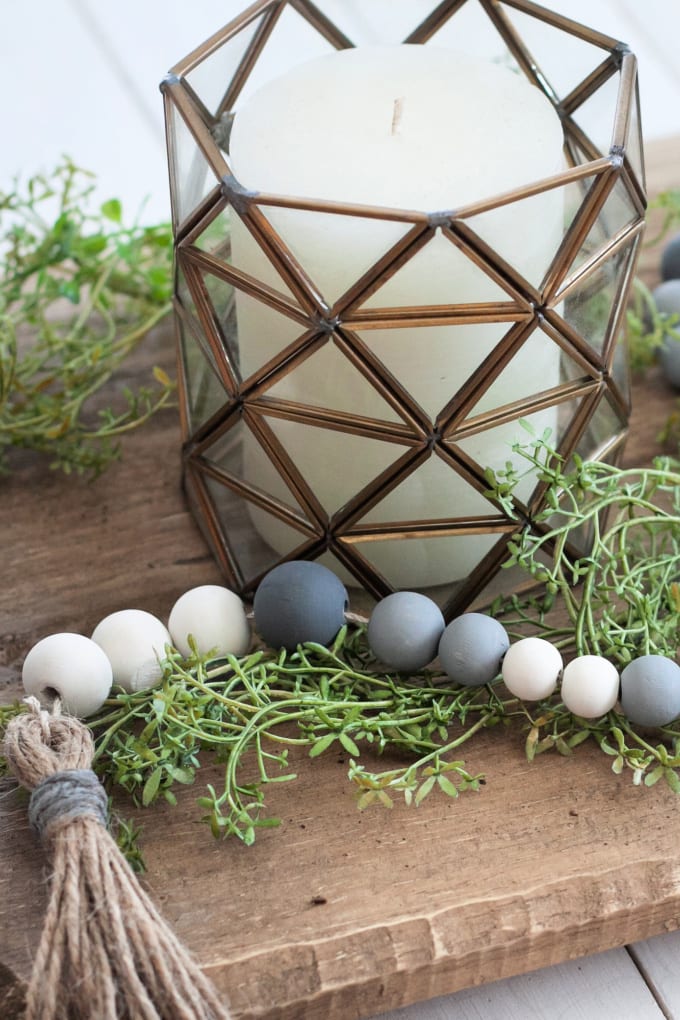
DIY Wood Bead Garland
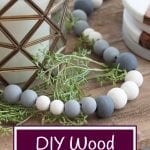
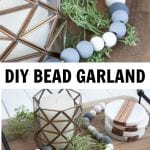
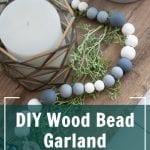
DIY Wood Bead Garland -we’ll show you how to create your own custom wood bead garland project with our step-by-step tutorial!
FYI, this contains affiliate links. We may earn a small commission when you buy through links on our site, which help support the free content you love here at Juggling Act Mama. Learn more.
Farmhouse decor is so trendy right now and doesn’t show signs of going anywhere, but it can be so expensive in stores! Luckily for you, it’s easy to make your own farmhouse-style decor at home.
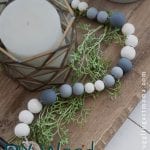
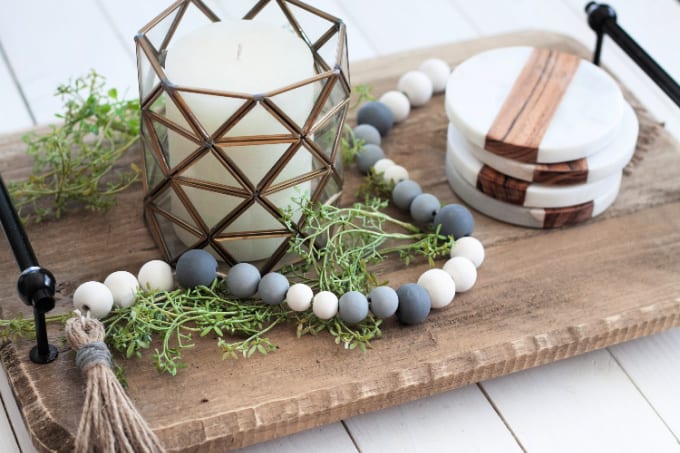
With just a few basic craft supplies, you can have a gorgeous DIY Wood Bead Garland this weekend. It’s so simple to make – and rivals what you might find in a chain store or local boutique.
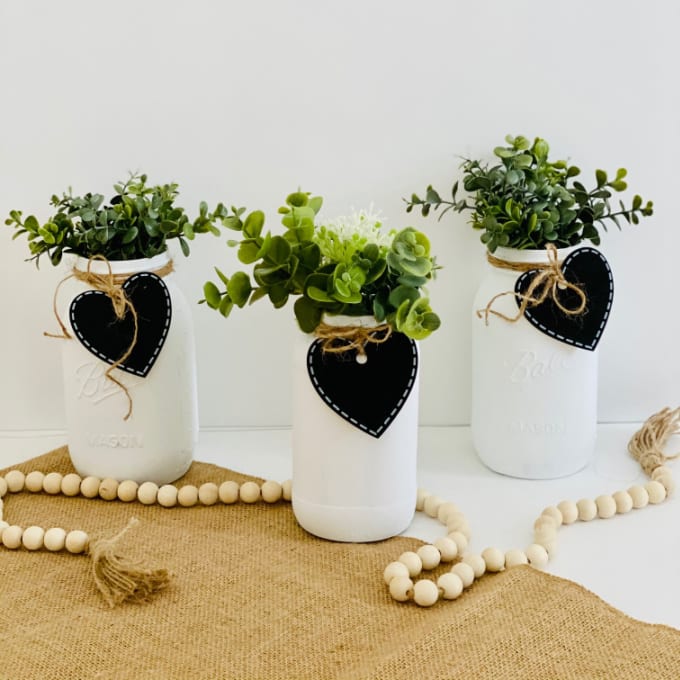
If you’re into the Farmhouse Tiered Tray trend, then you are going to just love our wood bead garland DIY project. It’s adorable next to our Mini Wooden House Decoration or Dollar Tree candle holders.
DIY Bead Garland Materials
The following are affiliate links. We are a participant in the Amazon Services LLC Associates Program, an affiliate advertising program designed to provide a means for us to earn fees by linking to Amazon.com and affiliated sites.
Farmhouse crafts are super popular right now, and you can find most supplies easily online or at your local craft store.
- wooden beads in assorted sizes
- acrylic paint and paintbrush
- tie wire
- jute
- hemp
- scissors

How to Make Wood Bead Garland Tutorial
Sort beads and decide which sizes you want in which color.
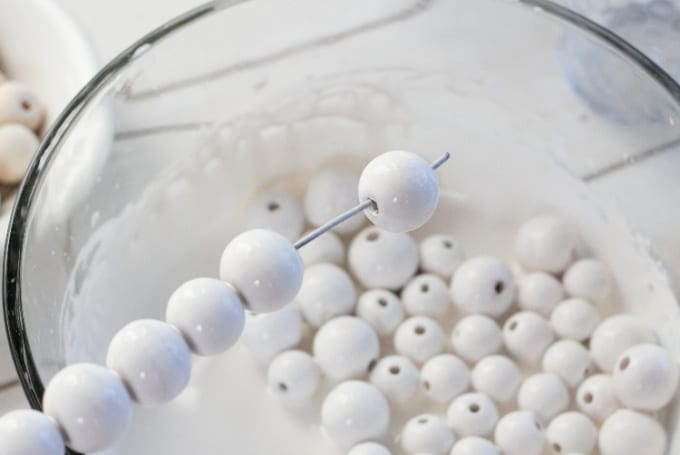
Mix 1 part white/cream paint with 1 part water in a large bowl (or you can use a paper bowl or a paper plate that has higher edges). Pour in all of the beads that you want to make white and roll them around until they’re completely coated in paint.

Cut a 12” piece of tie wire and make a couple of bends at one end. The first bend will stop the beads from sliding off the end and the second bend will be your hook.
One by one, pick the painted beads up with the straight end of the tie wire and thread them onto the wire. Stop when you have about 1-2” left on the straight end and bend it to make a hook.
Hook the beaded wire between two sturdy drinking glasses to dry.
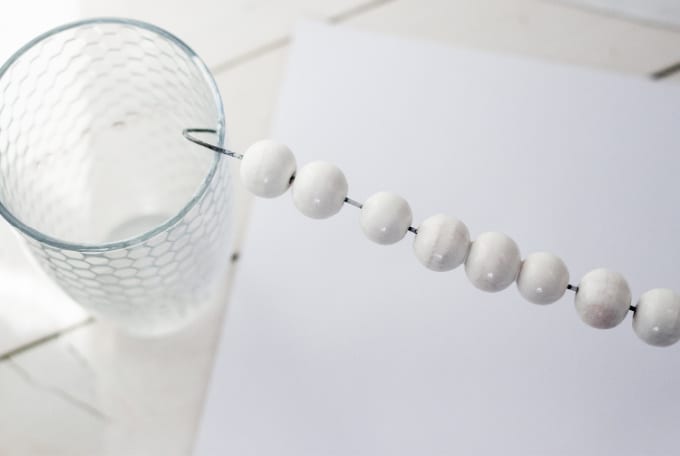
Repeat steps 2-4 with each new color of paint and its corresponding beads.
Allow the beads to dry completely. (A blow dryer helps if you just can’t wait!)

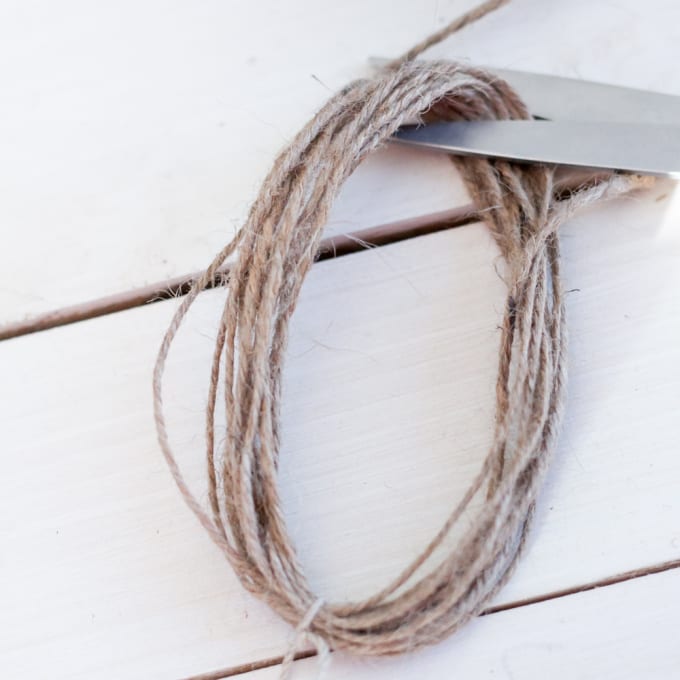
To make your jute tassels, start winding the jute around your hand, over and over. The wider you spread out your fingers, the longer your tassel will be. (I wound the jute around my hand 14 times.)
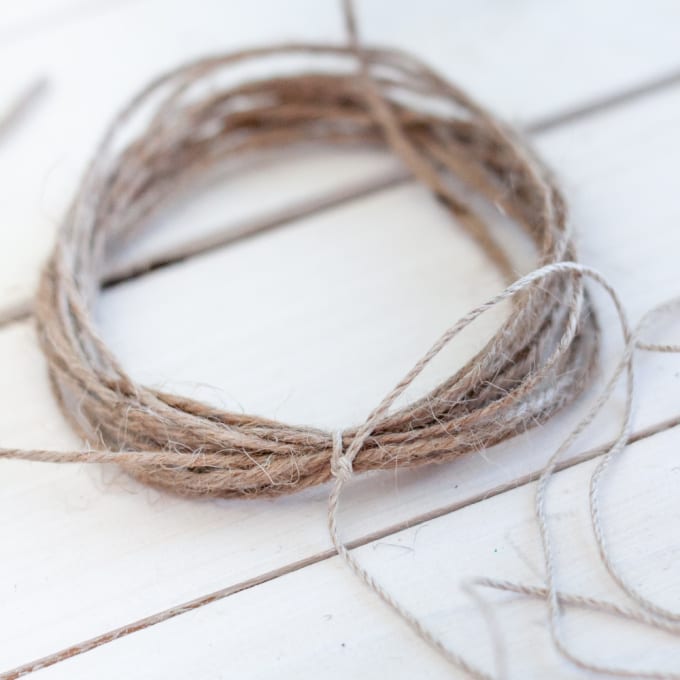
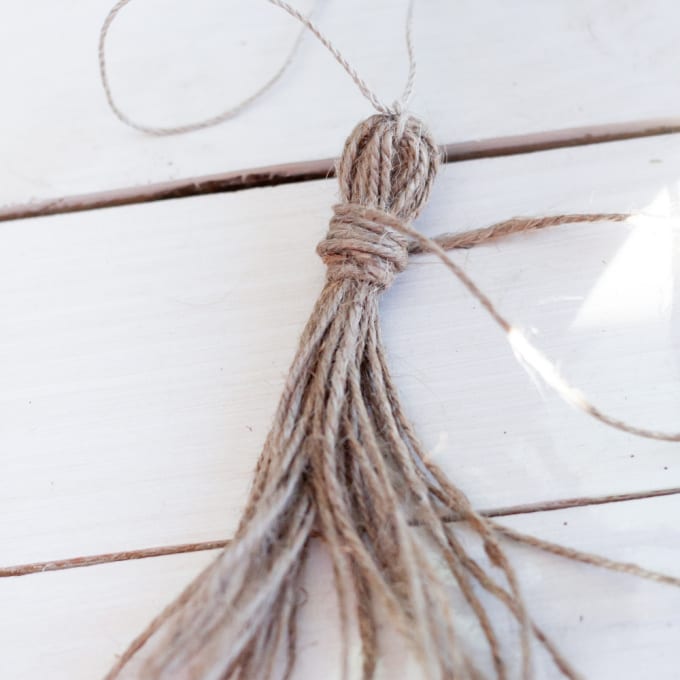
Remove the jute loop from your hand and tie a 24” piece of hemp around it by sticking one end of the hemp piece inside the circle and tying it into a very tight knot around all of the jute strands. Leave a tail of hemp about 1 1/2” long.
Cut the loop end opposite of where you tied the hemp, trim any uneven
Then take another 12” piece of jute and wrap it around the top of the tassel over and over (about ½” from where you tied the hemp) and secure with a knot.
Paint the 12” wrapped around jute piece with your medium gray paint; let dry.

Make a second tassel but don’t do step 8, you will tie it onto the hemp after all of your beads are on.
String painted beads on in whatever color pattern you like. Tip: to avoid unraveling, smooth a little school glue on the end of your hemp stringer before you start!
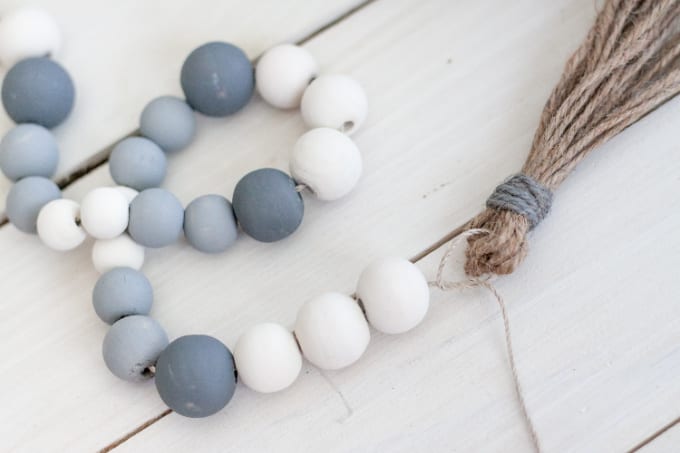
Once you have the garland to your desired length, tie the extra hemp end onto your second tassel. Leave about an inch of slack so you can make gaps in your garland for draping over things.
Be sure to check out my Juggling Act Mama Storefront on Amazon where you’ll find all kinds of great products that will make your life easier! Thanks so much for being a part of Juggling Act Mama ❤
More Farmhouse Inspired DIY Decor
If you love my DIY Bead Garland, try one of the projects below.


pictured above from left to right:
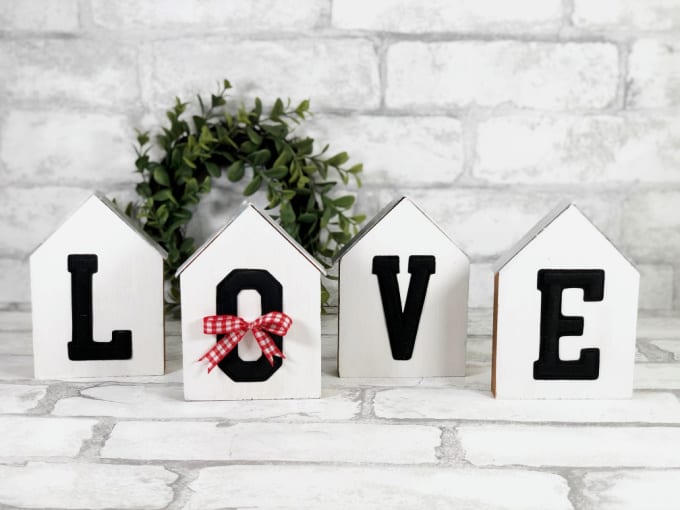
- Decorative Wooden Houses DIY Project (pictured above)
- DIY Farmhouse Wood Signs from the Savvy Sparrow
- Twine Wrapped Bottle Vases from View From the Fridge/Juggling Act Mama
- DIY Dollar Tree Farmhouse Tier Tray from Mommy’s Kitchen
- DIY Farmhouse Decor from Juggling Act Mama
- Stacked Books Decor from Juggling Act Mama