DIY Wood Tiered Tray (Dollar Tree Craft)

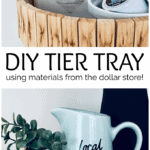
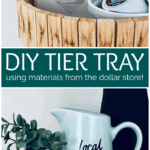
This DIY wood-tiered tray tutorial will show you how to make a really unique farmhouse tray that will add rustic charm to your home using items from the dollar store.
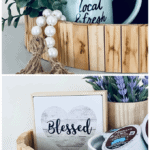
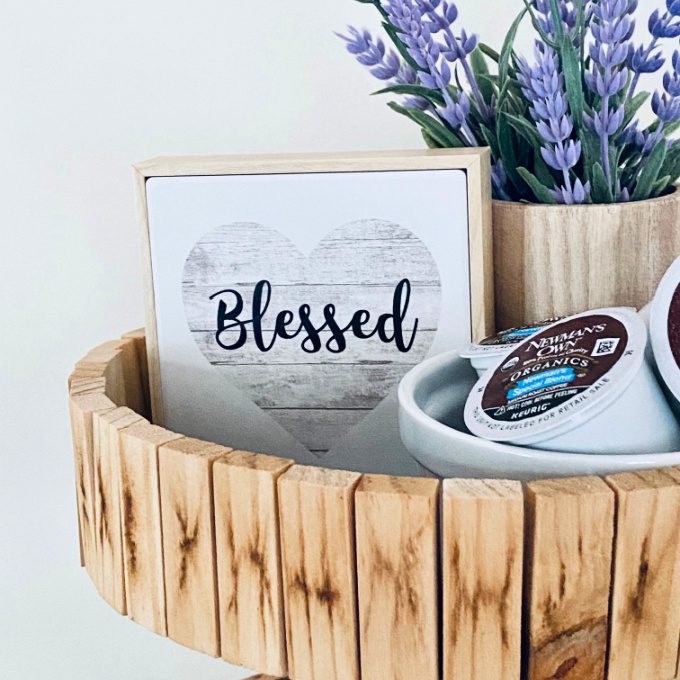
This wooden tier tray is the perfect spot to display a DIY Wood Bead Garland or small decorative signs.
This post contains affiliate links to help you find products that may be useful while making this Farmhouse décor wooden tray stand. If you click through and make a purchase, I will earn a small commission that helps support Juggling Act Mama so we can continue sharing free content with you. Please see our full Disclosure Policy for more information.
DIY Wood Tiered Tray Project
I am sure that this is not the first time you are seeing tier trays being used in farmhouse décor. Wooden tiered stands are all over social media and especially Pinterest – definitely a trendy item!
While many tier tray tutorials use cake pans or pie pans, we’re going totally out-of-the-box and are using little wooden blocks. This easy project uses Jenga-style wood blocks to be exact! You can find them at your local Dollar Tree where the games are located. Look for the “Tumbling Tower” game. You will need 2 of the games to have enough blocks for this project.
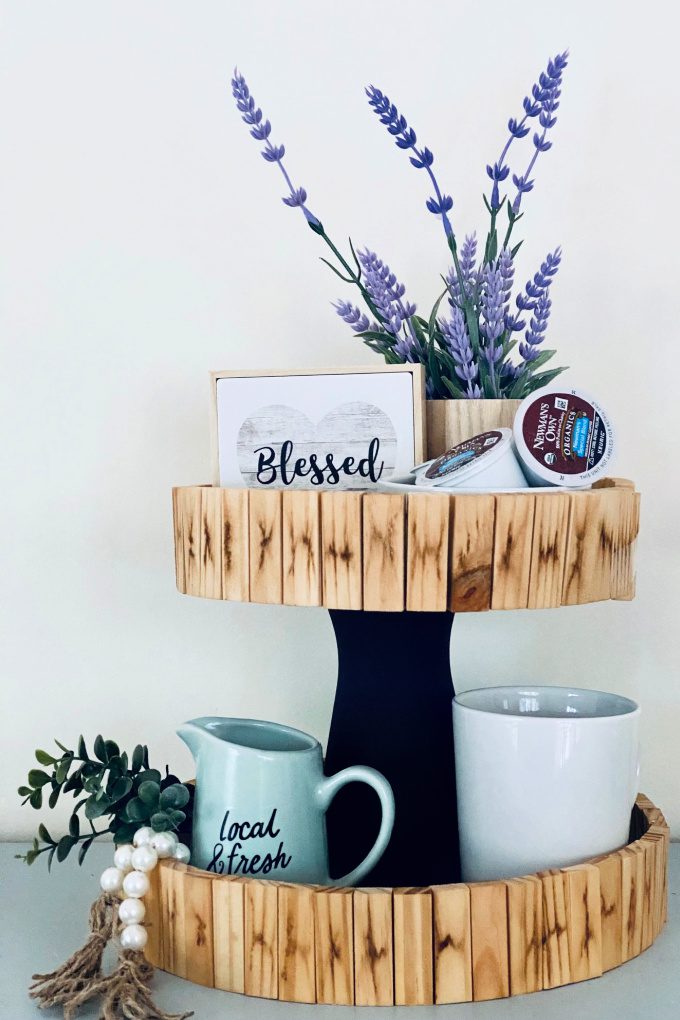
This might not be the quickest or easiest way to make a wood tray, but I do think it’s unique. There’s something to be said for taking a trend like a farmhouse tray and making it your own! Staining the blocks with coffee for color gives it a beautiful natural rustic look, but you can opt to use a wood stain or even spray paint if you want a painted look on the blocks.

✂️ Supplies Needed
The following are affiliate links. We are a participant in the Amazon Services LLC Associates Program, an affiliate advertising program designed to provide a means for us to earn fees by linking to Amazon.com and affiliated sites.
- Waverly Ink Chalk Paint OR preferred acrylic paint
- Dollar Tree Burner Covers (2 pack)
- (2) boxes of “Tumbling Tower” block pieces (72 blocks each)
- Hot Glue Gun and glue sticks
- E6000 glue or wood glue
- Dollar Tree small vase
- Tray to soak jenga pieces in (I used a 9×13)
- Coffee or coffee pods
- Paintbrush
Be sure to check out my Juggling Act Mama Storefront on Amazon where you’ll find all kinds of great products to make your life easier! Thanks so much for being a part of Juggling Act Mama ❤
NOTE: If you want to use white chalk paint for a brighter look, you totally can! I kind of liked the black paint to go with my more rustic décor and black accents in my home.
📝Instructions
How to Stain Wood Blocks
This is meant to be a brief overview of the project. For step-by-step instructions and a full printable with materials, please scroll down to the box below.
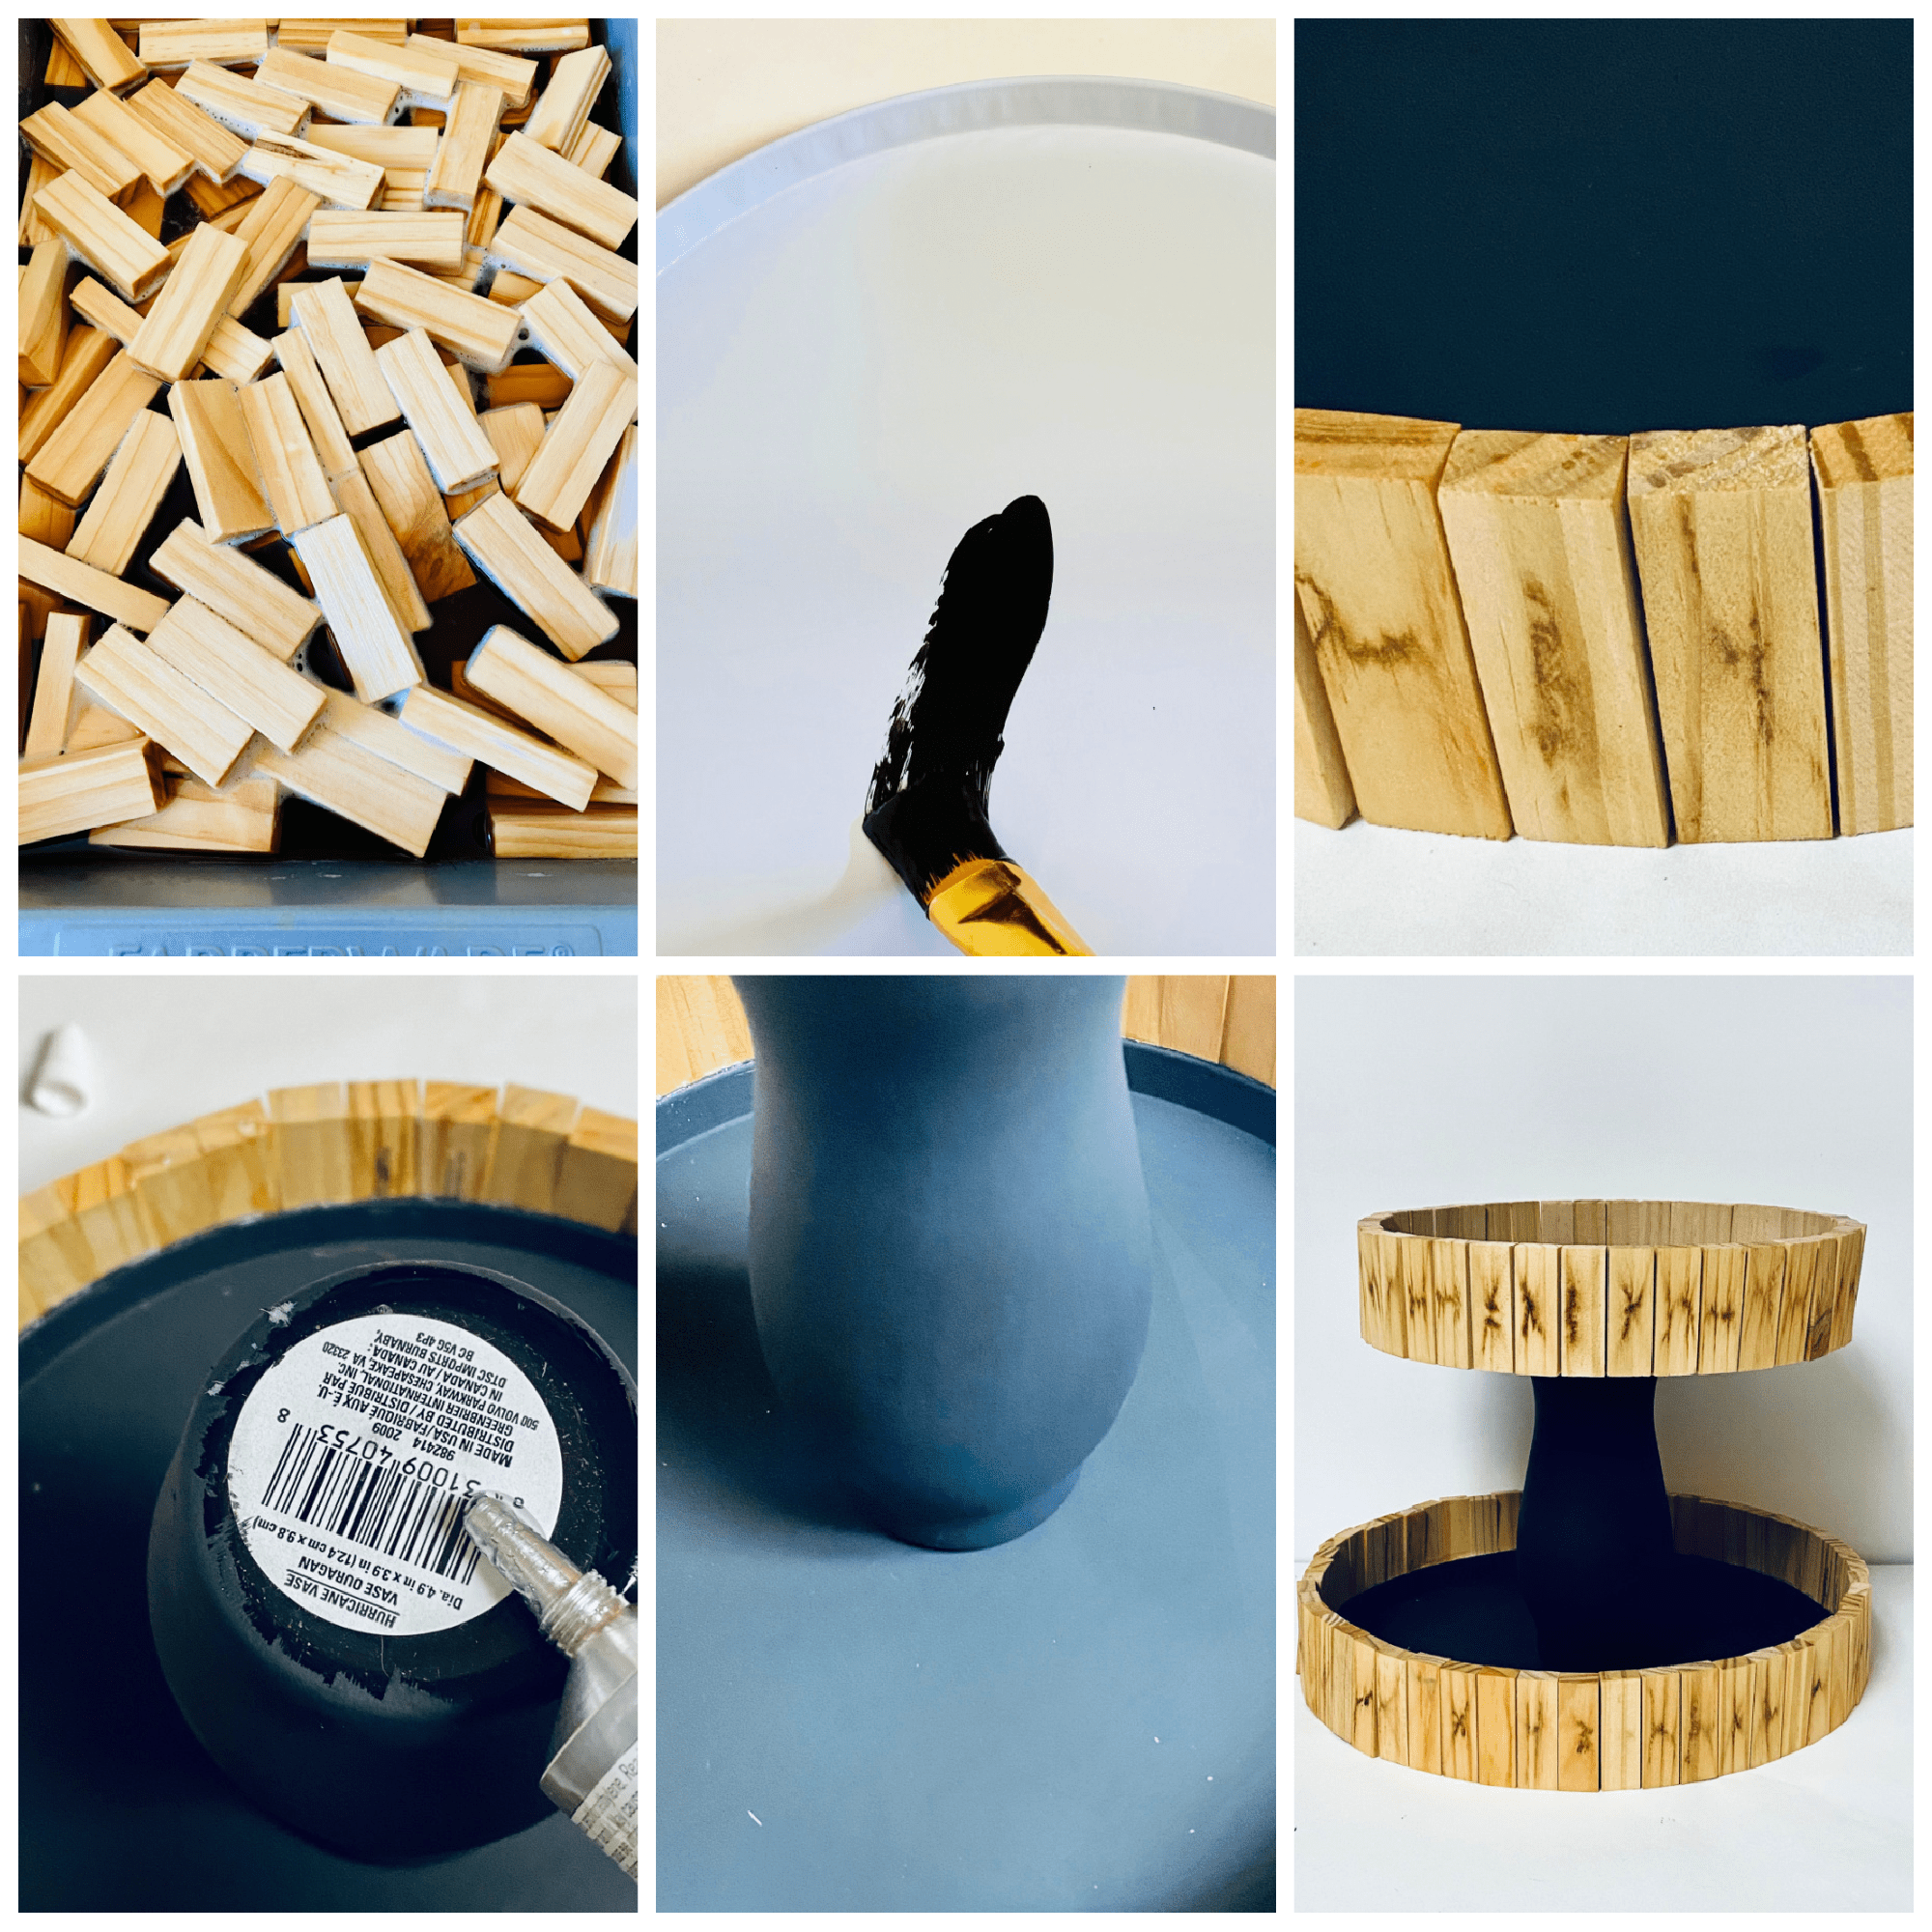
- The first step is to start by brewing your coffee which will be used to stain the wood blocks.
- Next, pour the coffee into a container and then add the wooden pieces to soak overnight.
- Meanwhile, paint the insides of the burner covers and the small vase using the Waverly Ink Chalk Paint (or whatever paint you prefer), I applied 2 layers of paint for a nice even look.
- The next day, line a baking sheet with parchment paper and top with a cooling rack.
- Remove the wood pieces from the coffee and set them onto the cooling rack to completely dry. This is very important because it will be harder for the glue to set up if the blocks are damp.
How to Make a DIY Wood Tiered Tray
- Now, once each wood block piece is fully dry, place the burner covers on a flat surface.
- Apply the E6000 glue to the sides of the burner covers and begin stacking the blocks around. This will be the bottom tray.
- Once the burner covers are covered, add some E6000 glue to the bottom of the small vase and place in the center of the larger burner cover. Allow this to cure for a few minutes before continuing.
- Next, add some E6000 glue to the small burner cover and place it on top of the vase.
- Before styling, allow the E6000 glue to completely cure – anywhere from 6 hours to overnight to make sure the whole thing is sturdy and strong.

Ideas for Tier Tray Décor
There are so many ways to style your decorative tier tray. In my opinion, this might be the most fun part! Look for Dollar Tree items like faux greenery and ribbon to dress it up. You can use random items or carefully curated accents to personalize your tray to suit your home décor style. Here are some ideas:
- Potted Succulents, or even faux succulents
- DIY Wood Bead Garland
- Small Decorative Signs
- Mini DIY Dollar Tree Planter
- Small Candlestick or Lantern
- Air Plants
- Mini Wooden House Decor
- Candy Bowl
- Seasonal Décor like seashells, Christmas ornaments, or mini pumpkins
- Stacked Books Decor

Just keep in mind when you are styling your decorative tiered tray that you want to balance items. For example, if you are putting something heavier on the top tray to make sure that it is in the center of the tray so it doesn’t fall over! Ideally, the bottom tier is best suited for heavier items, while the top tier is best for smaller things.
I also find that what you place next to your tier tray stand really helps the overall look in different areas of your home. For instance, in an entry area, you might want to set up near chalk paint mason jars or a little clothespin basket with fresh flowers or decorative pinwheels. In the bathroom, you can use it to hold make-up brushes and beauty products.
In your kitchen, try it near your coffee maker and add a chalkboard cutting board to write a little message on each day.
Other Block Crafts
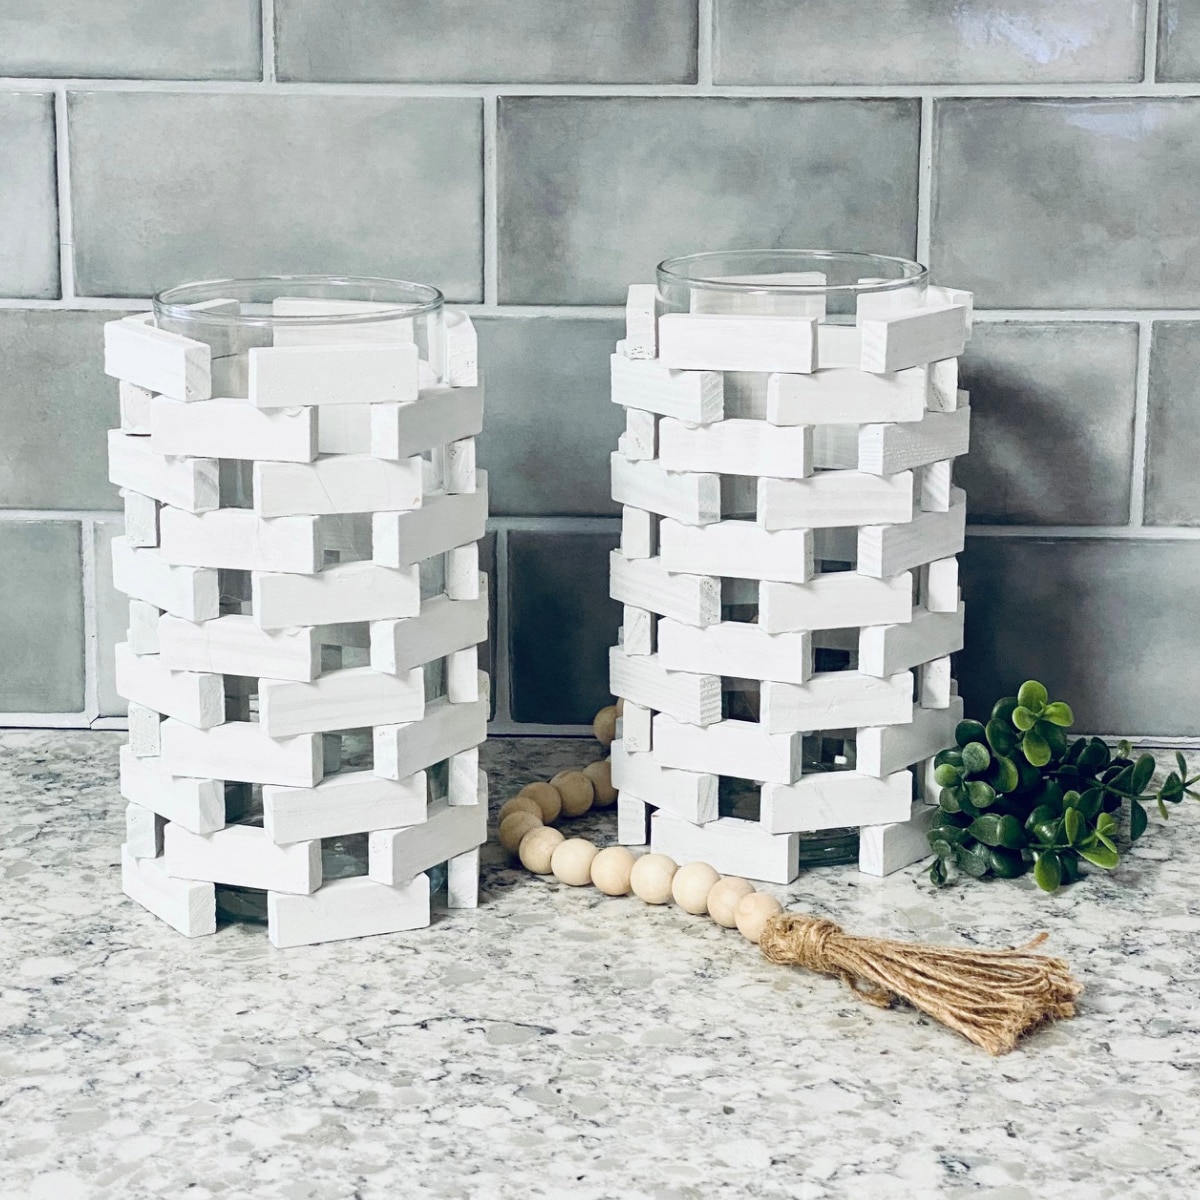
These DIY Dollar Tree Candle Holders are made with little wooden blocks, too.
It’s another great addition to your cottage core or shabby chic design aesthetic.
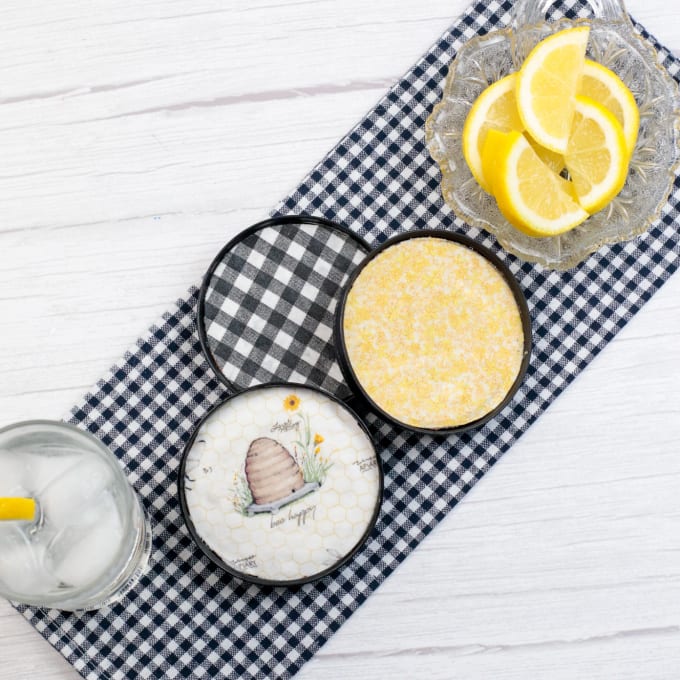
We’ve also made lots of ornaments using these blocks:
More Farmhouse Style DIY Projects
If you love Farmhouse and Cottage style you have to check out some of our other DIY Farmhouse Decor:

I hope you will give this fun project a try, and I’d love to see it! When you do make it, please be sure to tag me on Instagram @jugglingactmama or #jugglingactmama – I’d love to see pictures of your tier stand!