Stacked Books Décor DIY Project

Create your own farmhouse-style DIY Book Stacks using just a few simple crafting items. This craft uses supplies you probably all have on hand and is an inexpensive craft idea.

This stacked books decor DIY is the perfect farmhouse-style decor that your wallet will love! You can display them anywhere in your home for a simple yet elegant decor piece throughout your home.
You can get that same store-bought magazine-worthy book stack in just a few minutes with just a few simple steps when you’re creating this easy DIY. You can even customize the books to make them a better fit for your home.
✂️ Supplies Needed
Be sure to check out my Juggling Act Mama Storefront on Amazon where you’ll find all kinds of great products to make your life easier! Thanks so much for being a part of Juggling Act Mama ❤
- sanding block
- paintbrush
- scissors
- 1×6 lumber cut into 6” lengths
- white, ivory and gray craft paint
- Ink Pad Black
- Alphabet Stamps – I used typewriter style
- twine

📝Instructions
This is meant to be a brief overview of this Stacked Books Décor DIY project. For step-by-step instructions and a full printable tutorial with materials, please scroll down to the teal box below.
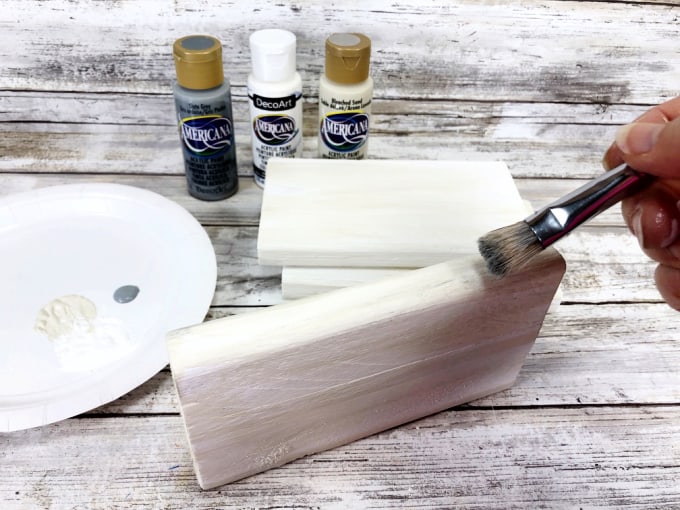
- Collect your supplies. Your local home improvement store will usually cut the wood to size for you at no charge, as long as you buy your wood there. Sand the edges and surfaces of each book to prep them for painting.
- Use white craft paint to put a base coat on your books. Set them aside to dry. If the grain is raised after painting, sand lightly. Use a mixture of white and ivory craft paint for the topcoat of paint. Dip your brush in both colors, and be sure not to over mix the colors and let the topcoat be rough. Set aside to dry.
- Dry brush some light gray paint on the sides and edges of the books wherever wear would naturally occur on a real book. Set aside to dry.
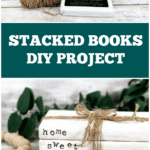
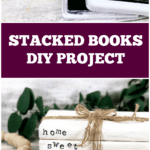
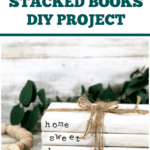
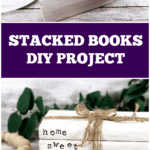
- Prepare your typewriter style alphabet stamps to stamp the message HOME SWEET HOME. Place the books spine up, tap each letter stamp on the ink, and stamp on the spine. It’s ok if the letters aren’t lined up perfectly, it will add to the farmhouse charm.
- Stack your books together and wrap them with twine three to four times. Secure the end with a knot, and be sure to leave the tails long. To create the bow, wrap the twine around your hand five to six times, trim the end and place it in center of book stack. Secure it in place by knotting the tails around the bow.
- Change things up by creating any message that speaks to you or embodies your home and family. Your family and friends will never know how quick and easy this trendy book stack was to create!


📖 Variations
- Depending on how rustic you want your books to look, you can sand them more or less.
- Paint your books in different colors to match your home décor.
- Books can be wrapped with ribbon instead of twine.
- Personalize the message on your books any way you like.

Similar Projects
If you have scrap wood left over from another project, you can use that to make these stacked books or one of these other wood DIYs.
Scrap Wood Photo Blocks – A fun alternative to a traditional frame, these photo blocks can be made to fit any style
Mini Wooden House Decoration – Make your house a home with these adorable wooden house decoration
Here are some other DIY projects you will also enjoy:
If you love Farmhouse and Cottage style, you have to check out some of our other DIY Farmhouse Decor:
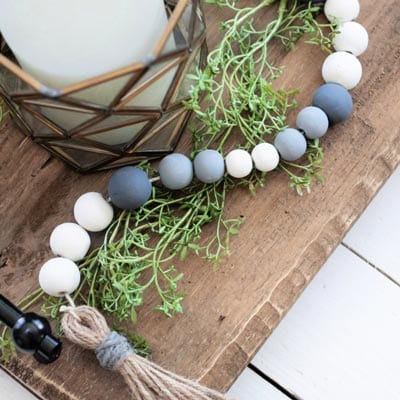
- DIY Wood Bead Garland – store-bought versions of this simple craft can be expensive while this one comes together easily and for a much better price!
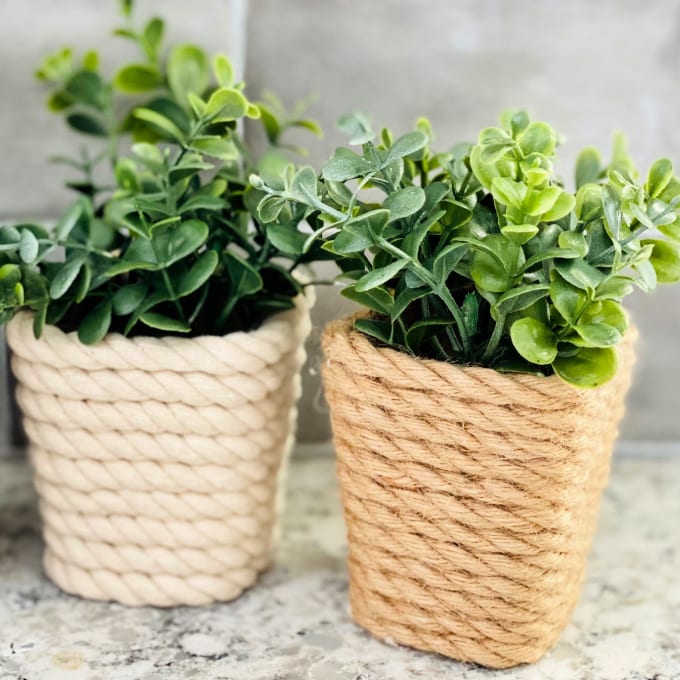
- Mini DIY Dollar Tree Planter – these planters are quick, easy, and look great with fresh herbs or succulents.
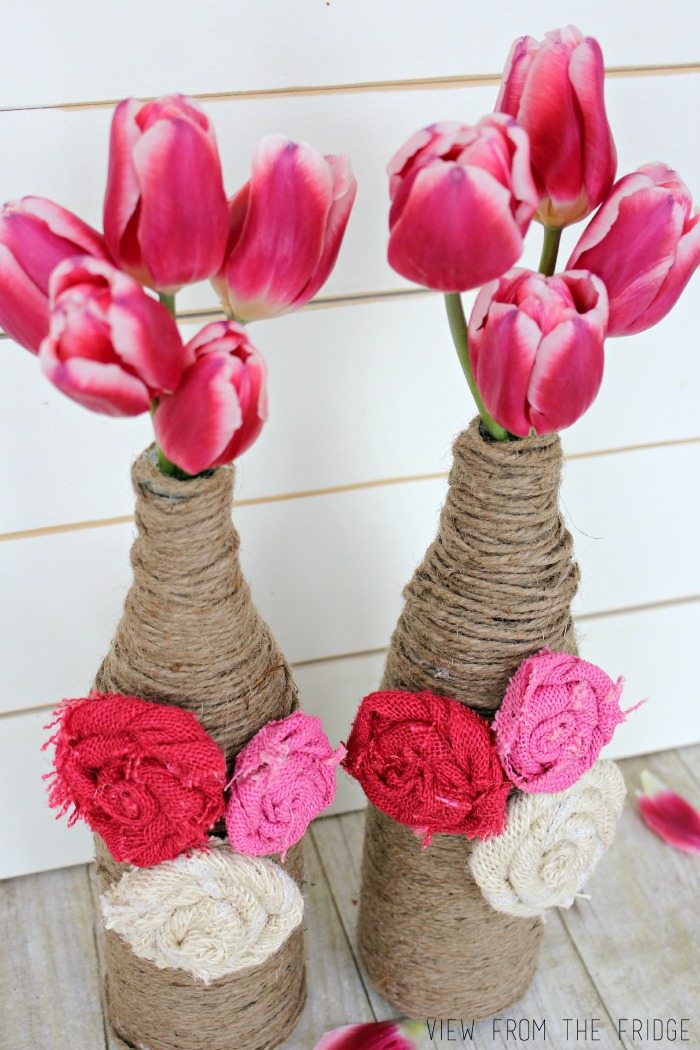
- Twine Wrapped Bottle Vases – beautifully simple bud vases made from just a few supplies.
📋 Stacked Books Décor
Not ready to make your own DIY stacked book décor yet? Don’t forget to pin this project for later! When you do make it, please be sure to tag me on Instagram @jugglingactmama or #jugglingactmama – I’d love to see your pictures!

Stacked Books Décor DIY
As an Amazon Associate, I earn from qualifying purchases.
Materials
- 1×6 Lumber cut into 6” lengths
- Craft Paint White, Ivory, Light Grey
- Ink Pad Black
- Alphabet Stamps – I used typewriter style
- scissors
- paintbrush
- sanding block
- twine
Instructions
- Collect your supplies. Your local home improvement store will usually cut the wood to size for you at no charge, as long as you buy your wood there. Sand the edges and surfaces of each book to prep them for painting.
- Use white craft paint to put a base coat on your books. Set them aside to dry. If the grain is raised after painting, sand lightly. Use a mixture of white and ivory craft paint for the topcoat of paint. Dip your brush in both colors, and be sure not to over mix the colors and let the topcoat be rough. Set aside to dry.
- Dry brush some light grey paint on the sides and edges of the books wherever wear would naturally occur on a real book. Set aside to dry.
- Prepare your typewriter style alphabet stamps to stamp the message HOME SWEET HOME. Place the books spine up, tap each letter stamp on the ink, and stamp on the spine. it’s ok if the letters aren’t lined up perfectly, it will add to the farmhouse charm.
- Stack your books together and wrap them with twine three to four times. Secure the end with a knot, and be sure to leave the tails long.