Easy Bath Bomb Recipe
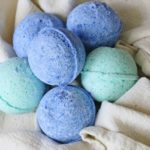
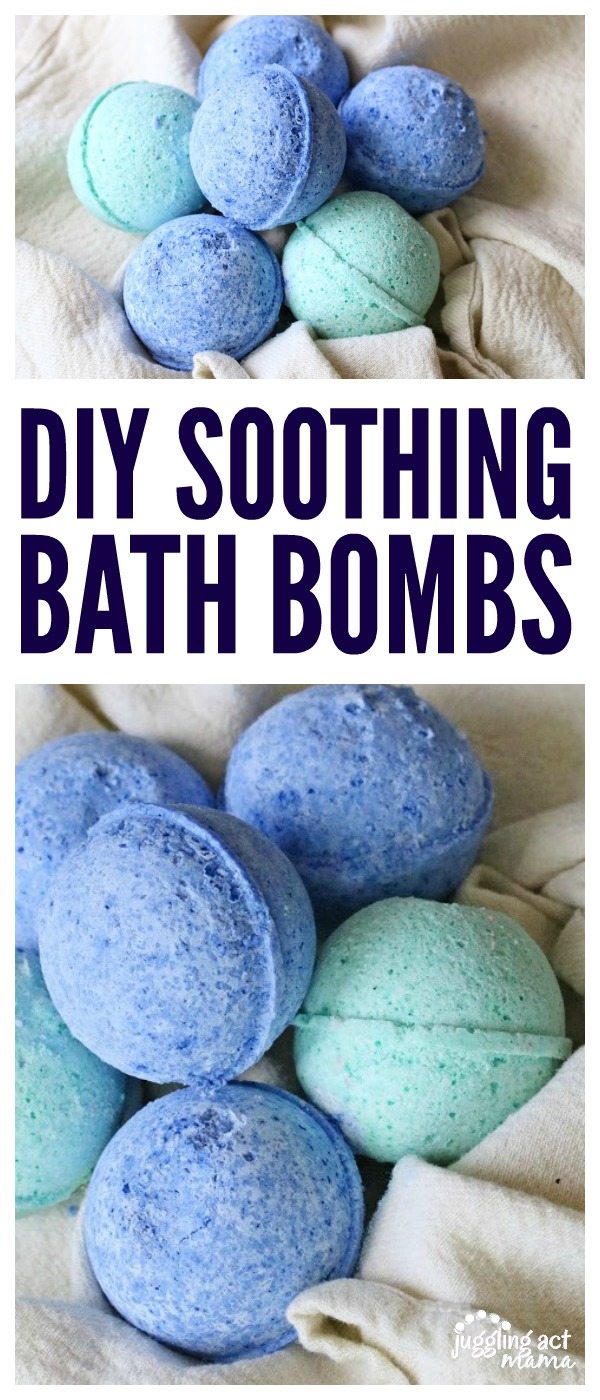
These DIY Soothing Bath Bombs are the perfect addition to a hot bath! A relaxing bath is an amazing way to unwind, and our DIY Bath Bomb Recipe has just the right combination of essential oils to help reduce anxiety.

My favorite way to relax is with a long, hot bath. I love adding Epsom Salts and essential oils to really make my baths special and help me unwind. Between working and mothering, sometimes I just need a break from it all. A little bit of light pampering is just what the doctor ordered.
There’s something fun and special about bath bombs! After all, watching them fizz is relaxing in itself, but they can be so expensive. Investing in the ingredients and a quality mold will let you make these anytime you want, and they make great homemade gifts for birthdays and holidays. You’ll be surprised by just how easy it is to make your own bath bombs.
More Bath Bombs
Next time, you might also like to make these Orange and Vanilla Easy DIY Bath Bombs or look for another idea in this collection of Easy Homemade Bath Bombs.

Gifting
You can package these in cello bags tied with a ribbon, and they make a great gift for family and friends. They’re perfect gifts for birthdays, Mother’s Day, Valentine’s Day, and just because!
Using Bath Bombs
After a long day, who doesn’t look forward to a warm bath? To use your own diy bath bombs, fill the tub with hot water. Drop one fizzy bath bomb into the water. It’s a great way to soothe dry skin and relax, too.
More Great DIY Beauty Ideas
Check out these other easy DIY beauty hacks you can do at home!
- Lavender Bath Salts
- Soothing Homemade Lip Balm
- DIY Make Up Remover Pads
- Brown Sugar Bath Cakes
- Gingerbread Sugar Scrub

Easy Bath Bomb Recipe
As an Amazon Associate, I earn from qualifying purchases.
Equipment
- Small spray bottle with water
- Small and large glass bowls
- Bath Bomb Molds
- measuring spoons and cups
- Mixing Spoon
- Fork
- Spatula
Materials
- 1 cup Baking Soda
- 1/2 cup Citric Acid
- 1/2 cup Epsom Salt
- 3/4 cup Corn starch
- 2 tablespoons Sweet Almond Oil
- 3 teaspoons Witch Hazel
- 1-1/4 teaspoon Mineral Mica Powder
- 8-10 drops Lavender Essential Oil
- 10 drops Sweet Orange Essential Oil
- 8-10 drops Bergamot Essential Oil
- 6-8 drops Clary Sage Essential Oil
Instructions
- In a large bowl, whisk together all the dry ingredients.
- Break up any clumps with your fingers.
- In a small glass bowl, combine the almond oil, essential oils and witch hazel, whisk to combine.
- Pour the liquid mixture into the large bowl. (It will fizz once the liquid touches it.)
- Begin mixing using a fork (or your hands) until everything looks combined and somewhat moist. It will have the consistency of wet sand.
- Prep your silicone molds and use a spoon to fill the molds halfway.
- Using a silicone spatula, press the bath bomb mixture into the molds firmly.
- Spritz each mold with a bit of water (one spray) and press down again to make sure they’re firm. (Note: Using too much water will cause the bombs to lose their fizz. If you don’t press down firmly, the bombs will not hold together.)
- Divide the rest of the mixture into the molds and again press down firmly.
- Spray the top with water and press down again.
- Close the molds and let them sit in a cool dry place for twenty four hours to set before removing from molds.
Notes
This is the basic recipe to make bath bombs, but you can customize them by using your favorite scents. You can change the mold of choice, too. Even a mini muffin tin will work as mold. Gifting
You can package these in cello bags tied with a ribbon and they make a great gift for family and friends. They’re a perfect gifts for birthdays, Mother’s Day, Valentine’s Day and just because! Using Bath Bombs
After a long day, who doesn’t look forward to a warm bath? To use your own diy bath bombs, fill the tub with hot water. Drop one fizzy bath bomb into the water. It’s a great way to sooth dry skin and relax, too.
I have been wanting to make something like this for a long time. I can’t wait to give this a try! I’m pinning for later 🙂
Have fun!
Hi! I’m excited to make these! However I don’t have the mica powder. Is that completely necessary? Or is it just for color?
That’s just for color, and you could totally skip it 🙂