Travel Toys – Make a LEGO Travel Set

Forget pricy store-bought Travel Toys and instead, Make your own LEGO Travel Set! This Boredom Buster solution is perfect for those who are on the go. Everyone loves LEGOS but they’re not usually considered Travel Toys. Make your own LEGO travel set for just a few dollars!
When it’s time to hit the road, I’m always thinking about how I will keep the kiddos entertained. It’s SO. MUCH. EASIER. now that they are seven and ten (when did that happen!?!) Both kids love LEGOS, and I wanted to create something they could easily take with them in the car.
These LEGO kits make the perfect little travel toys! They don’t take up a ton of room, the kids can carry them using the handles, and best of all, it was inexpensive! Having these little LEGO travel sets for the kids is perfect for waiting rooms and PTA meetings, but also long road trips. Let me show you how easy it is to make them!
✂️ Materials
The following are affiliate links. We are a participant in the Amazon Services LLC Associates Program, an affiliate advertising program designed to provide a means for us to earn fees by linking to Amazon.com and affiliated sites.
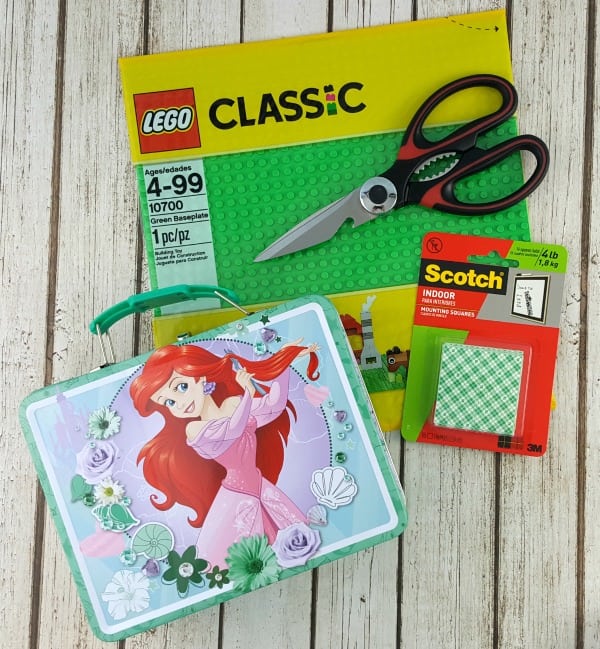
- Metal Lunch Box – pick up an inexpensive one from the dollar store.
- Glue Gun and Glue Sticks
- LEGO Base Plate
- Scissors or Utility Knife
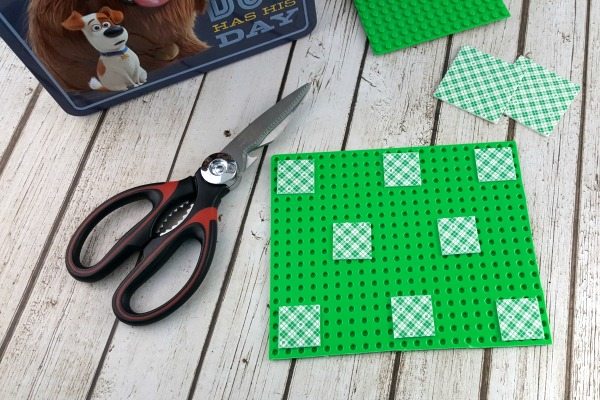
- Mounting Squares
- LEGO Bricks from your child’s collection
This LEGO set is perfect to split between two DIY LEGO travel activity kits.
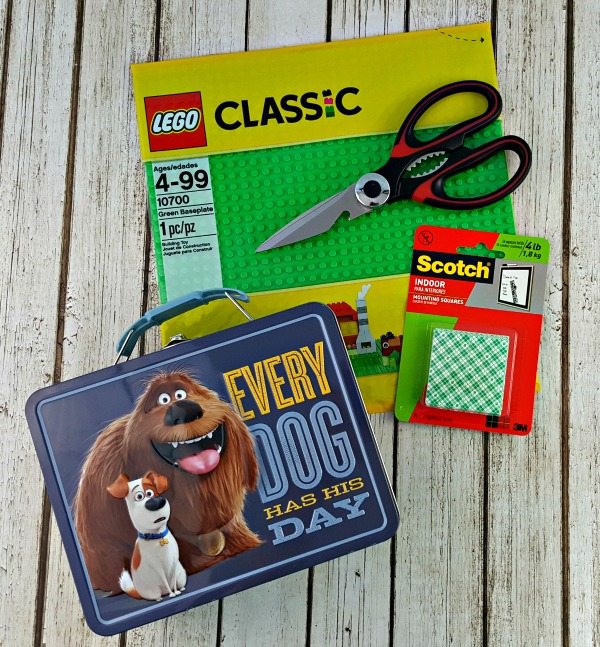
I took the kids to 5 Below and they each picked out the metal lunch boxes they wanted to use. Be sure to use a metal one, as hot glue may melt a plastic lunch box. Since I already had a glue gun, glue sticks, and scissors, I just needed the lunch boxes, mounting squares, and base plate.
The total cost for this project was about $9 for each set. The kids chose the LEGOS they wanted to include in their boxes.
TIP: I recommend using larger LEGO pieces, as tiny ones like flowers can easily get lost.
📋 Instructions
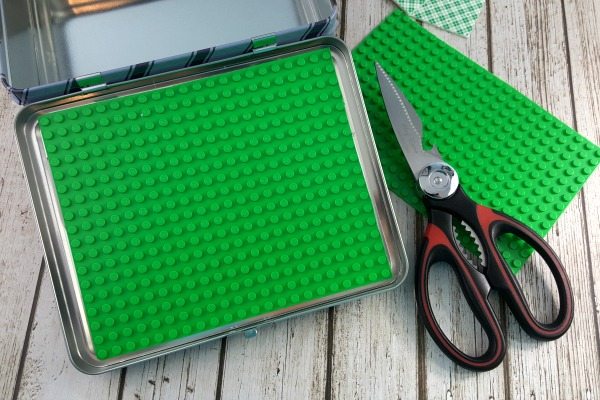
- Measure the inside cover of the lunch box. Cut the base plate to size.
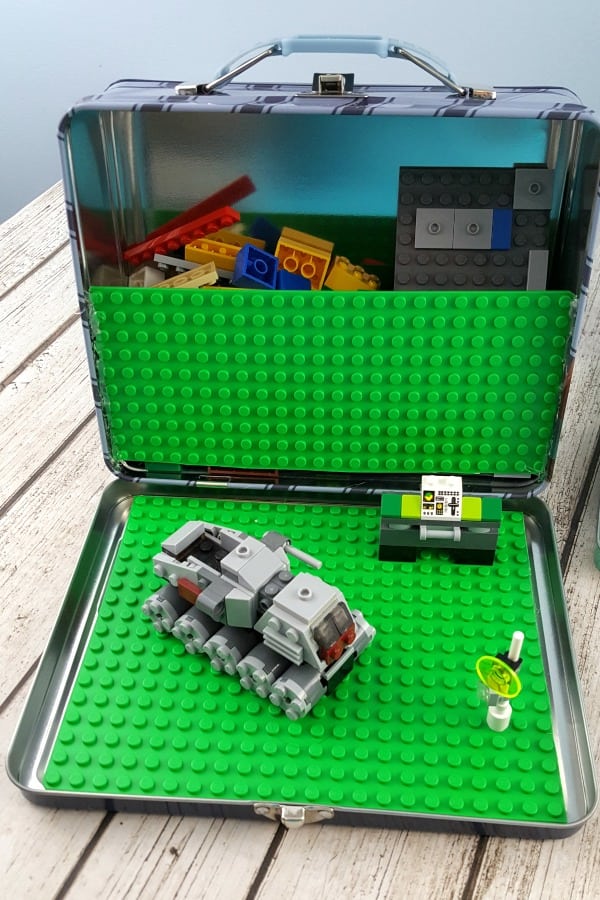
2. Adhere the mounting squares to the back of the base plate. Secure it to the top of the lid. This will be where the children play with the LEGO bricks.
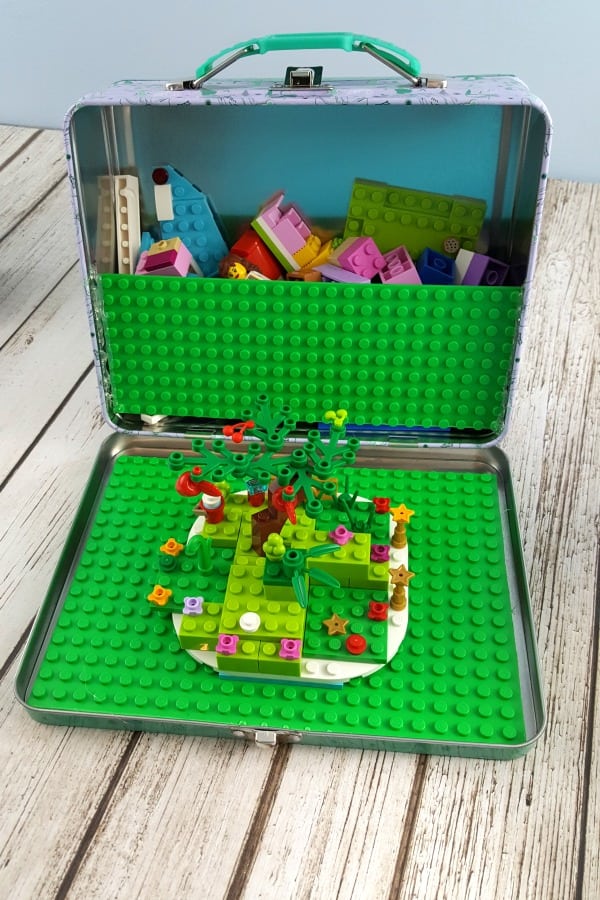
3. To make the storage part, measure and cut another base piece to fit across the deep part of the lunch box. It should be the width of the lunch box, but only about half the height. This will be to hold the LEGOS, as shown below:
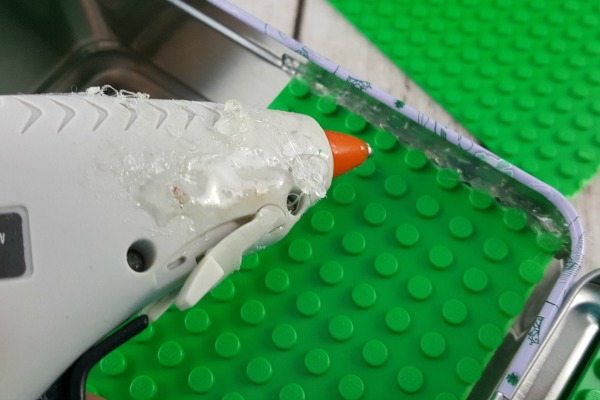
4. Use the hot glue gun to secure the plate to the side of the box. This is the trickiest part. I recommend adding something inside the box to help hold the plate level while the glue dries. First glue the back of the plate, then the front. This helps make sure it will stay fastened.
5. Fill the box with whatever LEGO toys you like, and off you go!
This is SO cute! What a clever idea 🙂
Como puedes cortar la tabla base, no es rígida?
How can you cut the base board, it is not rigid?
The LEGO base plate is rigid but can be carefully cut with a pair of sharp scissors.