Epsom Salt Art Science Experiment
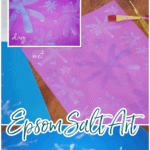
Epsom Salt Art is a fun way science experiment for kids that also allows them to be creative in making their own ‘frozen’ artwork! This is also a great activity if you are planning a Frozen party.
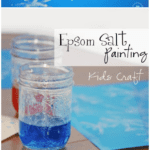
Today I’m sharing a super fun kid’s activity–Epsom Salt Painting. The coolest part about this project is that it actually involves a little science. When the kids begin painting, the colors look a little like watercolors, but as they dry the kiddos get a fun crystal surprise!
Not only is this a fun activity, but it’s also a great homeschool project as well!
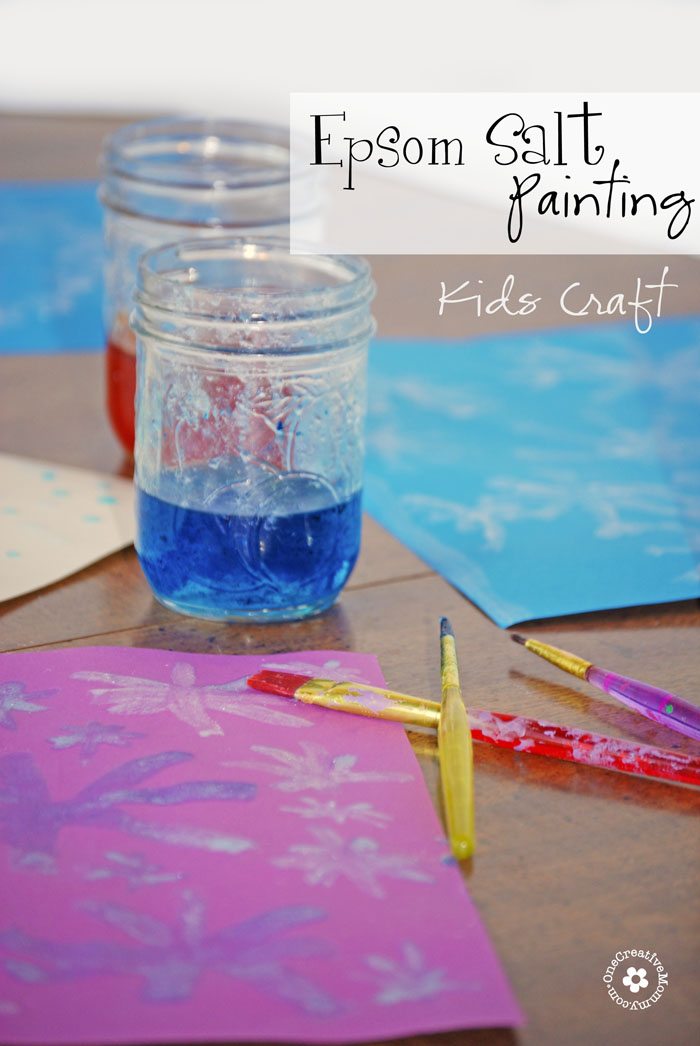
So, are you ready to give it a try? This project can get a little messy (as you can see from the jar above), but it’s tons of fun!
Epsom Salt Painting
✂️ Supplies Needed
The following are affiliate links. We are a participant in the Amazon Services LLC Associates Program, an affiliate advertising program designed to provide a means for us to earn fees by linking to Amazon.com and affiliated sites.
- Heavy paper (lightweight paper will curl up as the paint dries)
- Epsom Salt
- Water
- Food coloring (optional)
- Paint brushes of various sizes (the solution will wash out of the brushes, but I still wouldn’t use your best brushes)
- Small jars or plastic cups
Be sure to check out my Juggling Act Mama Storefront on Amazon where you’ll find all kinds of great products that will make your life easier! Thanks so much for being a part of Juggling Act Mama ❤
📝Instructions – White Paint
- Pour one cup of boiling water into your jar or plastic cup.
- Add 1 cup of epsom salt, and stir until it completely dissolves.
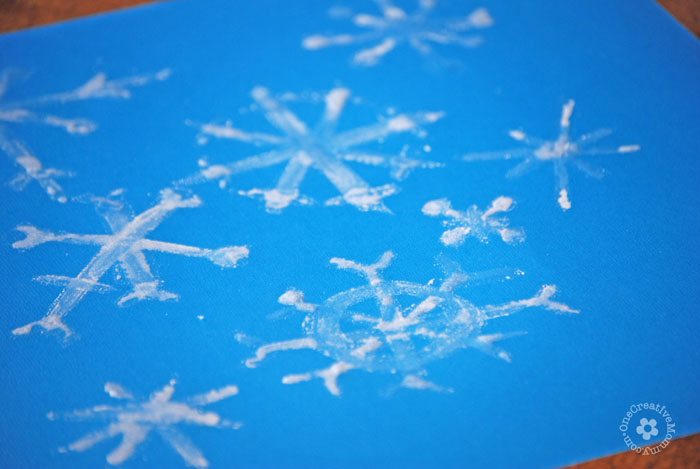
- Paint your designs onto dark-colored heavy paper.
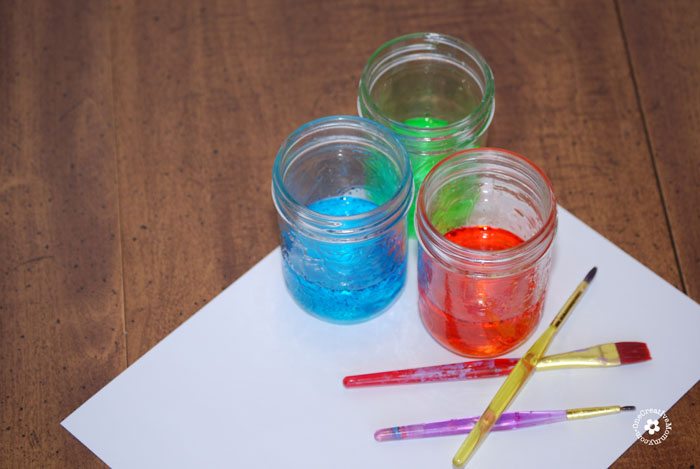
📝Instructions – Colored Paint
- Pour one cup of boiling water into each of your containers.
- Add a few drops of food coloring to each container. (Keep adding color until you like the result.)
- Add 1 cup of epsom salt to each container and stir until dissolved.
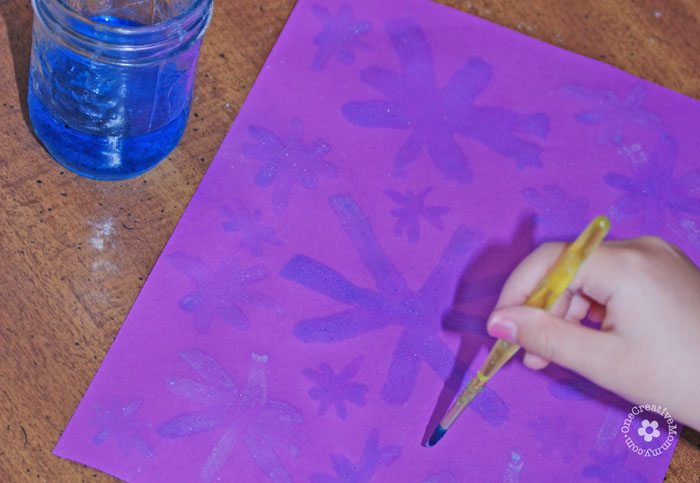
- Paint your designs on white or colored paper. Experiment!
We originally planned this activity to go with our Frozen party, so we definitely had snowflakes on the brain! We eventually started trying new things and discovered some cool effects! Here are a few ideas to try and to think about as you paint.

Experiment!
I love that this Epsom salt painting project encourages kids to be critical thinkers! Here are some questions you can ask:
- Why does the clear paint turn white when it dries?
- What happens if you paint on paper that has a texture?
- Can you make paint bubbles that sit on top of the paper? (See image above.)
- Why does the colored paint dry shiny and sparkly?
- Why does thin paper curl as the paint dries?
- Why is the paint getting thicker as the water cools down?
- Why does the paintbrush get “gloppy” the longer you paint?

I hope you and your kiddos have a lot of fun with this Epsom salt art project! Above is my favorite effect. The paint got shiny and puffy as it dried on this colored printer paper. (So cool!)
Do you have a favorite project you’ve made with your kids? I’d love to hear about it.
More Projects for Kids
- Easy Experiments for Kids – Activate your child’s love of science with these easy experiments.
- Homemade Play Dough Recipes – Skip expensive store-bought versions and make your own!
- Cool Slime Ideas – Your child will love making their own slime – and it’s easier than you think.
- What to Paint on a Rock – Get back to basics with this fun summer activity.
More Frozen-Inspired Ideas
About the Author: Heidi is a retired teacher and mom of three who loves to share fun ideas including DIY and craft projects, recipes and printables at onecreativemommy.com.