What to Paint on a Rock
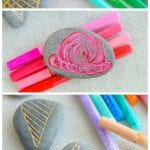
Keep the kids busy during the dog days of summer with this tutorial that teaches you how and what to paint on a rock.

Painting rocks has been very popular in the last few years. So popular in fact, there are entire websites and Facebook groups dedicated to painting and hiding rocks in towns across the country!
Kids love the challenge of finding painted rocks and then hiding them again for others. I’ve come across them myself and it never fails to put a smile on my face. But how do you get started, and what do you paint on a rock?
Let me show you how.
💭 Frequently Asked Questions
Everywhere! OK let me back up. You can find rocks right in your own backyard. Take a field trip to your favorite stream or lake and scavenge rocks of different sizes and shapes. You can even order them online or find them at the dollar store or craft store.
Yes. It helps to clean your rocks well before painting, especially if you’ve purchased, rather than found, your rocks. Rock Painting 101 has a great tutorial for this.
I used paint pens, but any acrylic paint will do. See the materials list below for what I used specifically.
Display them. Find a rock painting group in your area and join the fun hiding them for others to find! It’s a great way to get the kids outside to burn off some energy.
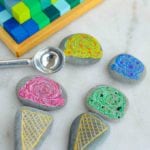
For our specific project, we created ice cream cones and different “flavored” scoops to play with. These would be a great addition to a play kitchen.
What to Paint on a Rock

Now that you know the basics, let’s get creative!
As I said, we made fun ice cream cones to play with, but your options are endless. Here’s what you’ll need and how we did it.
Materials:
The following are affiliate links. We are a participant in the Amazon Services LLC Associates Program, an affiliate advertising program designed to provide a means for us to earn fees by linking to Amazon.com and affiliated sites.
- Paint pens – (These are my favorite paint markers)
- Smooth river rocks – Try to find some that are oval or round and a couple that are triangles for the cones.
- Sealing spray – to protect your design if they will possibly get wet or end up outside. (We have not yet used or needed to use this sealant and all of our painted rocks are doing well, but just in case its good to know this is an option. Follow package instructions for use.)
Be sure to check out my Juggling Act Mama Storefront on Amazon where you’ll find all kinds of great products to make your life easier! Thanks so much for being a part of Juggling Act Mama ❤
How to Make Rock Ice Cream Cones
I wanted to make something that was whimsical and kid-friendly. This also means these are a little easier to make so it’s perfect for beginners.
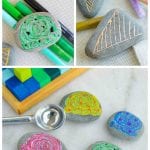
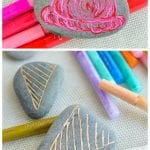
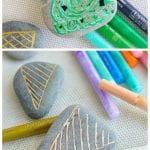
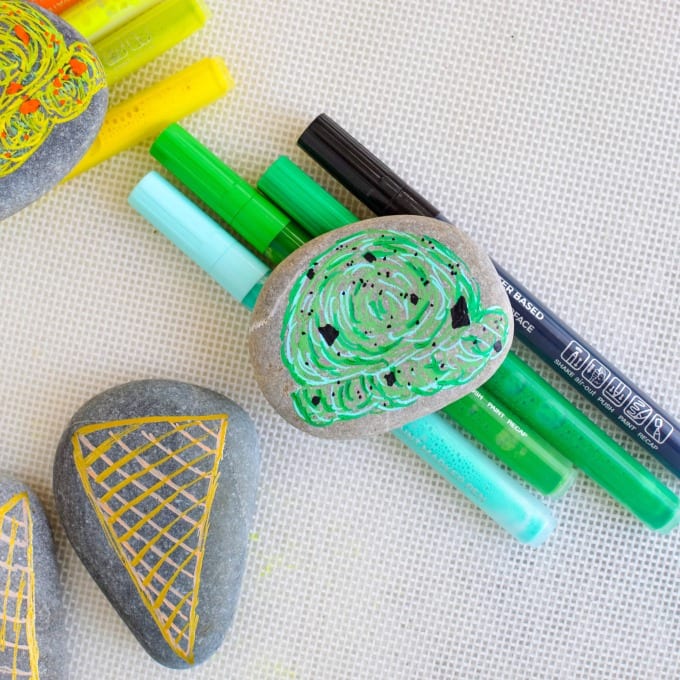
To make the cones, start by making the triangle and then think about the waffle pattern and just make crossing lines-or you can fill this in solid, completely up to you!

Next, think about the types of ice cream you would want to make and the colors needed for those. For example, I used a mix of green, white, and black for a mint chip ice cream.
To make the scoops, I started with a half-circle and then made a wispy cloud-like bottom.

Play around with mixing colors while they are still wet to have a slightly blended look and then wait for that to dry and add additional color lines.
Allow the rocks to fully dry before playing with them. This is only about 20 minutes, but if you choose to seal them, follow package instructions for dry time.
Get creative and enjoy!
This looks like SO much fun! I can’t wait to try this 🙂
Thank you!