Marble Christmas Ornaments
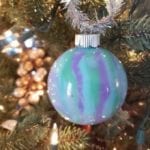
With the right supplies, making your own DIY Marble Christmas Ornaments can be a really enjoyable family craft that makes wonderful keepsakes, or lovely gifts.
Recently, I lead Olivia’s Girl Scout Troop meeting showing the girls how to make these easy marble Christmas ornaments. Everyone had such a blast expressing their creativity with these. You can make these as simple or elaborate as you wish.

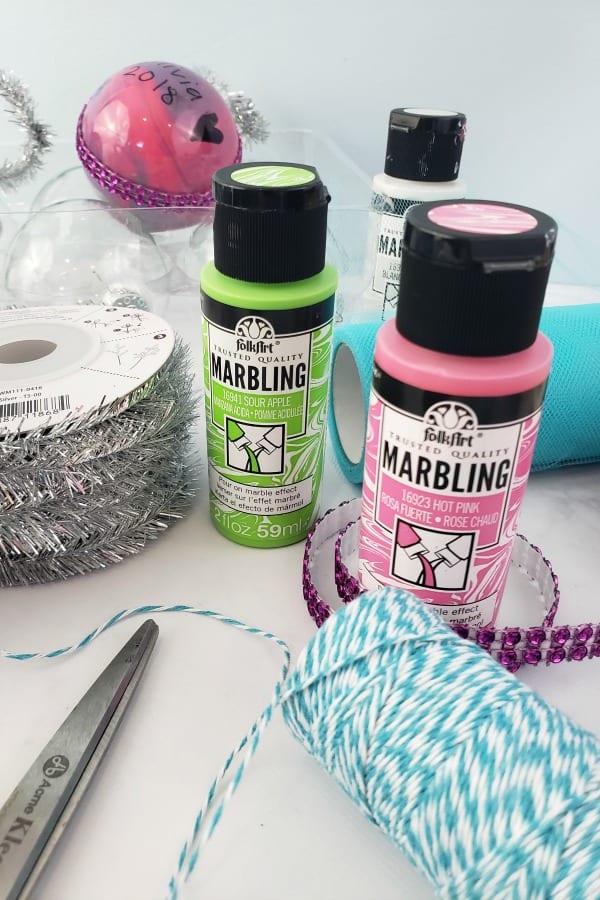
✂️Supplies Needed
Be sure to check out my Juggling Act Mama Storefront on Amazon where you’ll find all kinds of great products to make your life easier! Thanks so much for being a part of Juggling Act Mama ❤
- Clear Glass Ornaments – for kids, I recommend using Acrylic Ornaments because they don’t break as easily.
- Apple Barrel Acrylic FolkArt Marble Paints
- Bakers Twine, ribbon, tinsel wire or tulle
- Optional Items:
- Mod Podge Extreme Glitter and Small Paint Brush
- Sharpie Markers
- Embellishments such as sticky jewels or scrapbook rhinestone tape
- Other Items:
- newspaper, scissors, paper towels, small paper cups
📝Instructions
This is meant to be a brief overview of how to make these DIY Marble Christmas Ornaments. For step-by-step instructions and a full printable tutorial with materials, please scroll down to the teal box below.
- Cover your work surface with newspaper then gather all your supplies to make the DIY ornaments.
- Choose 2-4 paint colors to work with.
- Remove the ornament cap and set aside.
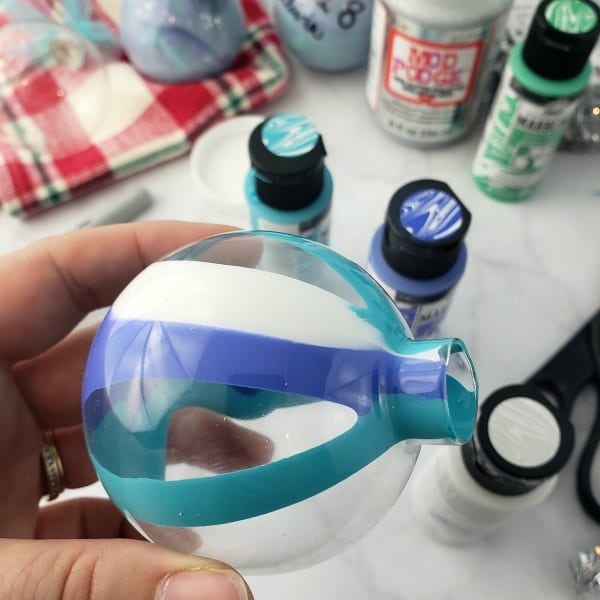
- Hold the ornament at an angle and slowly squeeze the paint, allowing it to run down the side.
- Repeat with the second color and gently turn the ornament to swirl the paint.
- Add additional paint as needed.
- Once you are happy with your ornament, set it upside down in a small paper cup, allowing the excess paint to drip out.
- Let the ornaments drip and dry for at least one hour (overnight is best).
- Secure the ornament cap and add ribbon to hang the ornament.
Embellish your DIY Ornaments (Optional)
Here are some ways to personalize your gorgeous DIY ornaments even further:
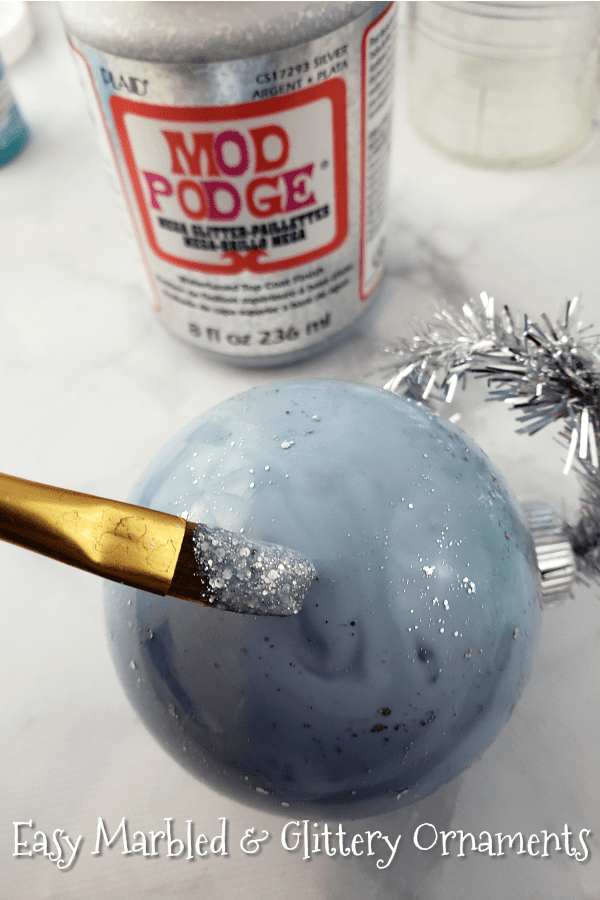
- To add a little shimmer, lightly paint the ornament with Mod Podge Extreme Glitter and hang to dry at least 1 hour.
- Use a Sharpie to write your name and the year, or use your Cricut Cutting Machine to design and cut adhesive vinyl cutouts for your ornaments.
- To add more colors and sparkle, use embellishments.
- You can even use ‘stickers!! After you place your stickers on, brush them with a thin coat of Clear Mod Podge to help them stay on.
⭐ Tips
Smaller embellishments work best.
🎄 More Holiday Ideas
These cute Scrabble Tile Ornaments are a fun way to personalize your holiday décor. They are simple to make and fun, too! Use them on packages as a gift tag, name tag for stockings, or hang them on the tree. Here are some other projects to check out for next time you’re feeling crafty:
- Make Your Own Star Crayons
- Scrap Wood Photo Blocks
- Snowman Mason Jar Gift
- Holiday Cricut Projects
- DIY Clear Christmas Ornaments
- Dried Orange Slices for Ornaments
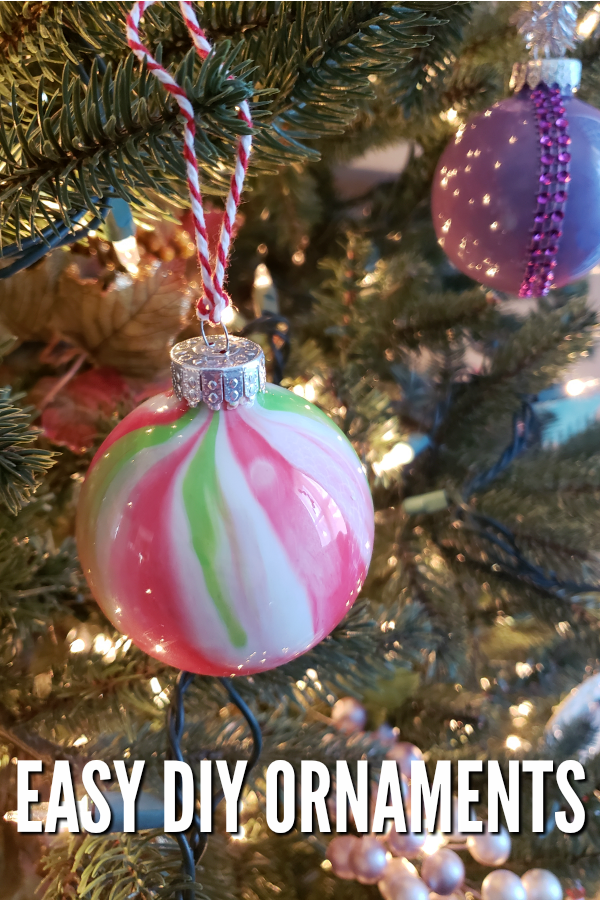
Marble Christmas Ornaments

Easy DIY Ornaments
As an Amazon Associate, I earn from qualifying purchases.
Equipment
- Newspaper
- scissors
- Paper towels
- Small paper cups
Materials
- Clear Glass (or Acrylic) Ornaments For kids, I recommend using Acrylic Ornaments because they don't break as easily.
- Apple Barrel Acrylic FolkArt Marble Paints
- Bakers Twine, ribbon, tinsel wire or tulle
- Mod Podge Extreme Glitter and Small Paint Brush optional
- Sharpie Markers optional
- Embellishments such as sticky jewels or scrapbook rhinestone tape optional
Instructions
- Cover your work surface with newspaper then gather all your supplies to make the DIY ornaments.
- Choose 2-4 paint colors to work with.Apple Barrel Acrylic FolkArt Marble Paints
- Remove the ornament cap and set aside.
- Hold the ornament at an angle and slowly squeeze the paint, allowing it to run down the side.Clear Glass (or Acrylic) Ornaments
- Repeat with the second color and gently turn the ornament to swirl the paint.
- Add additional paint as needed.
- Once you are happy with your ornament, set it upside down in a small paper cup, allowing the excess paint to drip out.
- Let the ornaments drip and dry for at least one hour (overnight is best).
- Secure the ornament cap and add ribbon to hang the ornament.Bakers Twine, ribbon, tinsel wire or tulle, Mod Podge Extreme Glitter and Small Paint Brush, Sharpie Markers, Embellishments such as sticky jewels or scrapbook rhinestone tape
I love those ornaments. I am going try them.
I think I’ll do this with my grandchildren. The ornaments look so pretty and any excuse to use paint is good.
It’s really so fun to do with kids!
I would like to make some ornaments so that they could become part of our annual Christmas tree and be passed down to each generation.
I would like to try the ornaments. They look pretty and easy to make
I had loads of ornaments left from this yearso I made these with the kids. A little messy but fun. Thank you
Looks easy and fun to do, festive!
I love how these marbelized glass ornaments came out! So pretty! Thanks for the tips.
How fun is this ornament craft! I pinned this from your pinterest to mine – would love to do this with the kiddos. I think they would really enjoy it.
I love these DIY ornaments. We did them as a classroom party activity for my kids – always fun and easy to do!
I love how those ornaments turned out! Pinning for later.