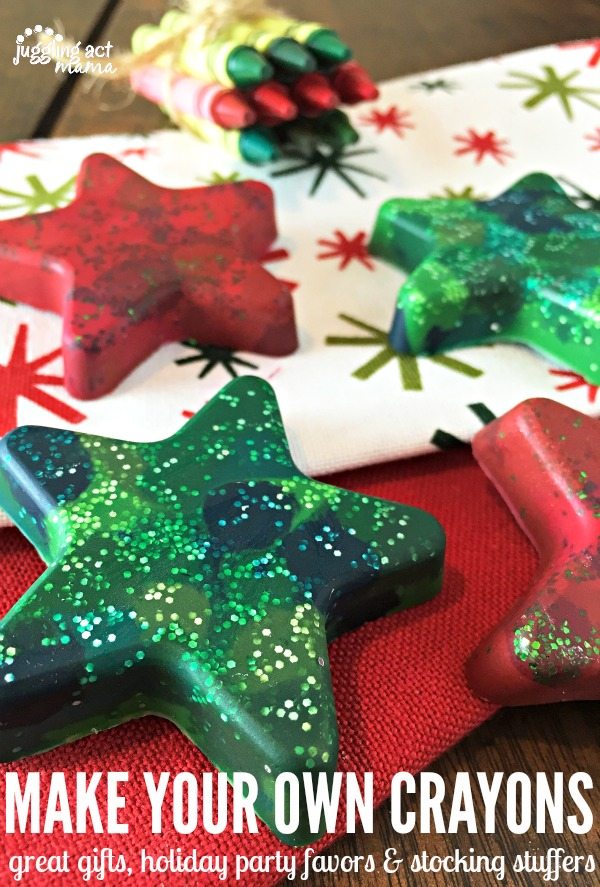
How to Make Molded Crayons

Need a fun activity during winter break to do with the kids? Here’s how to make your own star crayons!

Making your own crayons is a fun project to do with the kids, especially older children. You can also make them ahead of time and surprise little ones with the finished result. For best results, follow the instructions carefully.

You can change the colors by simply swapping out the color of the crayons you start with. The Star Silicone Mold gives the crayons their shape. Blue and white starts with silver glitter would be so pretty, too!
Do you have a girly girl in the house? Make a batch of pink, purple and gold hearts by using a Silicone Heart Mold. There are so many great possibilities!
✂️Supplies Needed
Be sure to check out my Juggling Act Mama Storefront on Amazon where you’ll find all kinds of great products to make your life easier! Thanks so much for being a part of Juggling Act Mama ❤
- 7 Green crayons (can be different shades, or the same)
- 7 Red crayons (can be different shades, or the same)
- Star Silicone Mold (or any shape you prefer)
- Assortment of Red, Green, Silver and Gold Glitter
📝Instructions
This is meant to be a brief overview of this molded crayons project. For step-by-step instructions and a full printable tutorial with materials, please scroll down to the teal box below.
- Preheat oven at 275-degrees F.
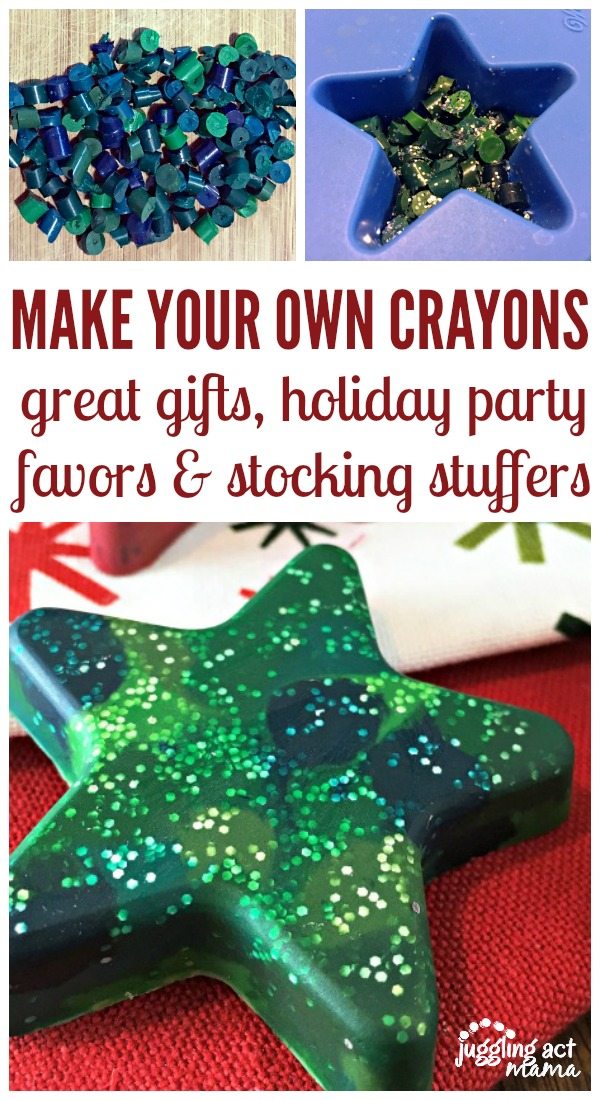
- Remove paper from each crayon.
- Using a knife carefully cut each crayon into tiny pieces.
- Shake silver glitter into 2 star-shaped molds.
- Add green crayon pieces into those 2 star-shaped molds.
- Cover the green crayon pieces with additional silver glitter.
- Repeat steps 4 through 6 for green glitter and red crayons.
- Heat in oven for 15 minutes.
- Remove (make sure crayons have turned into liquid).
- Let cool at room temperature overnight (or in freezer for 2 hours for faster results).
These crayons make great gifts for classmates and cousins, holiday party favors, and are cute stocking stuffers, too!
🎄 More Holiday Ideas
- Easy Glitter Pinecones – you can scavenge your backyard for pinecones to make these.
- Dollar Store Ornaments – you would never know these ornaments came from dollar store items!
- Elf on the Shelf Fun Ideas – your elf will never run out of mischief with these ideas.
More Fun Ideas:
- Easy Sharpie Craft Projects – grab your Sharpies and make one of these fun craft ideas.
- Creative Button Crafts – use up your button stash with these projects.
- DIY Glitter Ornaments – make gorgeous glitter ornaments with your kids!
How to Make Molded Crayons

How to Make Your Own Star Crayons
As an Amazon Associate, I earn from qualifying purchases.
Equipment
- Star Silicone Mold (or any shape you prefer)
Materials
- 7 Green crayons can be different shades, or the same
- 7 Red crayons can be different shades, or the same
- Assortment of Red, Green, Silver and Gold Glitter
Instructions
- Preheat oven at 275-degrees F.
- Remove paper from each crayon.
- Using a knife carefully cut each crayon into tiny pieces.
- Shake silver glitter into 2 star-shaped molds.
- Add green crayon pieces into those 2 star-shaped molds.
- Cover the green crayon pieces with additional silver glitter.
- Repeat steps 4 through 6 for green glitter and red crayons.
- Heat in oven for 15 minutes.
- Remove (make sure crayons have turned into liquid).
- Let cool at room temperature overnight (or in freezer for 2 hours for faster results).
My sister and I made these with our kids yesterday with blue and silver for New Years Eve. The kids loved making them. Thanks for the ‘Boredom Buster’ – love your newsletter!
Francine