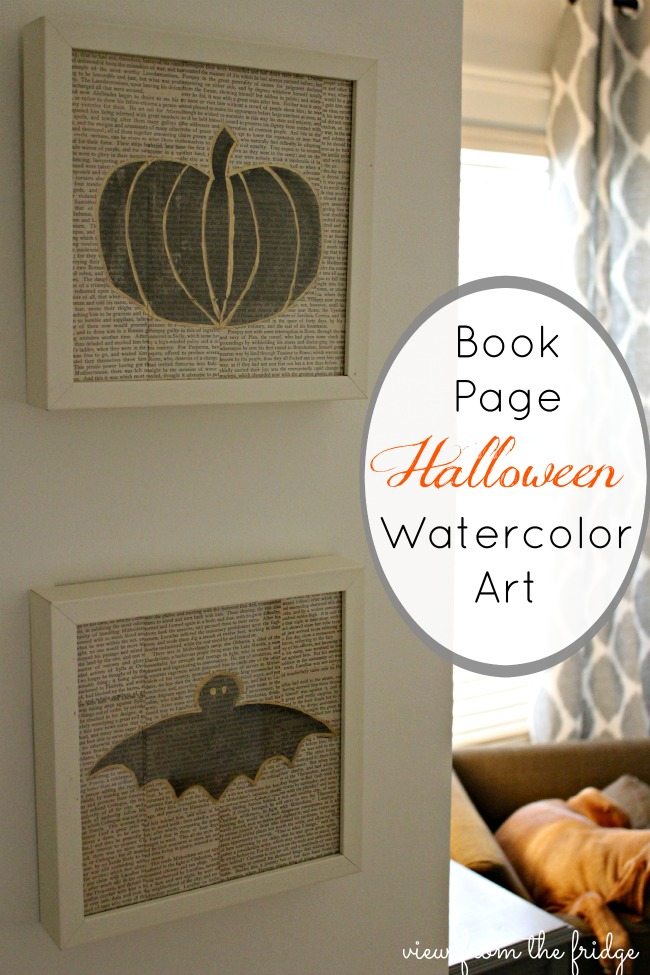
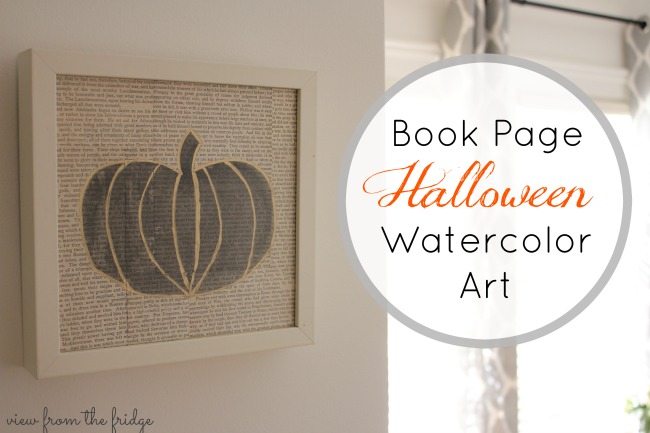
Book Page Halloween Watercolor Art
Hello! Katie from View From The Fridge back this month with an EASY (and kid-friendly) art project with a Halloween flair … Book Page Halloween Watercolor Art!
I’m on a kick recently with book page projects because of ‘someone’ in that picture above. Hint: she has four legs.
Yep … our dog, Molly. She seems to have it out for our books lately, and every couple days or so she paws one out of our bookshelf and rips it up.
Oh, and she’s seven in case you were attributing it to her being a ‘puppy’!
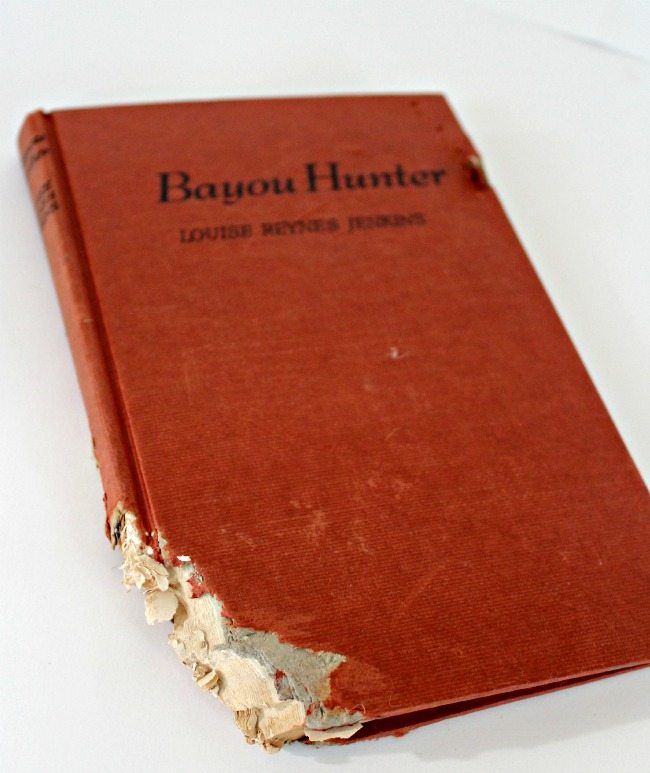
With an excess of ripped up books around the house that I just can’t seem to get rid of, I have been trying to come up with other uses for the book pages. I made some Book Page Pumpkins a couple of weeks ago, a Book Page Table Runner. Today, I’m making some easy Book Page Watercolor Art!
My mom picked up these Ikea frames from a garage sale a while back (so they were even cheaper than the price you’d pay at the store … $1 each maybe?).
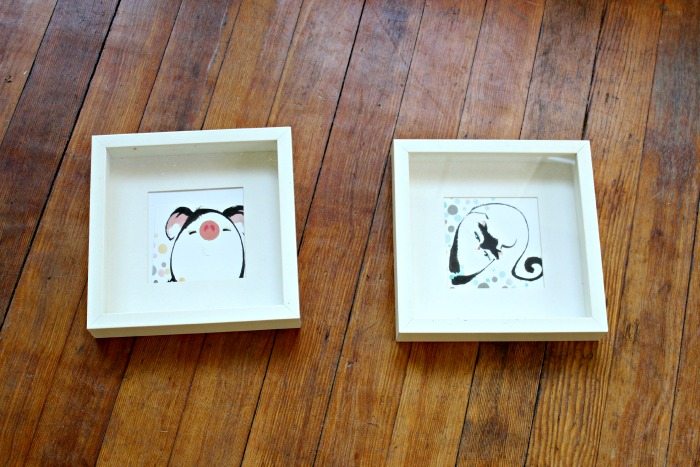
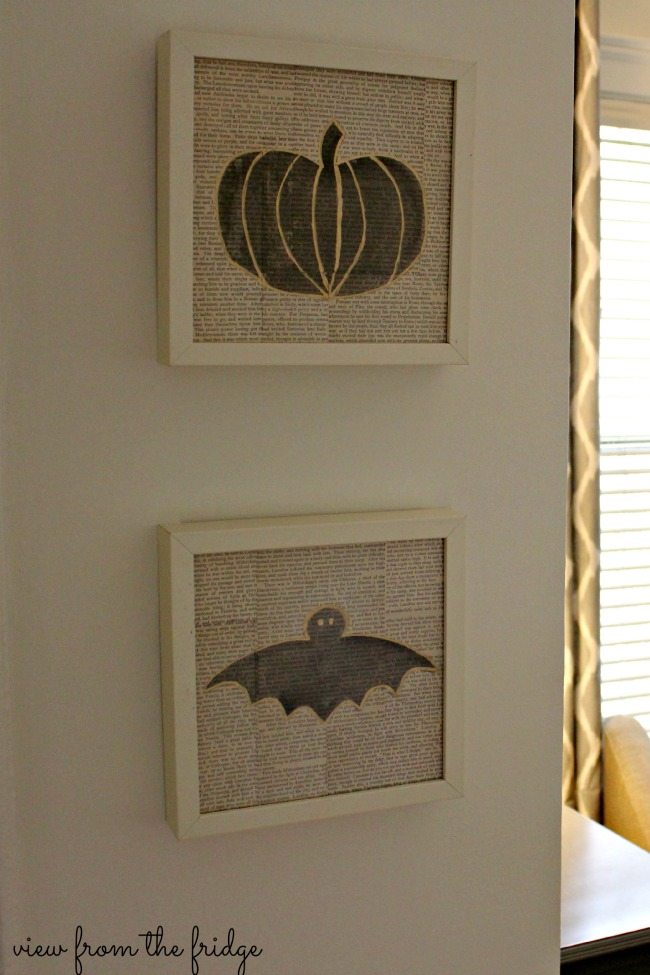
They’ve been in my craft closet for a bit and I finally decided on a project for them! The pictures aren’t exactly our style, but the frames were the perfect size for a wall in our house that needed a little Halloween decor this season! I am a huge fan of decorating with neutrals, and so I decided to use black watercolor paint with just a touch of gold around the edges.
Materials
- old book pages
- white glue
- scissors
- frame
- pencil
- watercolor paint and brush
- gold leaf pen, gold sharpie, or gold paint

Instructions
- First, cut the edges off your book pages so you’re left with just words (no blank space).
- Next, using the inserts that come with the frame as your guide, cover your inserts with book pages (glue ’em down). I tried my best to stagger them so the layout looked random.
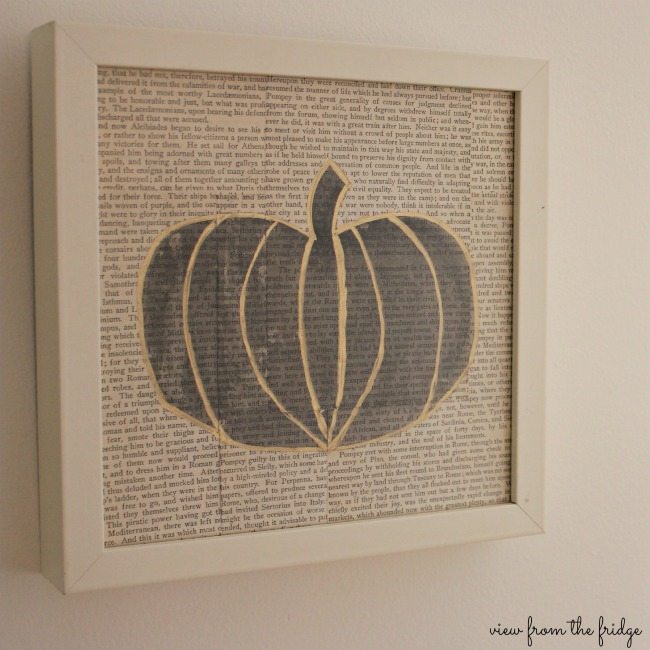
- I then made a couple stencils (a pumpkin and a bat) out of plain white paper. For each, I folded the paper in half, drew half the shape, then cut it out to get a symmetrical shape.
- Using a pencil, lightly trace your shape onto the book pages
- Steal your kids watercolor paints, and paint inside the lines. Use more or less water to achieve the desired darkness of your shape.
- Once dry, I grabbed my Gold Leafing Pen (you could also use a gold sharpie or plain gold paint).
- Trace your shape and add any details (eyes on the bat, lines on the pumpkin)
That’s it! An easy project that you can quickly switch up for the seasons!
Don’t they look nice there in our living room next to the culprit (she’s also stubborn and wouldn’t move for my picture):

These would also be fun to make with kids! Have them come up with their own shapes and designs and frame in various places around your home!
Thanks for having me today! I hope you’re enjoying the Fall so far and gearing up for Halloween!
Love these! They’re so simple to make, but look ‘fancy’. The gears are turning in my head with all the possibilities!
I know, Suzanne …. I’m totally thinking of the possibilites for each season with these. I love how these are more neutral, but your could totally make colorful ones, too, depending on your room! Thanks so much for stopping by, and for the comment! Have a great weekend!
XO,
Katie
I love this project! It is so simple and so adorable! Thanks for sharing! PINNED!
Thanks so much, Michelle! Such and quick and easy … and free project. I’m so happy with how they look, though! Thanks for stopping by!
Oh, I love book page art, and I love how you created this fun Halloween art!
I love this they look so expensive and fancy and I will absolutely do some of my own.
Always looking for inspiration in my country Sweden and in other countrys like USA where it often starts so thank you for the inspiration I will keep looking in here for more inspiration.
Love this idea and I will definitely be pinning this! Thanks for sharing! 🙂