Watercolor Easter Egg Painting

Using wax to draw on Easter eggs is a fun way to create unique designs on each of your eggs. This simple art project uses the same concept to turn plain white paper into pretty pastel Easter artwork without all the messy of traditional dyed Easter eggs!
Dying Easter eggs is such a fun tradition! But what if I told you don’t need hard-boiled eggs to create cute Easter eggs this holiday?
All you need is some paint, a white crayon, and paper to create your own Easter eggs without heading to the grocery store. And the best part about this fun Easter craft is that your watercolor Easter eggs will last years longer than any dyed Easter eggs ever will.
More Easter Craft Ideas
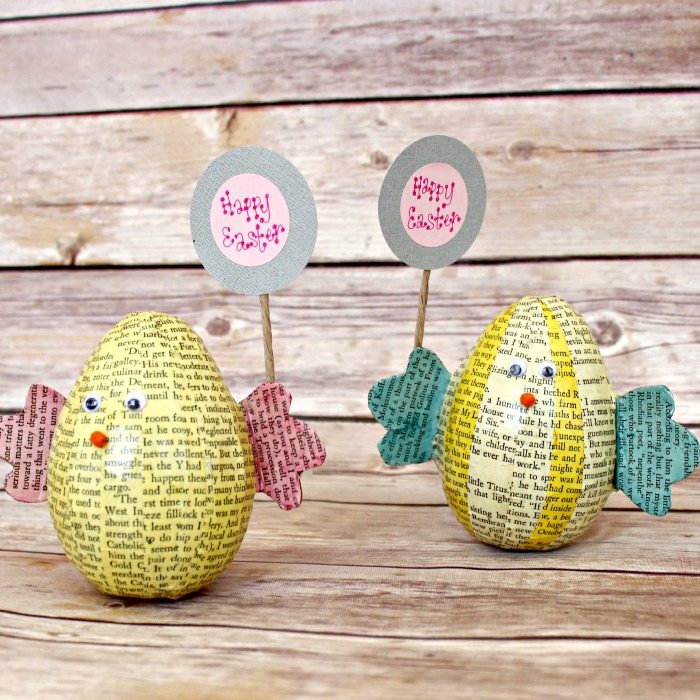
Book Page Easter Eggs
Here is another fun project you can make with the kiddos this Spring!
Materials
Use this Watercolor Easter Egg Painting technique to make paper Easter eggs this holiday instead of the messy traditional dyed hard-boiled eggs. To make your own wax resist watercolor eggs, you’ll need:
- White cardstock OR watercolor paper
- White crayon
- Watercolors
- Paintbrush
- Water
- Scissors
I’ve found that using cardstock or watercolor paper as the base of this Easter art project is the best option. It keeps the paint from bleeding through the paper and making a mess.

How to Make Watercolor Easter Eggs
Before you start making your watercolor Easter eggs, take a few minutes to prepare the space where your kids will be painting. Even though most watercolor paint is washable, it can still quickly get messy if you aren’t prepared.
- Start by covering the table with a newspaper or a wipeable tablecloth.
- Place each of the egg cut-outs on a paper plate to keep spills from spreading to the table.
- Cover your child’s clothing or make sure they’re wearing old clothes while painting to prevent damage to their clothes.
- Keep a roll of paper towels on hand to quickly wipe up spills.
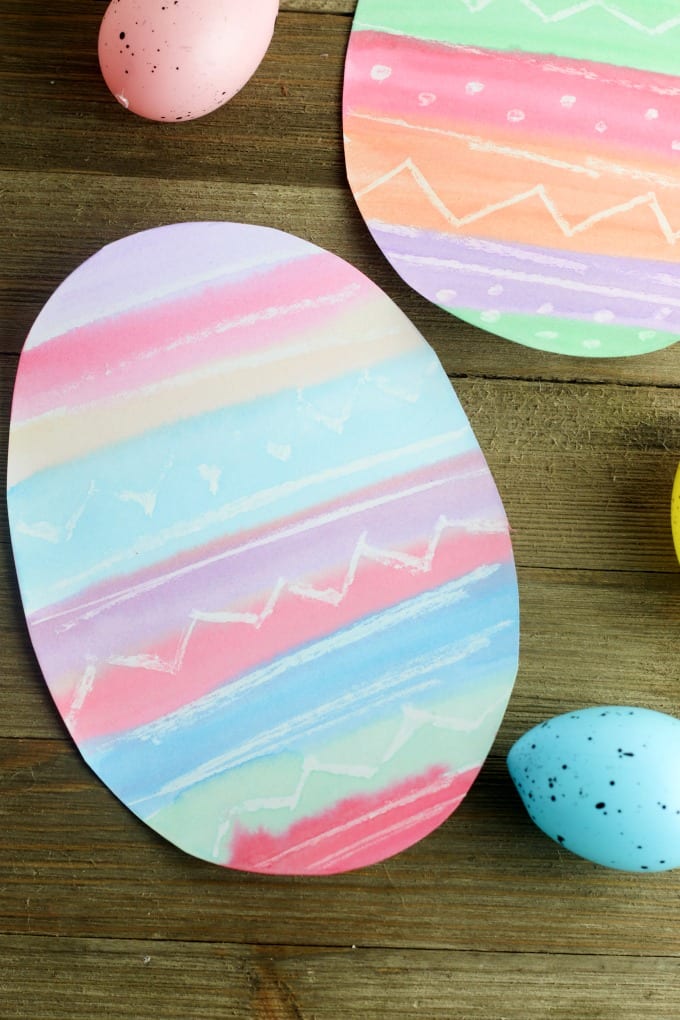
After you have prepared the area for painting, it’s time to get started! First, use scissors to cut an egg shape out of the card stock. Then, give your kids a white crayon and let them create designs on the egg-shaped paper. There are a variety of fun patterns and designs they can draw on the eggs, like:
- Stripes
- Dots
- Dashes
- Zig zags
- Flowers
- Shapes, like circles, triangles, or squares
Whatever pattern they choose to draw, make sure it’s simple enough for them to create without being able to see what they’re drawing. While you can get an idea of the areas that have been drawn on, it’s still difficult to see the white crayon on white paper until the paint is added.
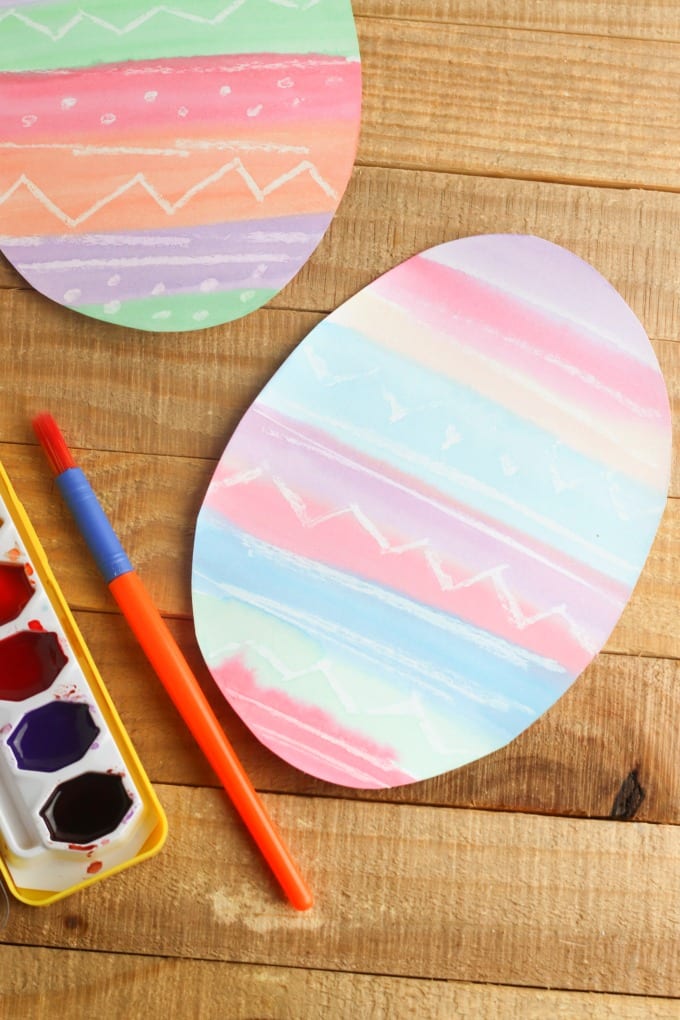
Now that your kids have their egg designs finished, they can start adding paint. Using a small paintbrush, dip the brush into water, then dip it into the watercolor paint.
We made rainbow stripes on our eggs based on the placement of the designs, but there are so many different ways your kids could paint their eggs!
Whether they use one solid color or a variety of colors, like mine, they’ll get the same result. As the paint dries, the designs they made with the white crayon will magically begin to appear!