DIY Floating Wood Shelves
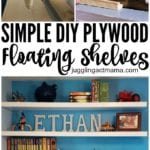
DIY Floating Wood Shelves are easier to build than you might think. I love how simple shelves can become a statement piece in any room! We’ll show you How to Make Your Own Floating Shelves in our step-by-step tutorial.
This post has been sponsored by Wagner SprayTech, however, all opinions are my own. Please see my Disclosure Policy for more information. #ad #Wagner #Flexio
DIY Floating Wood Shelves
When we remodeled the upstairs to make individual bedrooms for the kids, I knew we need lots of shelving. The shelves took a backseat to the bunk bed project for awhile.
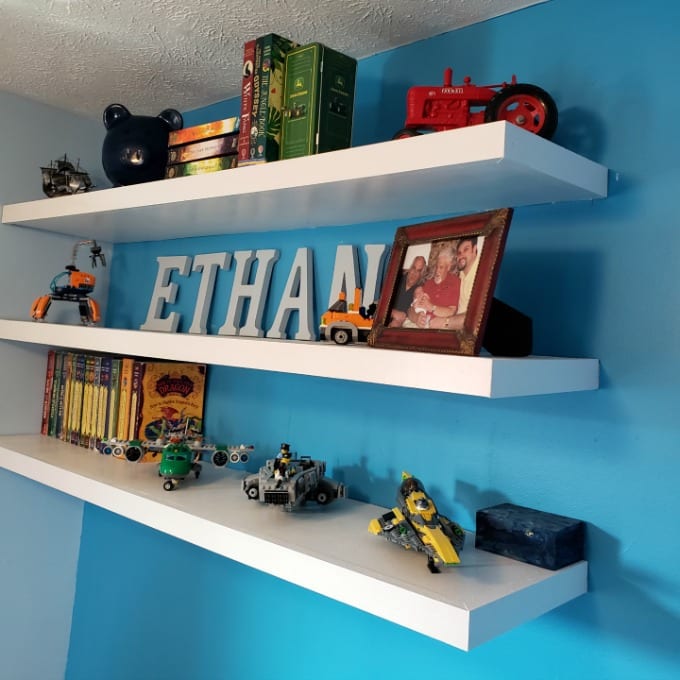
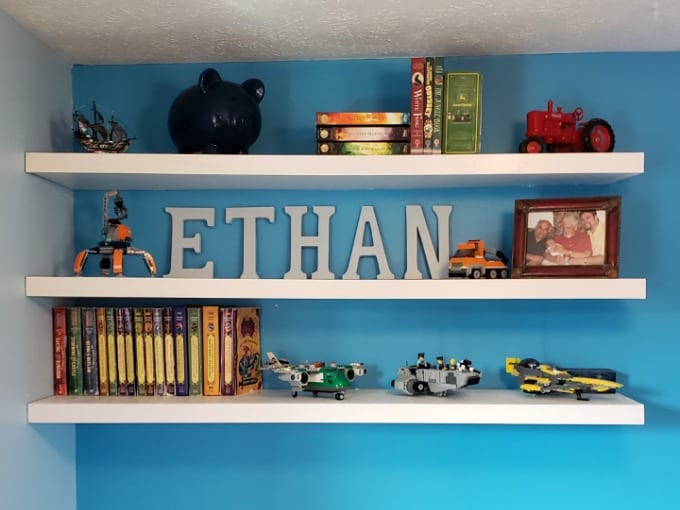
Now, these simple DIY floating wood shelves are perfect in Ethan’s room. We chose this design and method because they are inexpensive, sturdy, and easy to build. Making shelves out of wood doesn’t have to be hard!
FAQ About Floating Shelves
Here are some frequently asked questions:
1/2″ and 5mm plywood are used for the top and bottom of the shelves, while 1×2 and 1×3 pieces are used for the support structure.
These shelves are held by 3″ drywall screws going into the studs.
The amount of weight depends on the length of the shelves and the number of screws you have going into the studs. Our 4′ shelves will hold about 30lbs each. Keep in mind that if you do not have studs to go into, you will need to use heavy-duty wall anchors, which cannot hold as much weight.
Again, this will depend on the length and number of the shelves you are building. This project for three 4″ shelves cost us about $75.
How to Make Your Own Floating Shelves
Here is what you will need to create 4′ long floating shelves:
Materials
The following are affiliate links. We are a participant in the Amazon Services LLC Associates Program, an affiliate advertising program designed to provide a means for us to earn fees by linking to Amazon.com and affiliated sites.
- 1x2s (framework)
- 1x3s (framework)
- 1/2″ sanded plywood (top of the shelves)
- 5mm sanded plywood (bottom of the shelves)
- 1-1/4″ pocket hole screws
- 3″ drywall screws
- wood glue (for affixing the plywood to the shelves)
- 2-1/4″ finishing nails (for attaching the trim)
- pencil
- painter’s tape
- paint
Be sure to check out my Juggling Act Mama Storefront on Amazon where you’ll find all kinds of great products that will make your life easier! Thanks so much for being a part of Juggling Act Mama ❤
Equipment
- Kreg Jig
- circular saw
- miter saw
- finishing nail gun and air compressor
- level
- drill (ideally with 90-degree attachment)
- stud finder
- square
- clamps
- Flexio 4000 Paint Sprayer
- Studio Spray Tent
- paintbrush
DISCLOSURE: It is important to note that I am not a professional. The ideas presented here are all my own, unless otherwise credited and I have shared tips based on my experience. I always recommend consulting and/or hiring a professional if needed. Be sure to check with local building codes to obtain all permits required for any DIY project. Please always use all proper safety precautions and be sure to read and follow all manufacturer instructions. Finally, please note that I am not responsible for any outcome if you try this yourself; I am not liable for any injury or additional cost or expense incurred.
How to Build Floating Wood Shelves
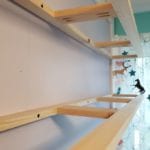
Step 1: Build the Framework
These shelves are built into the corner of the room, so the framework is anchored into the studs on two sides.
Note: If you do not have a stud to go into on the short side, you will need to use a heavy-duty wall anchor. You MUST go into studs on the long side.
Each shelf support needs the following pieces of lumber:
- (2) 1×2 cut to 48″
- (3) 1×3 cut to 9″
- (1) 1×2 cut to 9″
Use the Kreg jig to drill the 9″ 1×3 pieces with two pocket holes on each.
Next, drill the 9″ 1×2 piece with one pocket hole on each end.
Clamp the 1×2’s with the 1×3 cross pieces. Attach using the 1-1/4″ pocket hole screws.
Repeat this for each shelf frame.
Step 2: Find the Studs
Find the studs and use the level to mark the wall.
These shelves are 12″ apart.
Step 3: Attach the Frame to the Wall
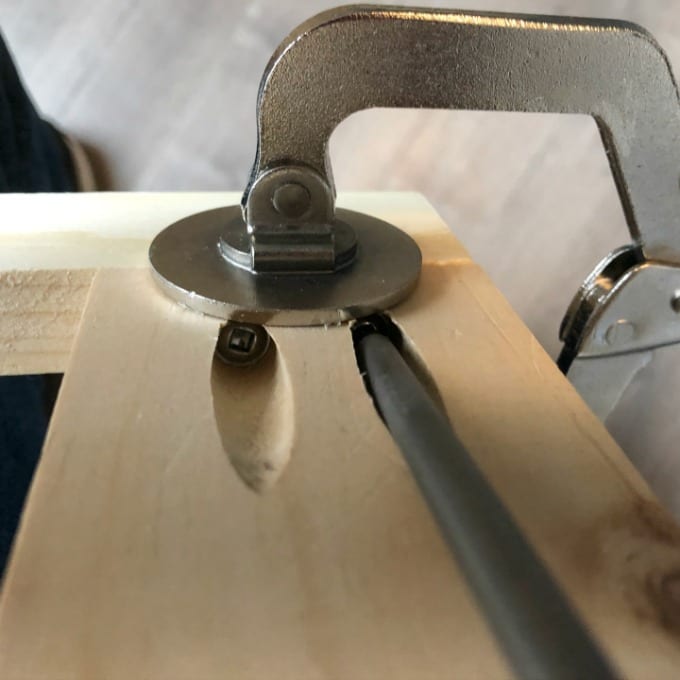
Predrill the holes in the frame to line up with the studs.
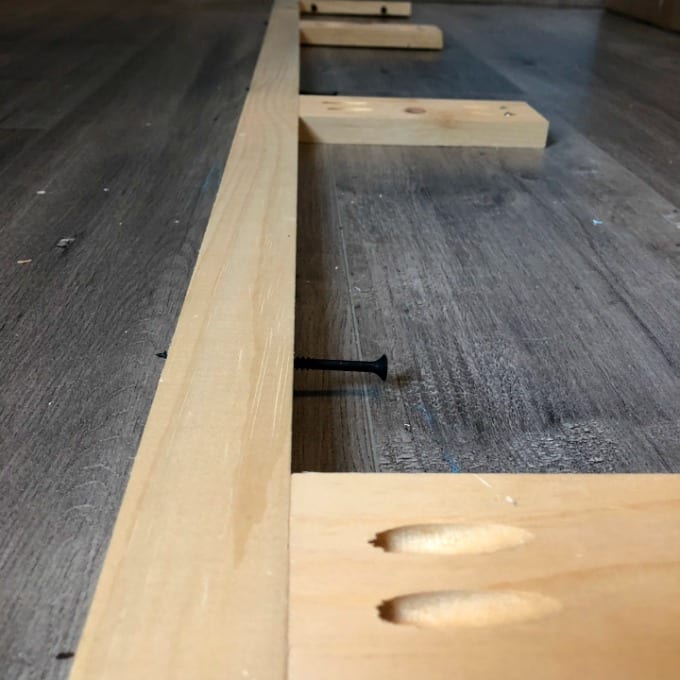
Tip: It is easiest to start the 3″ drywall screw into the frame and use it to mark the wall for where you will predrill the studs.
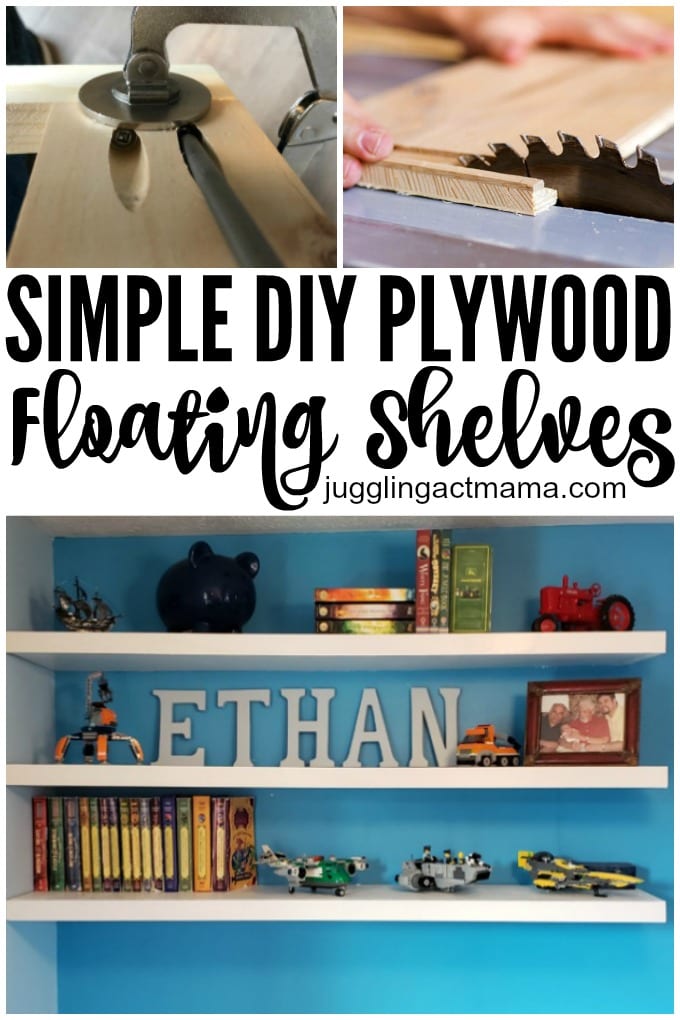
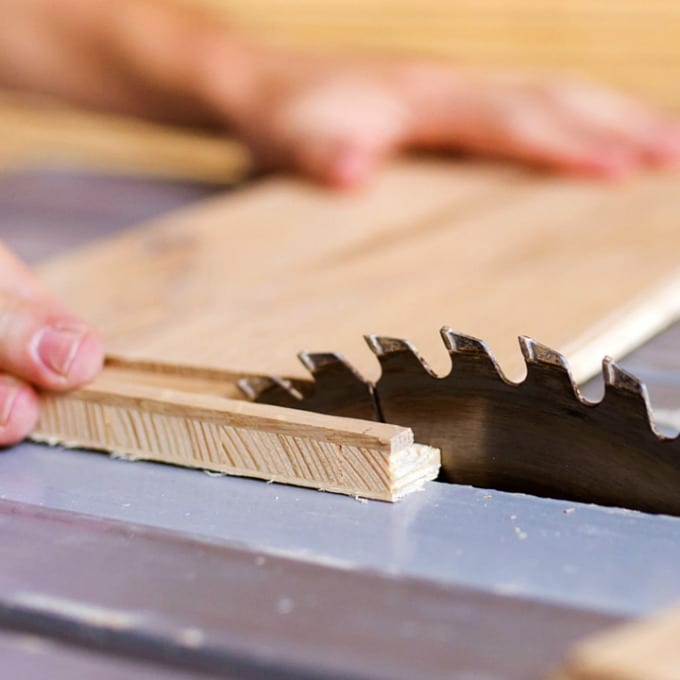
Step 4: Cut the Plywood Shelves
The 1/2 finished plywood will be top of your shelf, while the 5mm is the bottom.
Each shelf needs the following pieces:
- (1) 1/2″ finished plywood cut 48″ long and 10″ wide
- (1) 5mm plywood cut 48″ long and 10″ wide
Step 5: Paint the Plywood
Trust me when I say that painting the plywood shelf pieces is much easier if you do it before you hang them. Otherwise, you’ll be trying to paint the underneath of the shelf while the paint threatens to drip all over you.
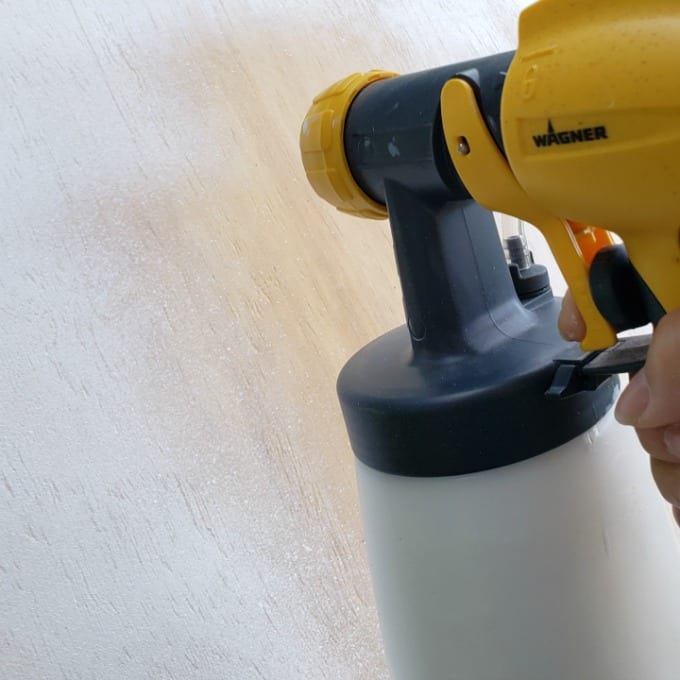
Instead, I grab my Flexio 400 and set up my Studio Spray Tent from Wagner. The tent is one of my favorite pieces of equipment because it protects your work area. It doesn’t matter if you are working in a garage, basement or driveway, overspray is inevitable.
With this spray shelter protecting your floor and the surrounding area, you can use the Flexio 4000 and get a smooth even coat on both the top and bottom of the plywood for the shelves.
Step 6: Hang the Plywood
You’re almost done with your DIY Floating Wood Shelves! Attach the plywood shelves to the framework using the wood glue. Clamp the shelves together.
If you like, you can use 1″ finish nails and a finish nailer to help hold it all together.
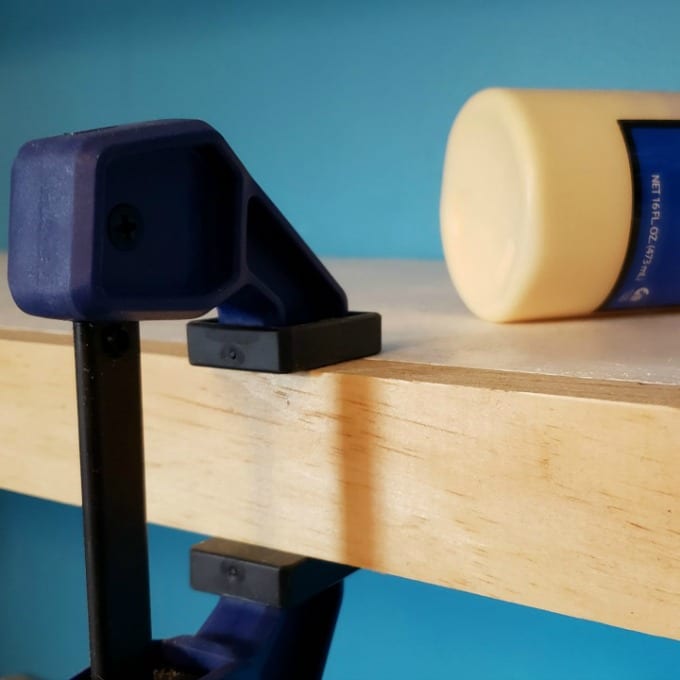
The clamps should stay on for at least 1-2 hours.
Step 7: Attach the Trim
Each shelf needs the following pieces of trim:
- (1) 1×2 cut to 49″
- (1) 1×2 cut to 11″
Attach the trim pieces using 1″ finish nails and finish nailer. This creates a finished look to your floating shelves.

Step 8: Paint Trim by Hand
Now that the shelves are trimmed out, all that’s left to do is paint the edges. I used the painter’s tape around the shelf where it attaches to the wall and used a small paintbrush for this step.
Tips for Painting the Floating Shelves
The Flexio 4000 sprayer is simple to use and it’s lightweight, which I love. Adjusting the settings to fit your project is easy. Unlike our bunk bed project, we wanted a slightly more focused spray – similar to when we painted our DIY Planter Bench.
Here are are my tips for using your Flexio 4000 Paint Sprayer to paint wooden shelves:
- Choose a good quality paint. I used White paint from Behr Premium Plus Exterior in a satin finish.
- Set the pressure control on the X-Boost power dial to medium-high. This controls how much airpower is created by the base.
- Change the air cap to match the direction you’re going to paint, either horizontal or vertical.
- Add paint to the cup and tighten the nozzle assembly. I always double-check this!
- To paint, hold the sprayer about 6-8 inches from the surface. Be sure to move the sprayer in smooth even strokes across the shelves.
- Always allow the paint to dry completely before adding another coat or touching up any spots.
More DIY Projects
If you liked this DIY tutorial, you might also enjoy these posts:
Thank you so much for the step-by-step instructions with photos. What’s great DIY project! I’ve been looking into this project to install a shelf in our living room.
I LOVE this! I love the look of floating shelves, but premade shelves from the store seem so flimsy and they’re so expensive. I never thought to make my own. And I love that you painted them! I might have to make some for my new place and paint them light gray.