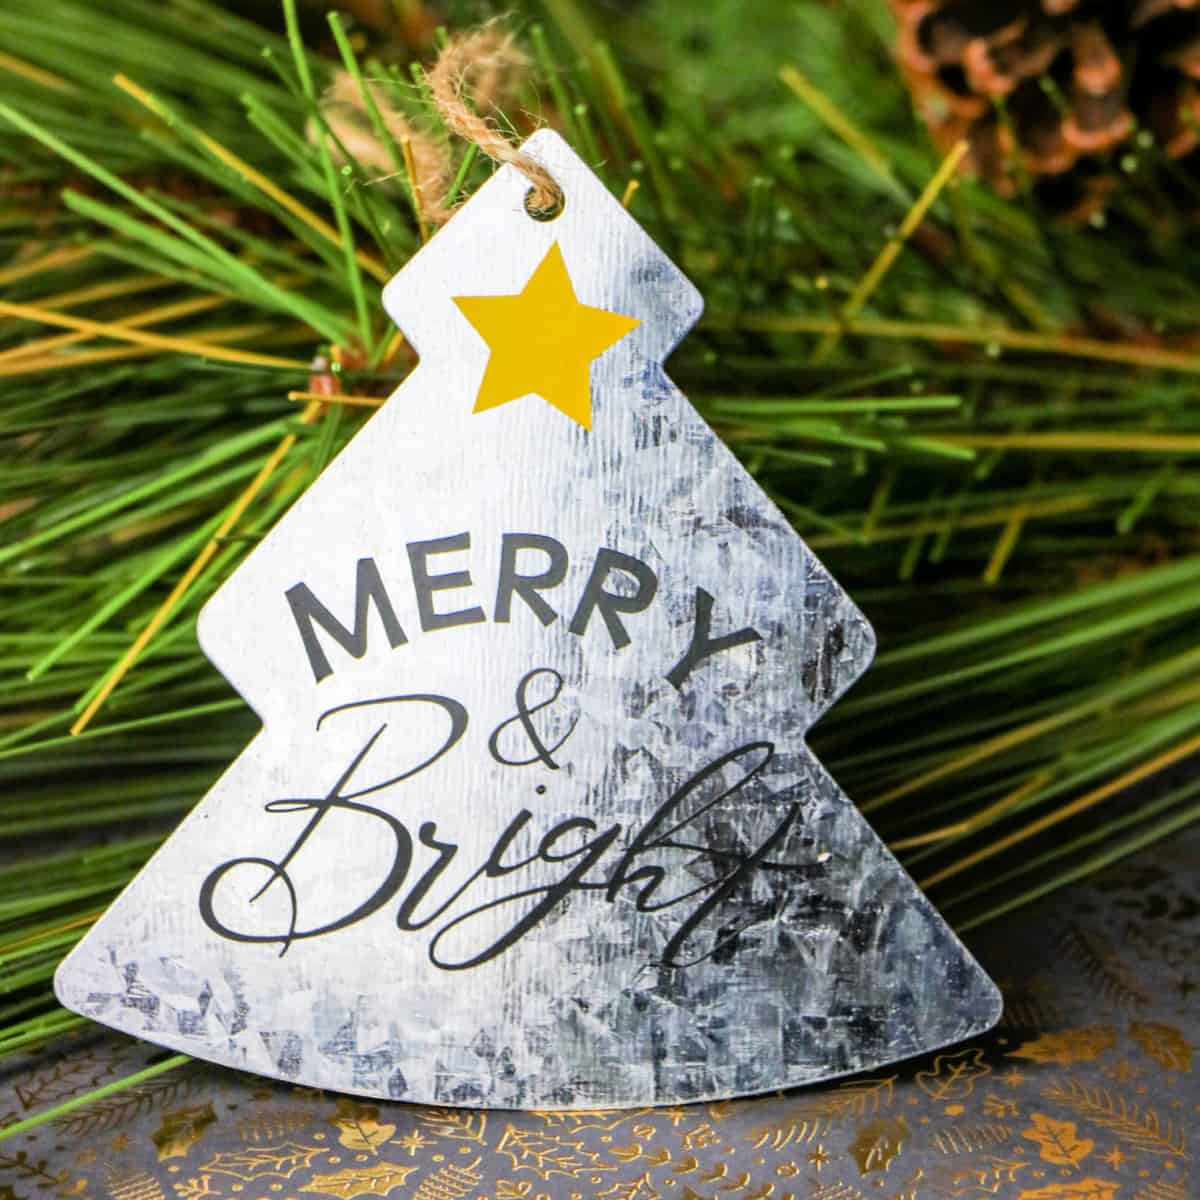
Make these rustic galvanized Christmas ornaments using your Cricut and vinyl. It's a quick and easy project!
FYI, this post and tutorial contain affiliate links. We may earn a small commission when you buy through links on our site, which help support the free content you love here at Juggling Act Mama. Learn more.
Jump to:
I love using my Cricut to make cute projects for the holidays, especially ornaments like these wood circle ornaments and paper mache ornaments. Now I've got fun new galvanized Christmas ornament tutorial for you.
There's no SVG cut file for this project, you can copy our project using the Merlot and Birthday Cakes fonts, or create your own version. (And if you do, tag me on Instagram because I'd love to see it!!)
These also make lovely stocking tags or you could make a whole batch of reusable gift tags from them!
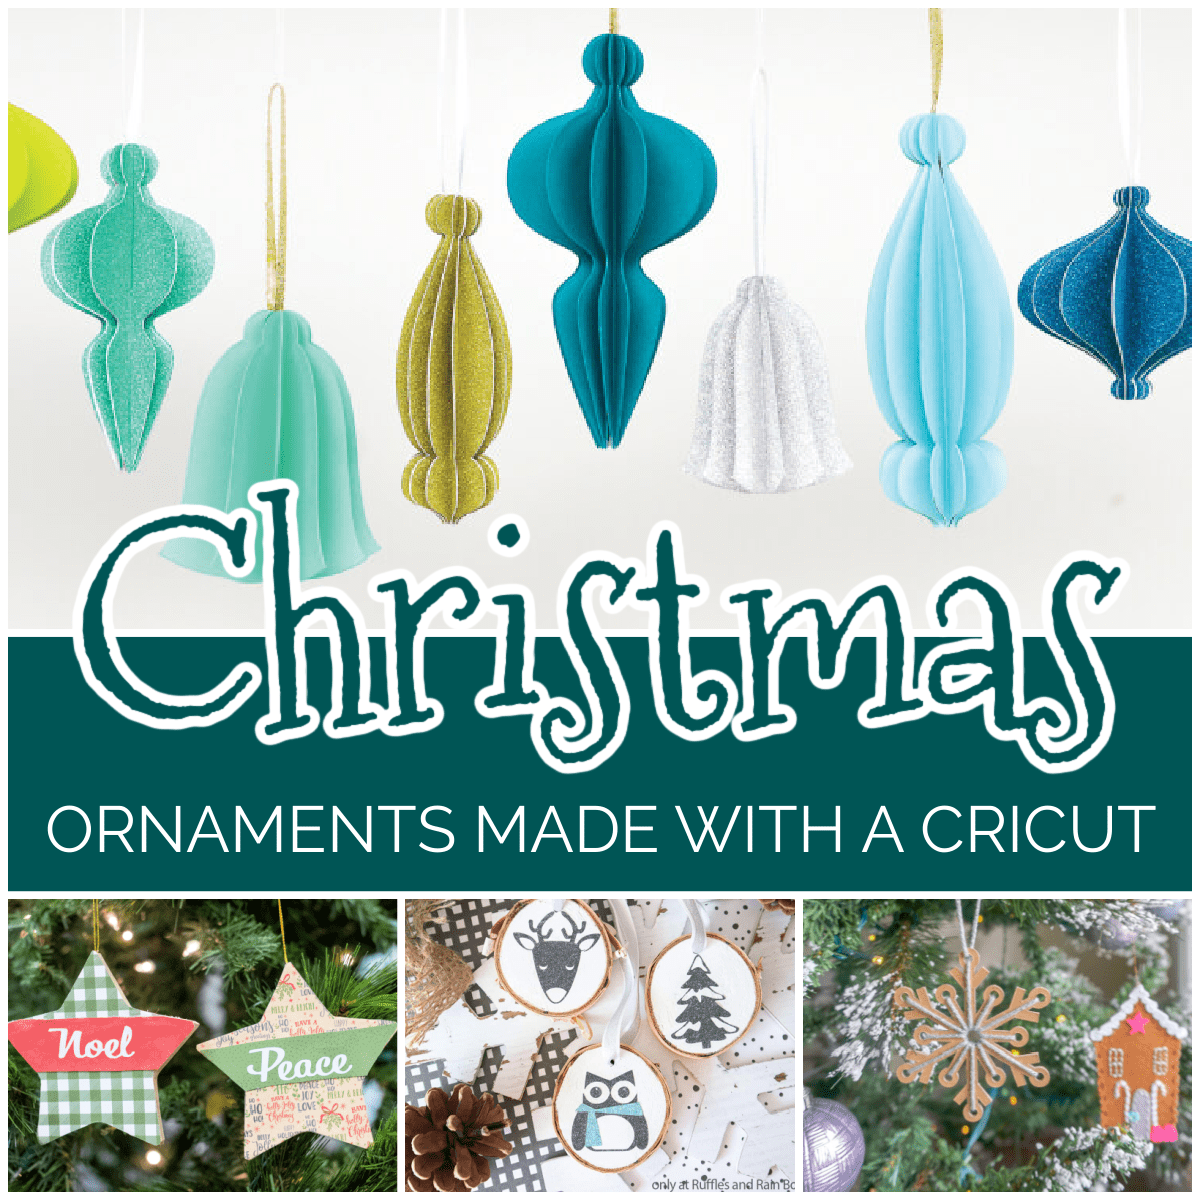
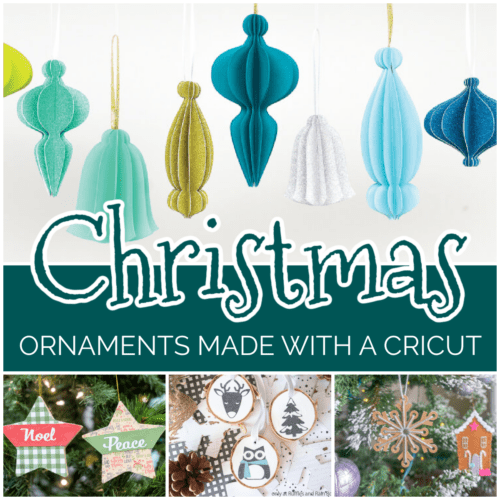
And, if you love making your own holiday decor, check 25+ Cricut Christmas Ornaments or our Holiday Cricut Projects.
✂️Supplies Needed
The following are affiliate links. We are a participant in the Amazon Services LLC Associates Program, an affiliate advertising program designed to provide a means for us to earn fees by linking to Amazon.com and affiliated sites.
You can find many of the craft supplies you need like the craft brushes, twine, and greenery at your local dollar store.
- smooth galvanized tree ornaments (from you local craft store)
- Cricut machine
- Cricut permanent vinyl
- transfer taper
- Cricut weeding tools
- ribbon
- scissors
Be sure to check out my Juggling Act Mama Storefront on Amazon where you'll find all kinds of great products to make your life easier! Thanks so much for being a part of Juggling Act Mama ❤

📝Instructions
This is meant to be a brief overview of how to make these Cricut ornaments for the Christmas season. For step-by-step instructions and a full printable tutorial with materials, please scroll down to the teal box below.
Step 1: Trace the shape of your galvanized ornament on white paper and take a photo of it. Save the photo as a JPG or JPEG.
Step 2: Open Cricut Design Studio and create a new project.
Step 3: Upload the photo to Cricut Design Studio. This will be used to be sure the sizing is correct for your ornament.
Select to remove the background of the image and save it as a cut file.
Insert the image into your project and size the image to match the dimenions of the ornament.

Step 4: Insert a text box and type your desired word(s).
(For this project, we used the Merlot and Birthday Cakes for the fonts).
Arrange the text and image as desired over the image of the ornament and adjust to fit.

Then, delete the background image.

Step 5: If all of the details will be to same color, click and drag to slect the elements and weld them together.

Step 6: Copy the welded image and paste to make multiple ornaments.
Step 7: Cut the text and images from the vinyl and weed the excess vinyl off.

Step 8: Use transfer tape to adhere the design to the ornament. The scraper tool is very helpful for this. Pull off the transfer tape and discard.


Similar Projects
Here are some other DIY projects you might also enjoy:
Find more holiday Cricut projects here.
- Paper Mache Ornament Cricut Craft - these ornaments are versatile and so easy to make!
- Cricut Christmas Ornaments - a fun collection of easy to make ornaments.
- Wood Circle Cricut Ornaments - these ornaments are cute and simple.




Comments
No Comments