DIY Gold Leaf Easter Eggs
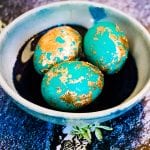


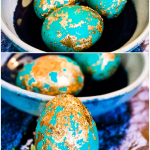
In this step-by-step tutorial, we’ll show you how your can create your own stunningly beautiful DIY Gold Leaf Easter Eggs!
I’m kind of on a roll with Easter Egg designs this year! If you missed it, you’ll definitely want to check out my tutorials for Glitter Easter Eggs and also Tie Dye Easter Eggs.
Crafting and DIY projects are one way that I relax and unwind. I love expressing my creativity, especially for different holidays.
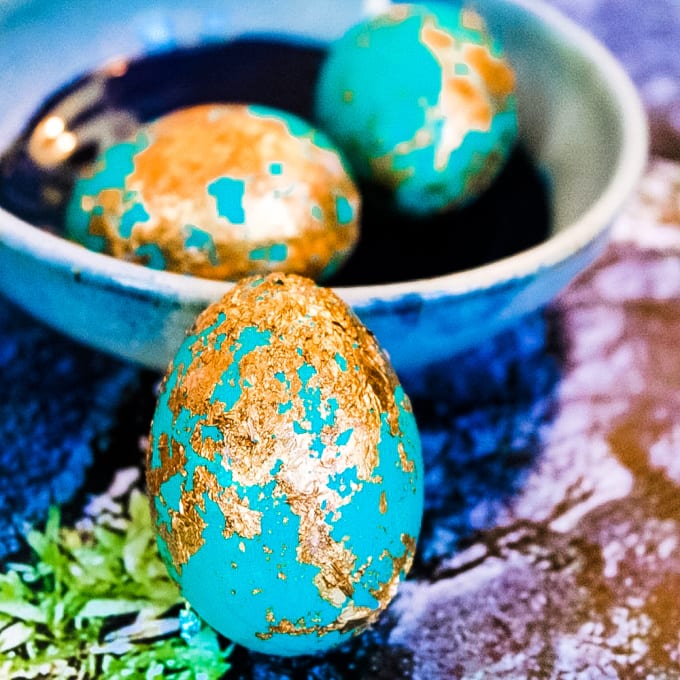
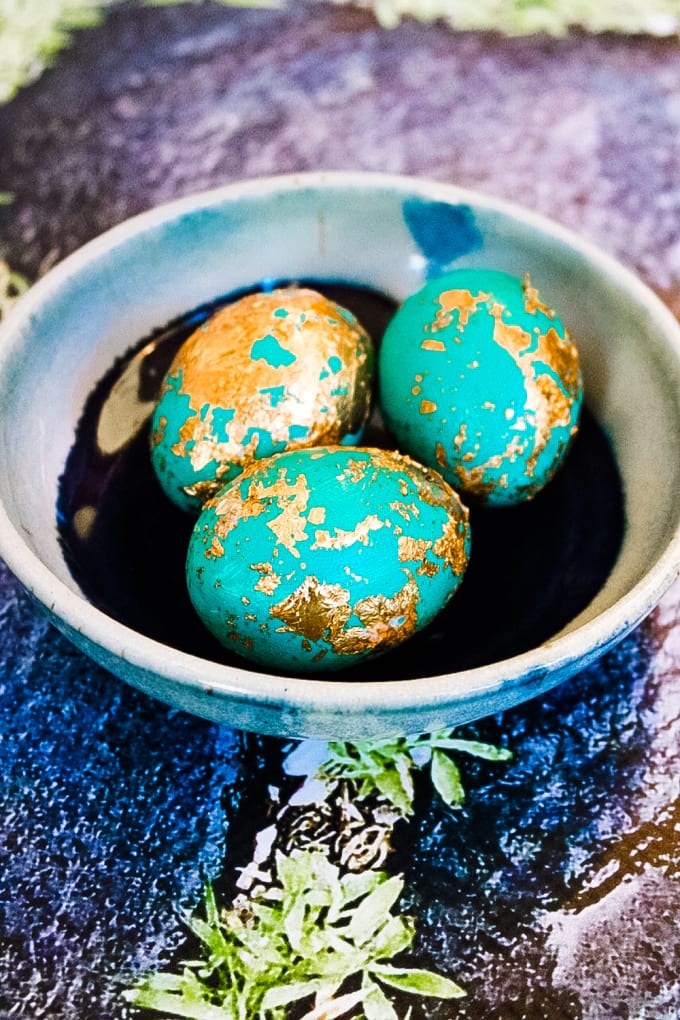
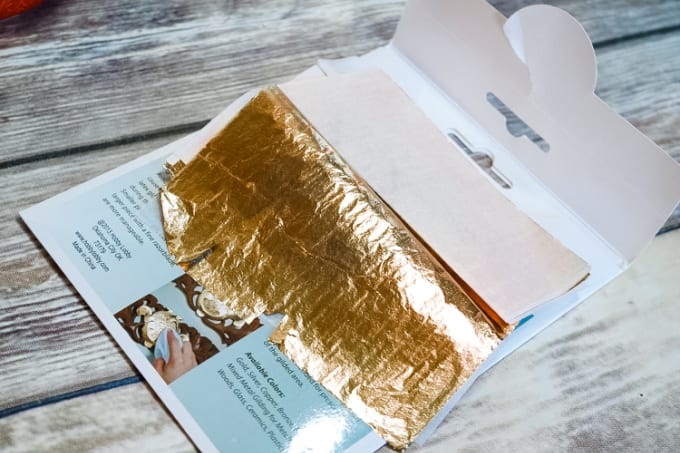
Today’s tutorial will show you how to use gold leaf to make really stunning DIY Gold Leaf Easter Eggs. Gold leaf comes in thin sheets and can be used for all kinds of beautiful crafts.
You can purchase gold leaf online and in many craft stores. You can also purchase foil flakes in other colors and make all kinds of gorgeous Easter eggs.
Eggs for Crafting
The following are affiliate links. We are a participant in the Amazon Services LLC Associates Program, an affiliate advertising program designed to provide a means for us to earn fees by linking to Amazon.com and affiliated sites.
With the price of eggs so high, you might want to consider these wooden craft eggs instead this year.
They’ll work just as well as real eggs, and you can reuse them next year!
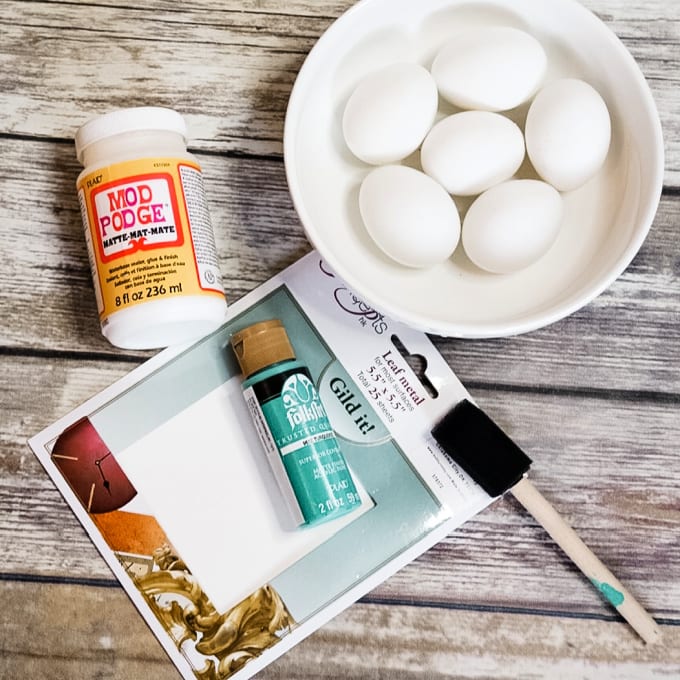
Materials
- White hard-boiled eggs – you might like to check out this method for How to Make Perfect Hard-Boiled Eggs
- Acrylic paint- I used a pretty teal color, but use whatever color you prefer.
- Gold Leaf – you can purchase gold leaf online and in many craft stores. You can also use foil flakes in other colors.
- Modge Podge
- Foam Brush
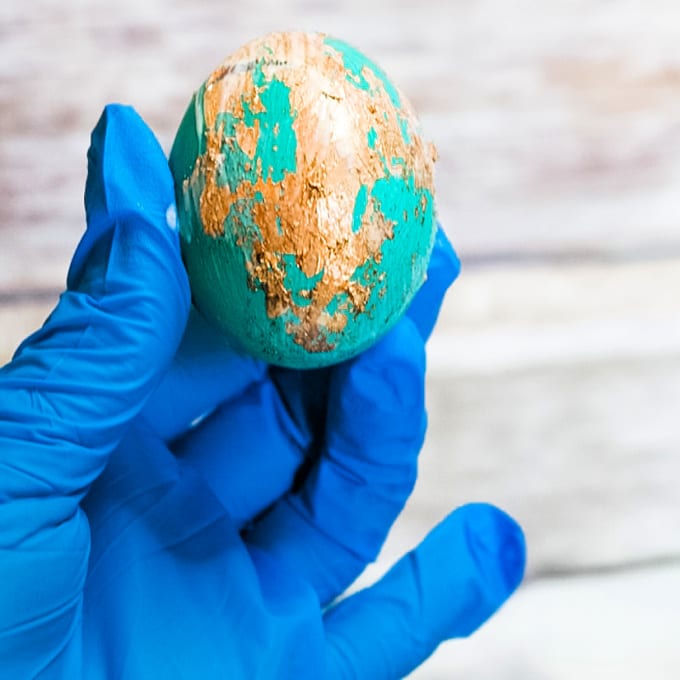
How to Make DIY Gold Leaf Easter Eggs
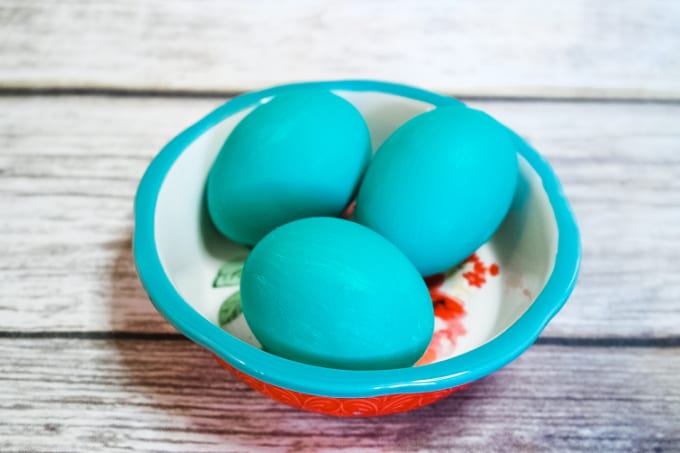
- First, make sure you are starting with dry, hard-boiled eggs that are cooled completely.
- Next, paint the egg (I used teal), this will take 3 coats. Let dry in between each coat.
- With the foam brush add a thin layer of Modge Podge.
- After that, break off pieces from one of the gold leaf sheets and adhere to the Modge Podge.
- Apply another layer of Modge Podge over the top of the gold leaf and let dry completely.
- Repeat until the egg is covered, be sure to keep some areas with just the paint for contrast.
The temperature of the eggs doesn’t matter for dying them – although I’d recommend letting them cool so that they’re easier to handle. However, make sure you are starting with DRY hard-boiled eggs because extra moisture can mess up the dyeing process.
I do not recommend eating any cracked eggs that have been dyed because bacteria can get into those cracks and make you sick. However, in terms of decorating only, it is fine to use cracked eggs.
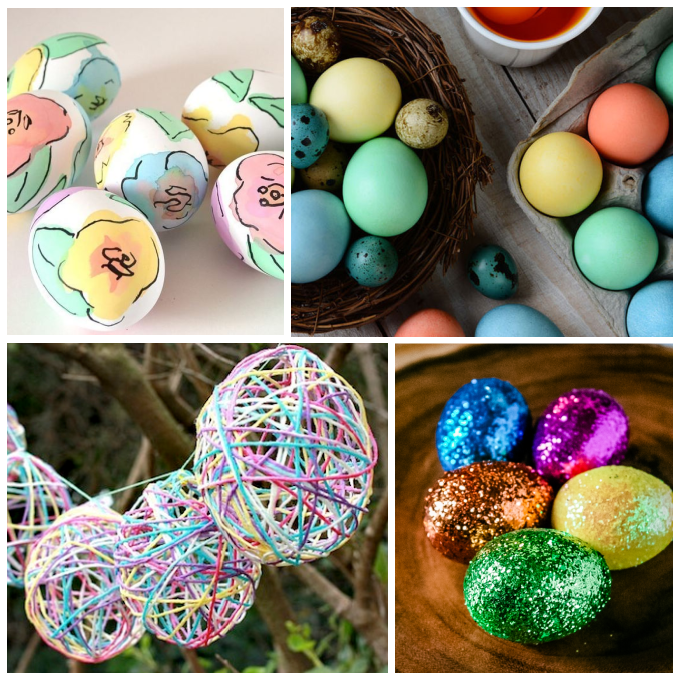
Find More Easter Egg Inspiration
- Glitter Easter Eggs from Juggling Act Mama
- Easter Egg Dyeing 101 from Martha Stewart
- Acrylic Painted Easter Eggs from Crafty Morning
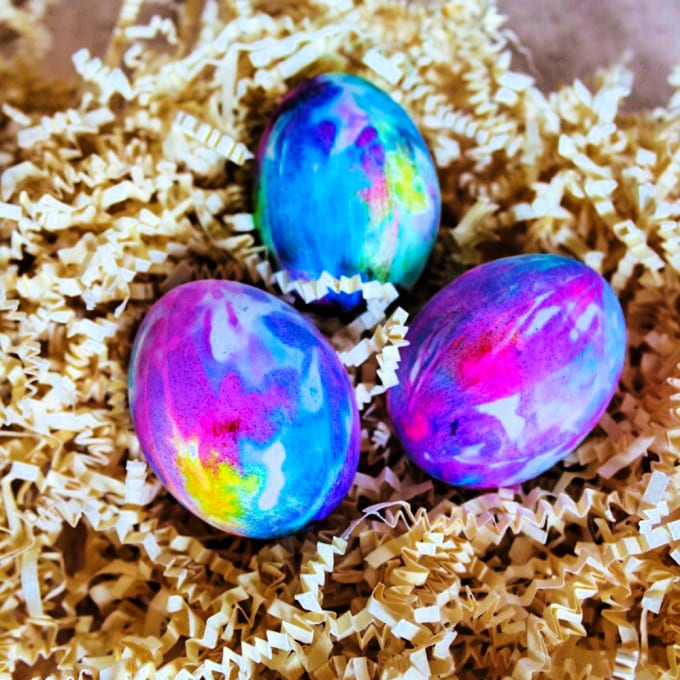
Tie Dye Easter Eggs
More Easter DIY Projects
- Printable Easter Treat Cones
- Grapevine Easter Wreath
- Watercolor Easter Egg Painting
- Sweet DIY Cricut Easter Projects