Butterfly Stained Glass Tissue Paper Craft
Create beautiful Tissue Paper Crafts with the kids for fun window decorations perfect for Spring and Summer!
They say, “April showers bring May flowers.” Whoever made that up, hasn’t been to New England in “Springtime” obviously. Here in New Hampshire, we are having the longest winter ever. EVER! Yesterday, we had wind and sleet all day long and it was just miserable outside. I am longing so much for Spring and Sun and… I feel like I’m Olaf about to break into song! (If you don’t know what I’m talking about, I envy you!)
Well, it maybe crummy outside, but I’m going to force some Springtime if it’s the last ting I do. Today, we’re making lovely stained glass tissue paper crafts in the shapes of butterflies and flowers. Maybe if we hang them in our windows, Mother Nature will get the hint!
I can remember doing tissue paper crafts when I was a kid and loving them so much. It’s easy to be creative when the outcome doesn’t need to be precise. That’s another reason that this craft works for both school age kids and younger. It’s just an all-around great Boredom Buster Activity!
Materials
Some of the items below contain affiliate links; I am a participant in the Amazon Services LLC Associates Program, an affiliate advertising program designed to provide a means for us to earn fees by linking to Amazon.com and affiliated sites. However, I only promote things that I love and think you will love, too. For more information, please see our Disclosure Policy.
- Black and Green Construction Paper
- Colored Tissue Paper
- Glue Stick
- Scissors
Stained glass tissue paper crafts are perfect for rainy days!
Instructions
Materials:
- Black and Green Construction Paper
- Colored Tissue Paper
- Glue Stick
- Scissors
Instructions:
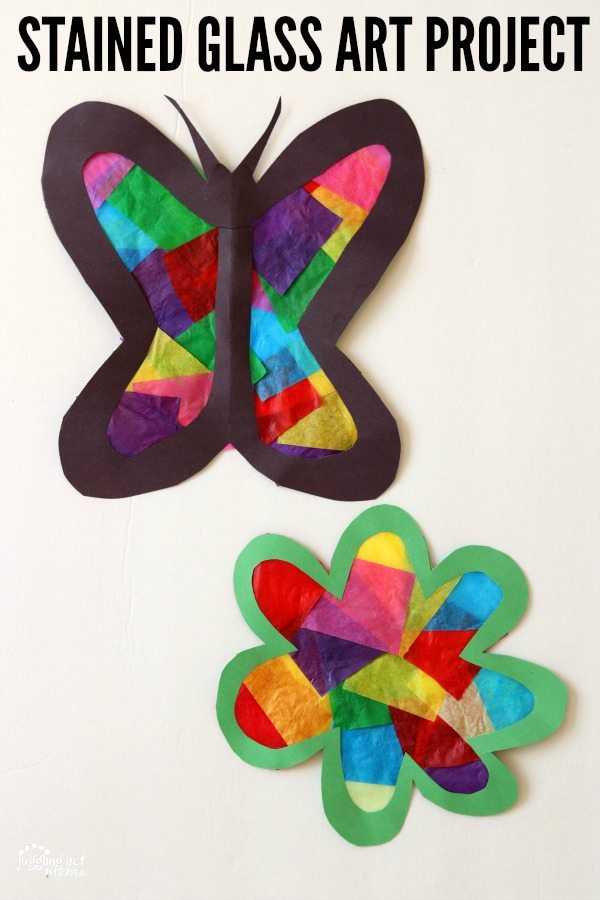
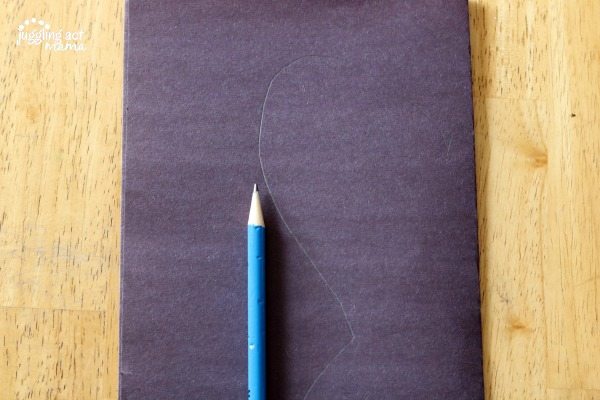
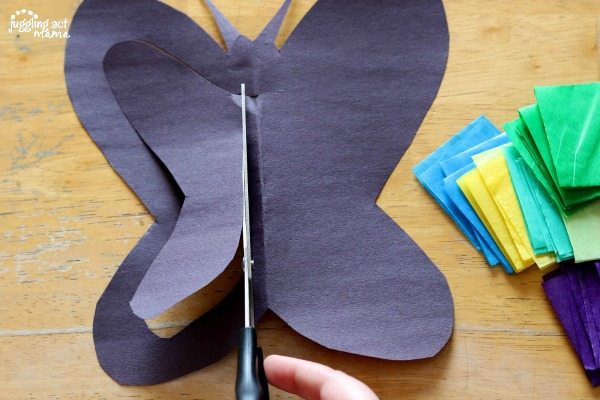
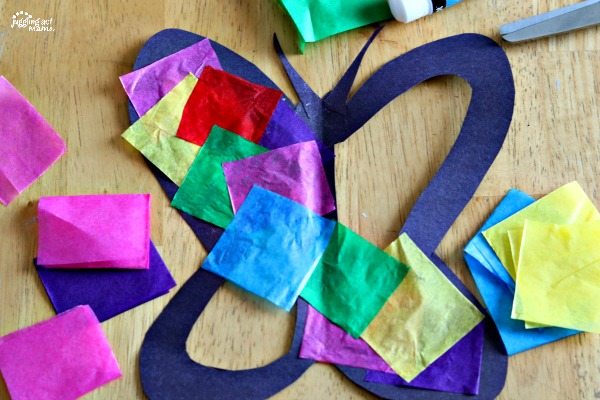
1. Cut out desired shape, in this project we did a butterfly and a flower.
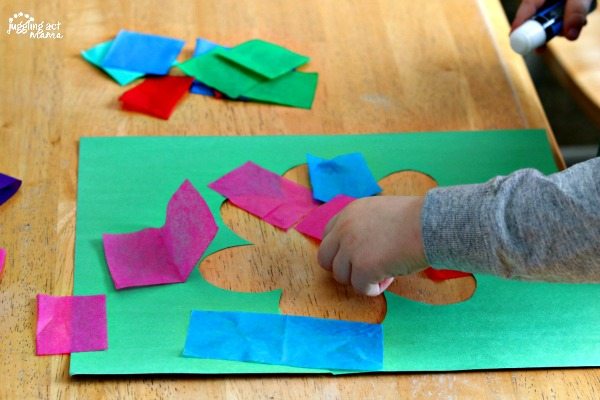
2. Cut tissue paper into squares.
3. Cut the middle out of your shapes, this will leave the middle open for your tissue paper squares to be glued in.
4. Place tissue paper squares in a collage style on the back side of your shapes, glue edges so that they all stick together.
5. Allow to dry, hang in your window to display!

I love the way the overlapping pieces of tissue paper create different colors. Now that you know the basics for making pretty tissue paper suncatchers, you can pretty much do any shape you like!
If you give it a try, be sure to leave me a comment and let me know what you think, or post a pic on Instagram and tag me at @jugglingactmama and use hashtag #JugglingActMama.
More Tissue Paper Crafts
- Tissue Paper Snail Craft – Fireflies & Mud Pies
- Tissue Paper Flower Art Activity – Mess for Less
- Tissue Paper Flower Pot – From ABCs to ACTs