DIY Cedar Planter Box
A simple tutorial for building a tall, DIY cedar planter box that adds instant curb appeal to your porch or deck!
Servings 1 Planter Box
Cost $30
Equipment
- Chop Saw
- Table Saw
- Nail Gun & Nails
Ingredients
- Seven 7 5-½" x 6' cedar fence post boards
- One 1 2”x2”x8’ common board
- Plastic Square Flower Pot
- Wood Glue
Instructions
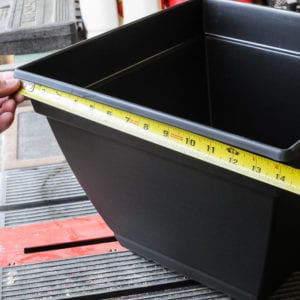
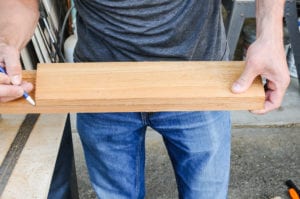
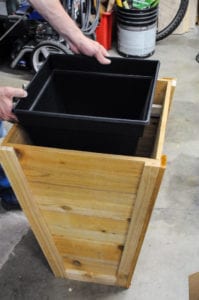
- 1. Start by measuring your plastic planter box. Then, use that dimension (ours was 14”) and add 4” to it. This is the dimension you’ll use for the long side of your top round of boards.
- 2. Set your chop saw to cut at 8.5 degrees. Use the chop saw (with the angle) to trim off the end of one of your cedar boards then flip it over and cut it at your dimension from above (ours was 18”.)
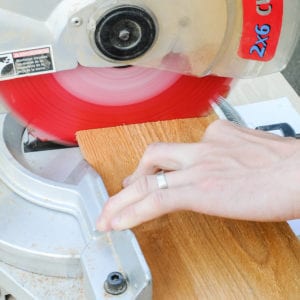
- 3. Use your first board as a template to cut three more boards at that length. You will need four boards at the same length with angled ends for each of the five rows of boards in the DIY tall planter box.
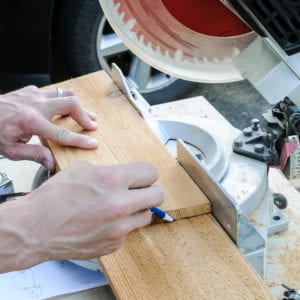
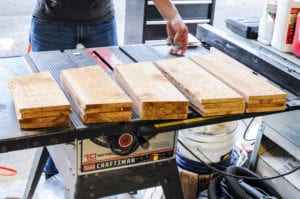
- 4. For the next row of boards, use the short edge from the last row to measure and mark the long edge. Then use your saw to cut three more boards that length.
- 5. Continue this process until you have five rows of 4 boards each.
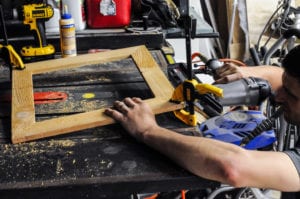
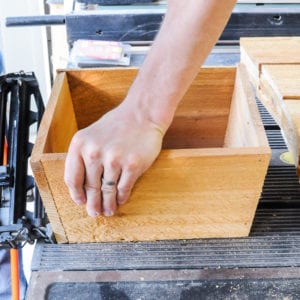
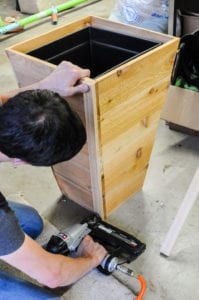
- 6. Next, build each of the “boxes” that will end up being stacked on top of each other to form your DIY cedar planter box. To do this, apply glue to the end of one board.
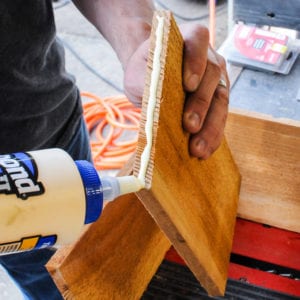
- 7. Then press that up against the end of another board the same length and nail them together.
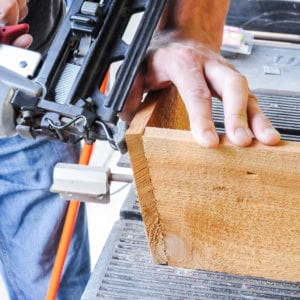
- 8. Rotate it clockwise and nail the next board in. Once all four boards are nailed together, you end up with a tapered box!
- 9. Do this same process for all five sets of boards. Then, use your table saw to rip down three of your cedar fence boards into three strips each: two at 1.5" wide and one at 2" wide and two of your cedar fence boards into three strips each : two at 2" and one at 1". You should end up with six 1.5" strips and six 2" strips.
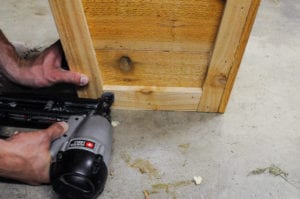
- 10. Cut the end of one of the 1.5" strips with your angle on the chop saw. Line it up with the edge of a corner on your stacked boxes, mark the height and cut it at that length. Be sure you're lining the 1.5" strip against the side of the boxes WITHOUT a seam.
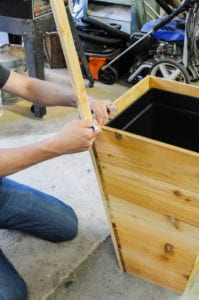
- 11. Put glue on the board, use an extra board to line it up nicely with the edge of the corner and nail it into the side of your stacked boxes.
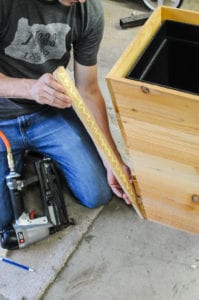
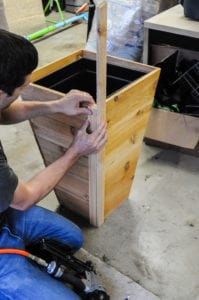
- 12. Next, trim the end of a 2" strip with your angle, line it up on the other side of the corner you just trimmed out, mark, cut and nail it in. Do this for all four corners of your box.
- 13. Then, measure and cut 2" trim pieces to fit between your corner trim on both the bottom and the top of each side and install all eight of those pieces.
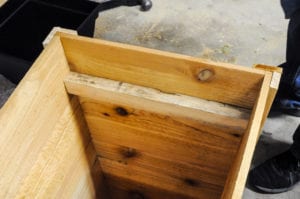
- 14. Once you have the entire outside structure of the cedar planter box built, measure the width of the inside about 3" down from the top and cut two boards out of your 2x2 for the pot supports.
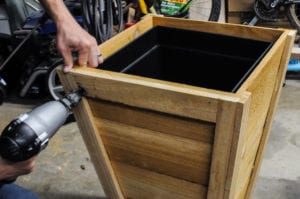
- 15. Install your 2x2 supports on two opposing sides and place your plastic pot down into the box.
- 16. Lastly, rip your final cedar plank in half and build a mitered "frame" for the top of your box. Measure the width of the top of your box and add ½" to it (¼" overhang for each side) and make that the outside dimension of the frame. We used glue and clamps to hold it together so we could nail it from each side into each corner. Line it up on top with ¼" overhang on all sides and then nail it down into the top of your large planter box.