
Hi everyone! It's Paige and I'm back with another craft for you guys this month!
You may remember my DIY Patriotic Canvas or the Back to School craft round up I shared last month. Today, I'm sharing some fun DIY Felt Flowers! A few months ago, I shared how to make an easy fabric rosette on my blog and I thought it would be fun to do a companion post on that one.

But before we get into the post, I just want to take a second to remember 9/11 and thank the firefighters, police officers, medical workers, and soldiers that helped people and defended our great country. September 11, 2001 was a day that shaped our country and my entire generation and changed the face of it forever. #neverforget
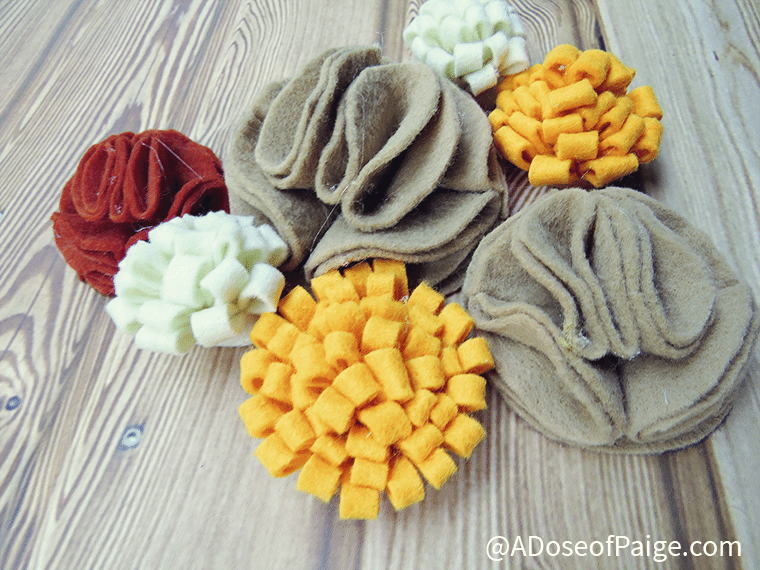
So I've got not one, but two, easy DIY felt flowers to show you today. These are so easy, you'll wonder why you haven't been making them and putting them on every single craft you attempt.
If you make these yourself, I'd love to see them on social media! You can share anything with me by tagging me (@adoseofpaige) on Twitter, Facebook or Instagram or by sharing your image with the hashtag #doseofDIY! I can't wait to see what you use these for!
Anyway, let's get started!
For this flower, you will need:
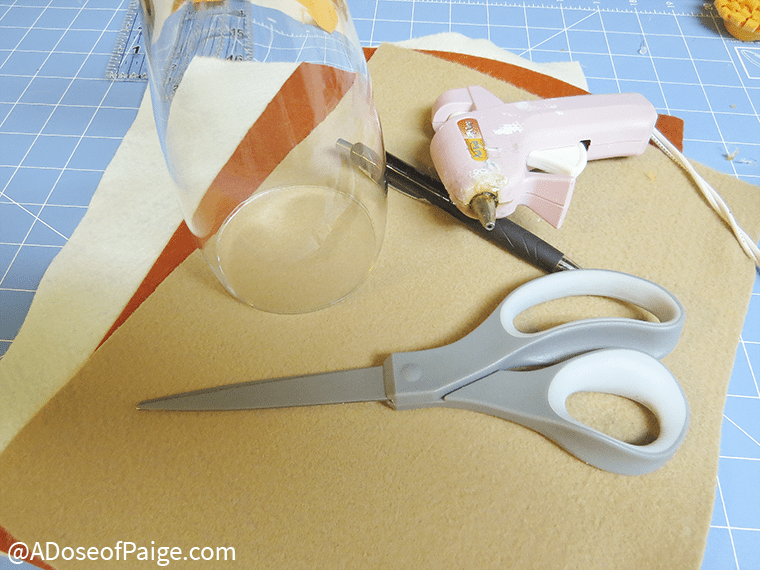
MATERIALS:
- Felt
- Scissors
- Hot Glue + Hot Glue Gun
- Pen
- Something circular like a glass
You're going to want to start by drawing 7 circles on your sheet of felt like shown below.
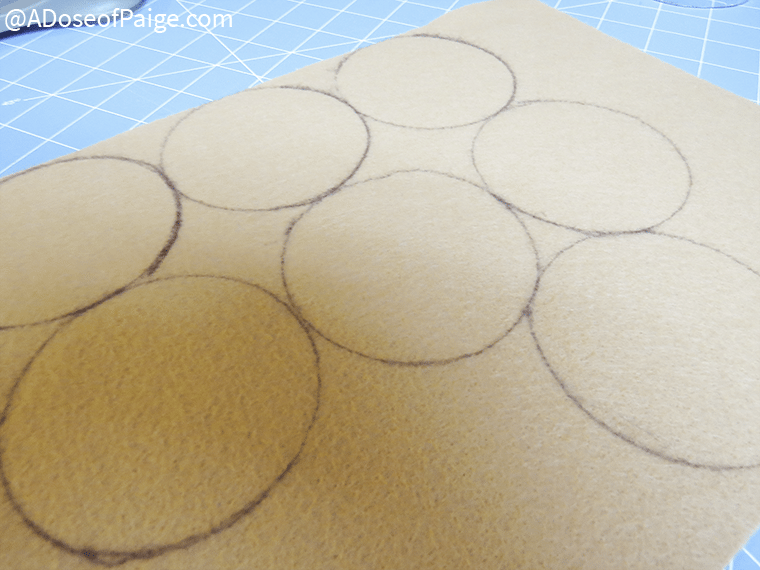
If you are good at holding together multiple layers of fabric, you can just draw one circle and then fold your felt so you can multiple circles to cut out at a time, if that makes sense. Regardless, cut out your seven circles.
Be sure to cut off the pen marks. You don't want them making your flower look ugly.
Then you're going to set aside one of the seven to use as a base. For the other 6, you're going to fold it and glue it like shown below.
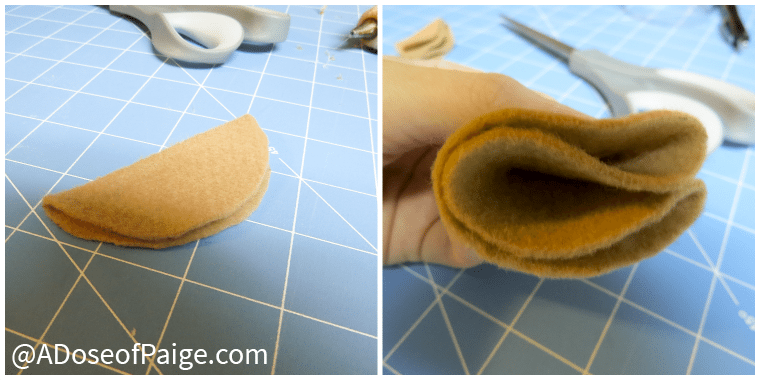
Basically, fold your circle in half and glue it down and then fold it in half again and glue it down.
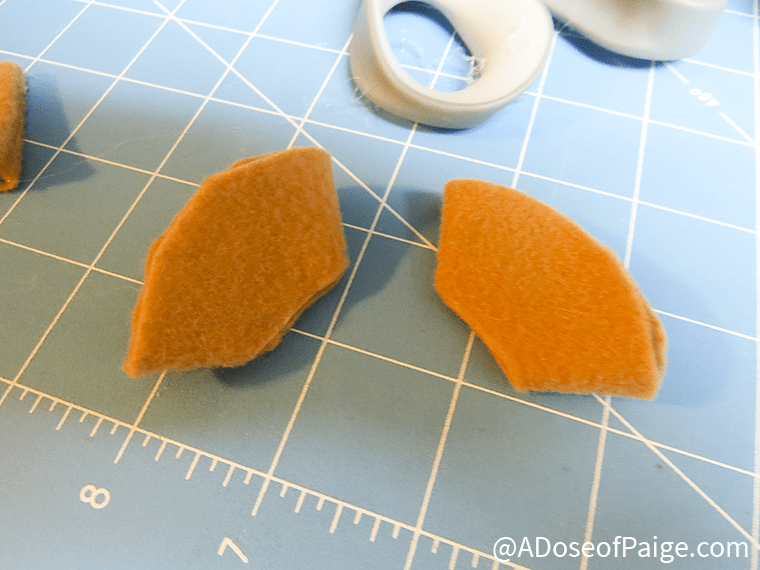
For two of these pieces, you're going to cut the resulting corner off, so you'll end up with two like shown below.
Then it's time to grab your base because you're going to take your petals and glue them down to form a flower.

There's no real trick to this but I have found it's best if the like edges touch. So one side of each "petal" has one folded edge and the other has two folded edges (if you make the flower, you'll realize what I'm talking about, I promise!)
So once you glue down one petal, glue down the one next to it so that the like edges touch.
After you're done with that, you're going to glue down the two that you cut the corners off of in the middle, standing straight up.

I have found it's better to have these face opposite directions. So if the edge with two folds is facing toward the left, then the other one's two fold side is facing toward the right.
Then just fluff up your petals and you are good to go!
What are you going to make with all your pretty felt flowers!?
Jennifer Dawn says
These are great, and the colors you chose are perfect for fall!
Michelle J. says
I love the different styles--so cute!