


NEWEST POSTS

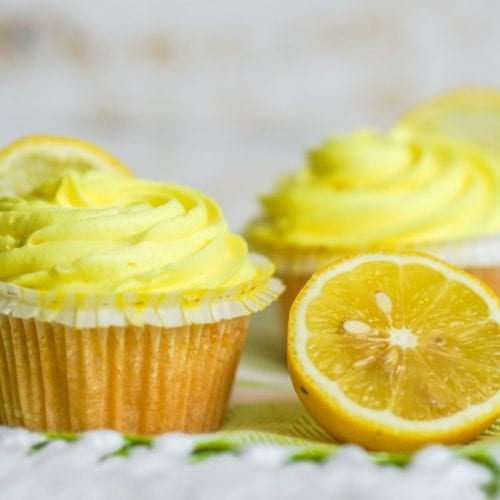
Spring Favorites
- Best Lemon Cupcake Recipe
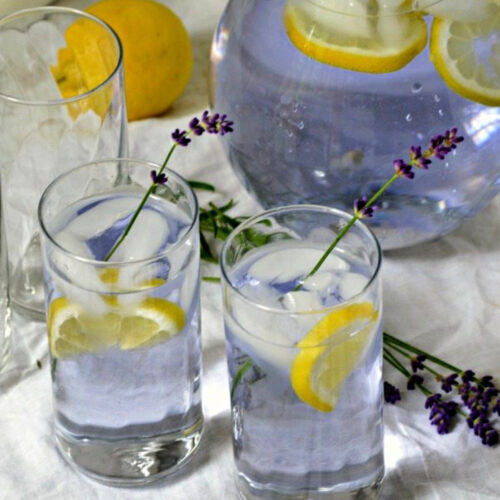
- Lavender Lemonade Recipe
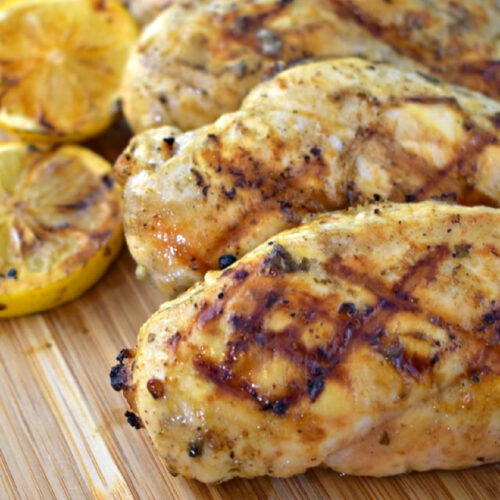
- Lemon Garlic Chicken Marinade
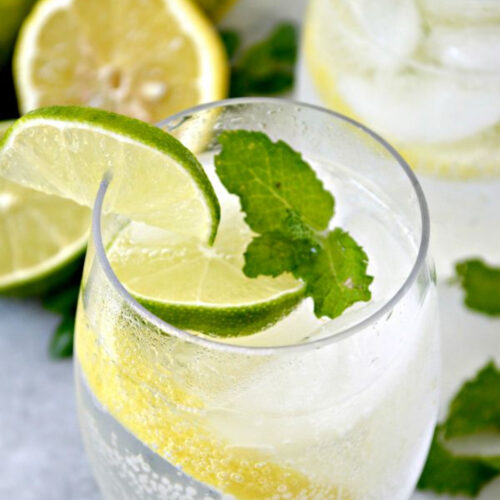
- Lemon Spritzer | Lemon Lime Spritzer
See more Lemon →
30-Minute Meals


Browse recipes by cooking style
Browse recipes by ingredient
Grilling Season
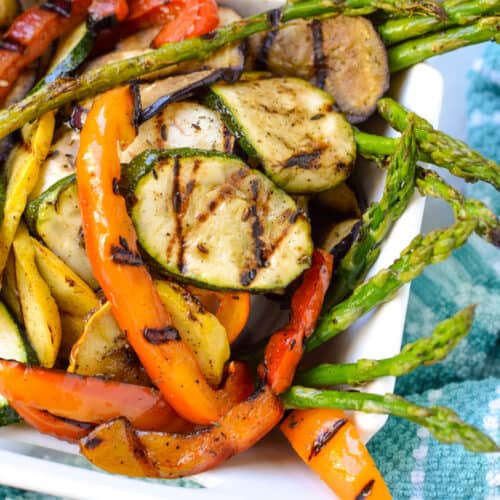
- Mediterranean Grilled Vegetables
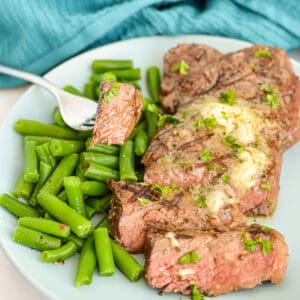
- Grilled Ribeye Steak Recipe
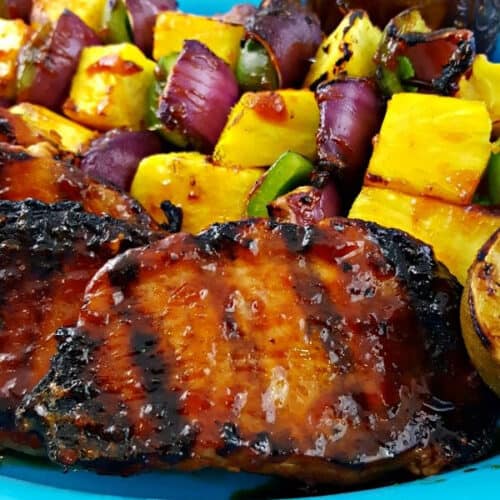
- Pineapple Bourbon BBQ Grilled Boneless Pork Chops
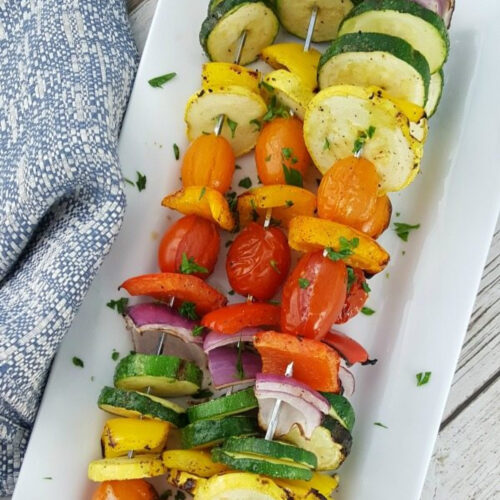
- Rainbow Grilled Vegetable Kabobs
- Grilled Top Sirloin Steak
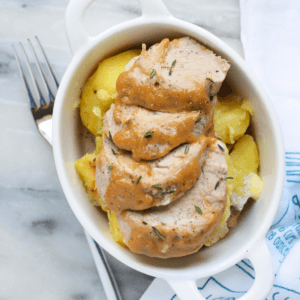
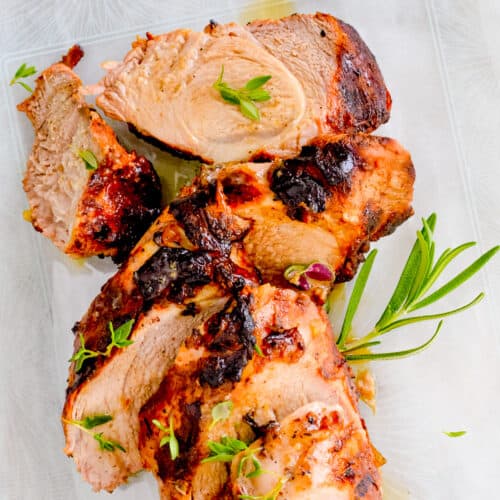
- Best Grilled Pork Tenderloin


See more Grilling →
Popular Recipes
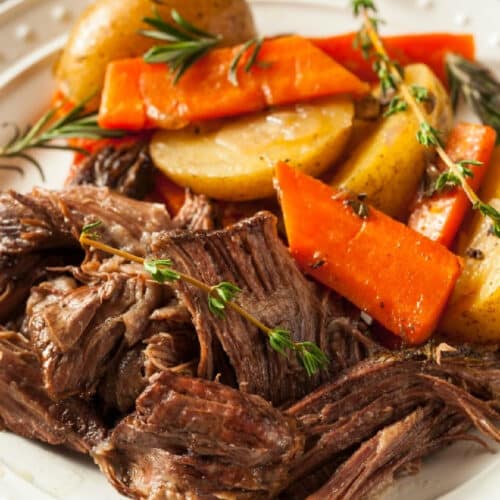
Favorite Collections

ORGANIZATION
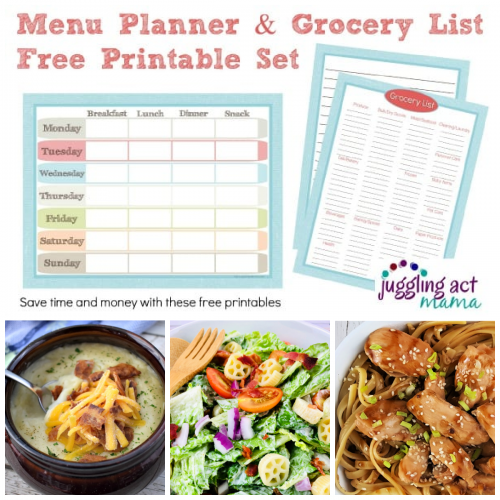
- Menu Planner and Grocery List Printable Set
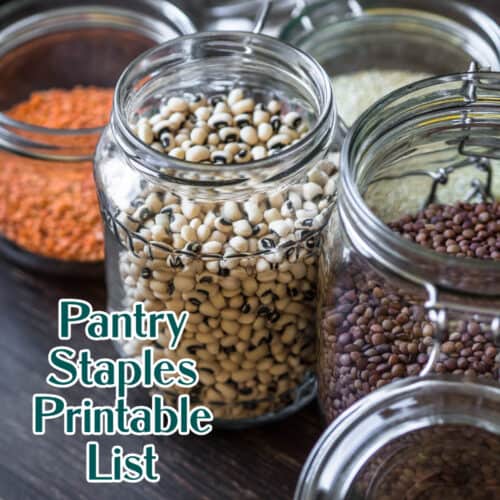
- Pantry Staples List Printable
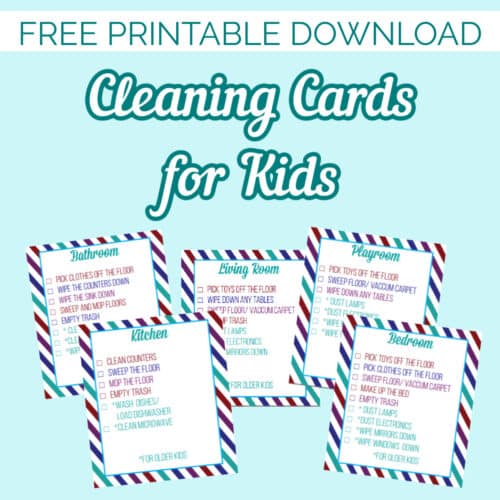
- Printable Cleaning Checklist for Kids
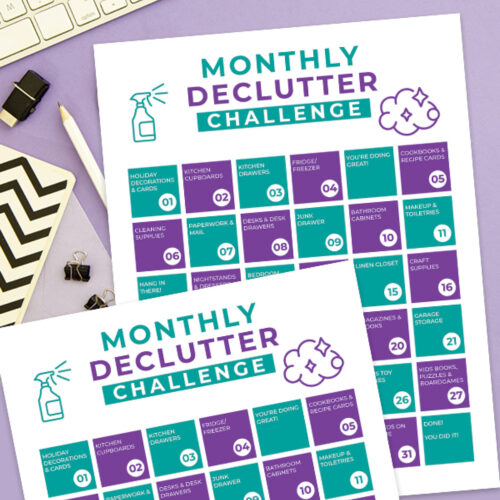
- Declutter Challenge - Free Printable
See more Organization Printables →
BOREDOM BUSTERS
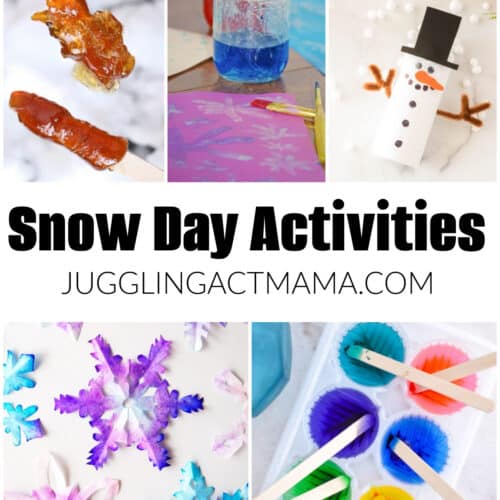
- Fun Snow Day Indoor Activities
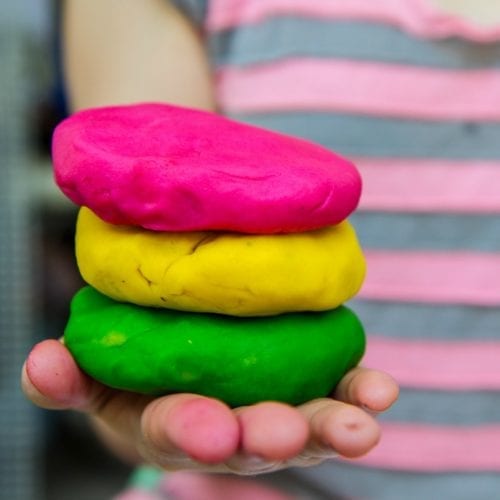
- Homemade Playdough Recipes
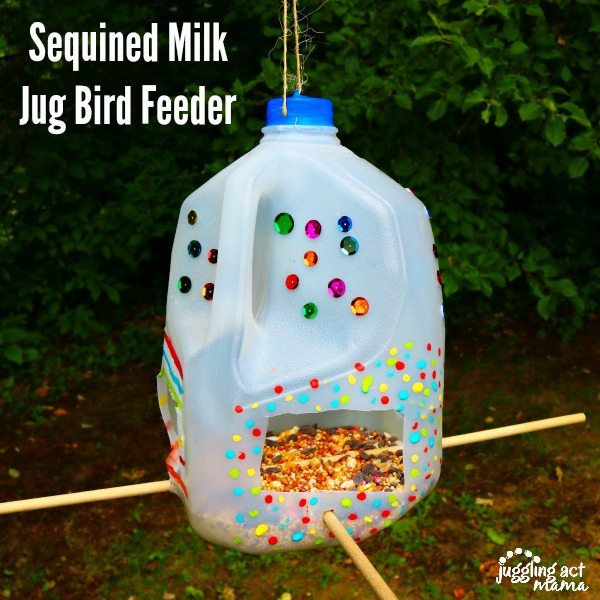
- Milk Jug Bird Feeder
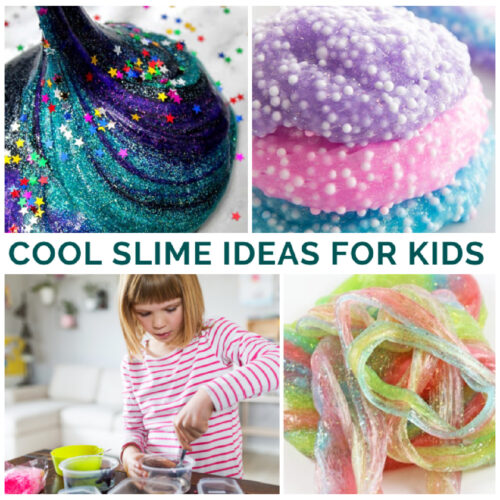
- Cool Slime Ideas for Kids
See more Boredom Busters →
TRAVEL
- Touring Ellis Island and Statue of Liberty
- Pemaquid Point Lighthouse
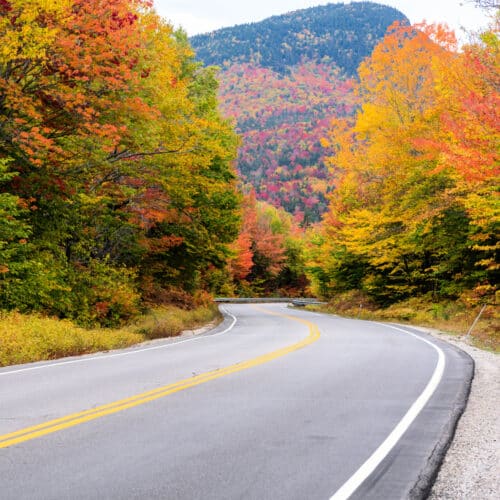
- Kancamagus Scenic Byway
- Sabbaday Falls Easy Family Hike


See more Travel →
DIY
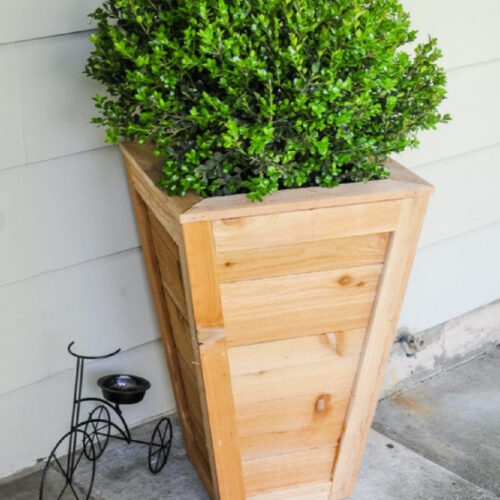
- DIY Cedar Planter Box Tutorial
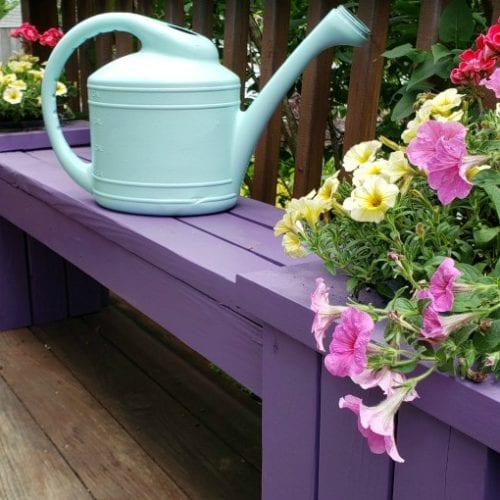
- Outdoor Planter Bench
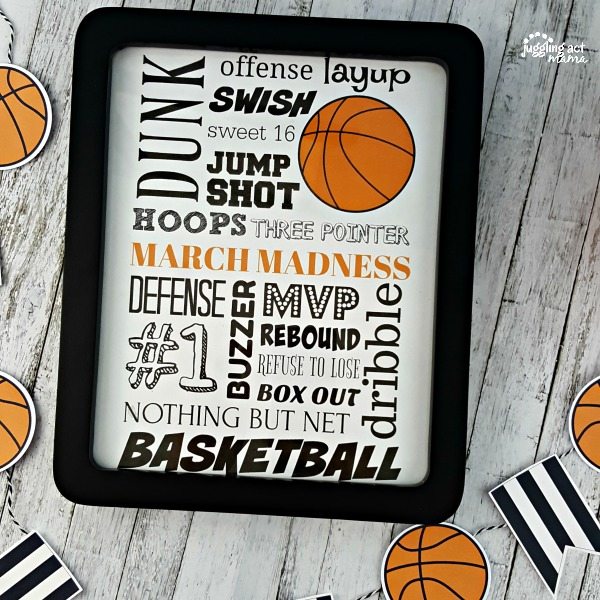
- March Madness Subway Art Printable
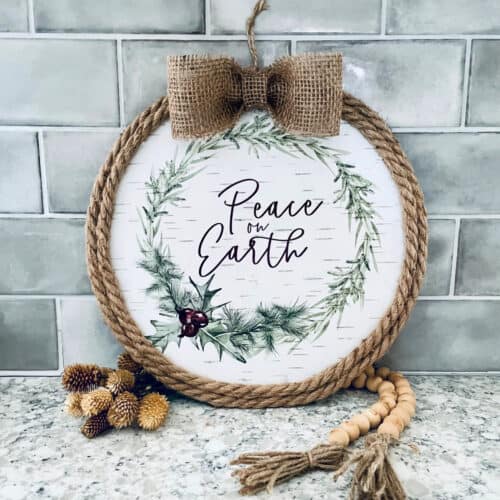
- Christmas Dollar Tree Pizza Pan Wreath
See more DIY →